Welcome to Your New Favorite Hobby
Through intimate painting classes & a tight knit community, you will find friendship, a sense of belonging and most importantly, a sense of inner confidence that you have never felt.
AS FEATURED IN:

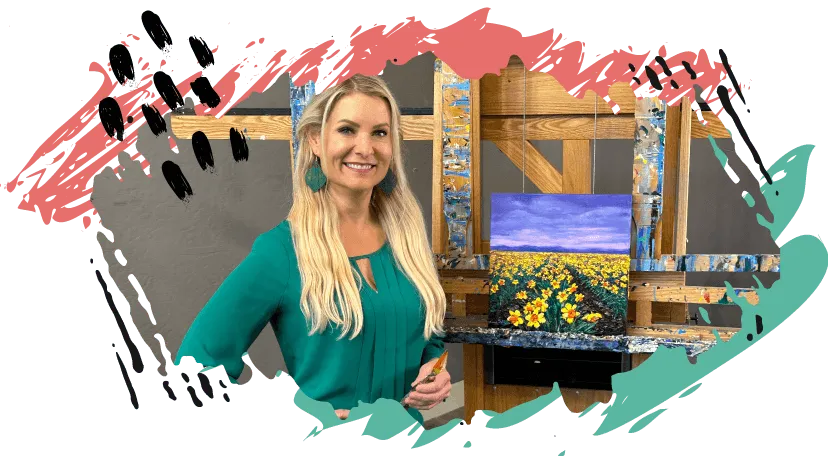
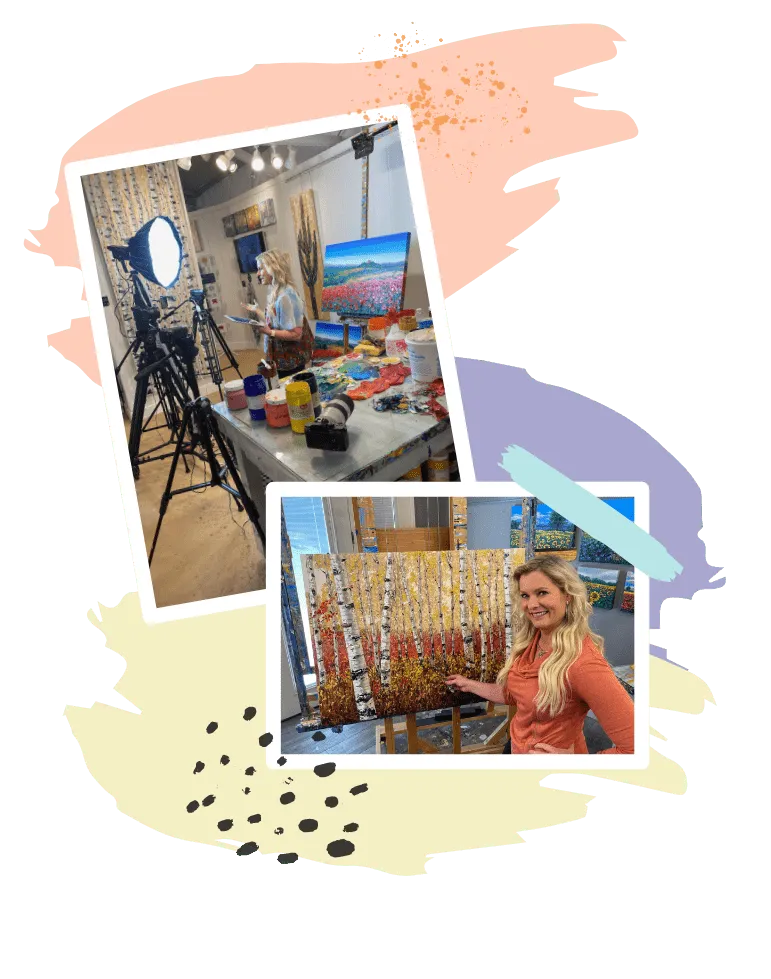
Hi, my name is Jennifer Vranes. I'm going to show you how learning how to paint will not only make the hours fly by but will also make your soul happy ...even if you've never painted before!
Learn step-by-step on how to easily create beautiful palette knife paintings, too! I share all of my secrets in my courses, and hold nothing back!
Our Courses
We offer new courses, classes and even teach you how to create handmade cards. Below are some of our best selling courses to help you get started.
Autumn Jewel
I'm so excited to show you step-by-step how fun and easy painting a colorful autumn scene can be! You'll be able to use the techniques learned inside this course for countless future Dabble paintings. Get ready to have some fun!
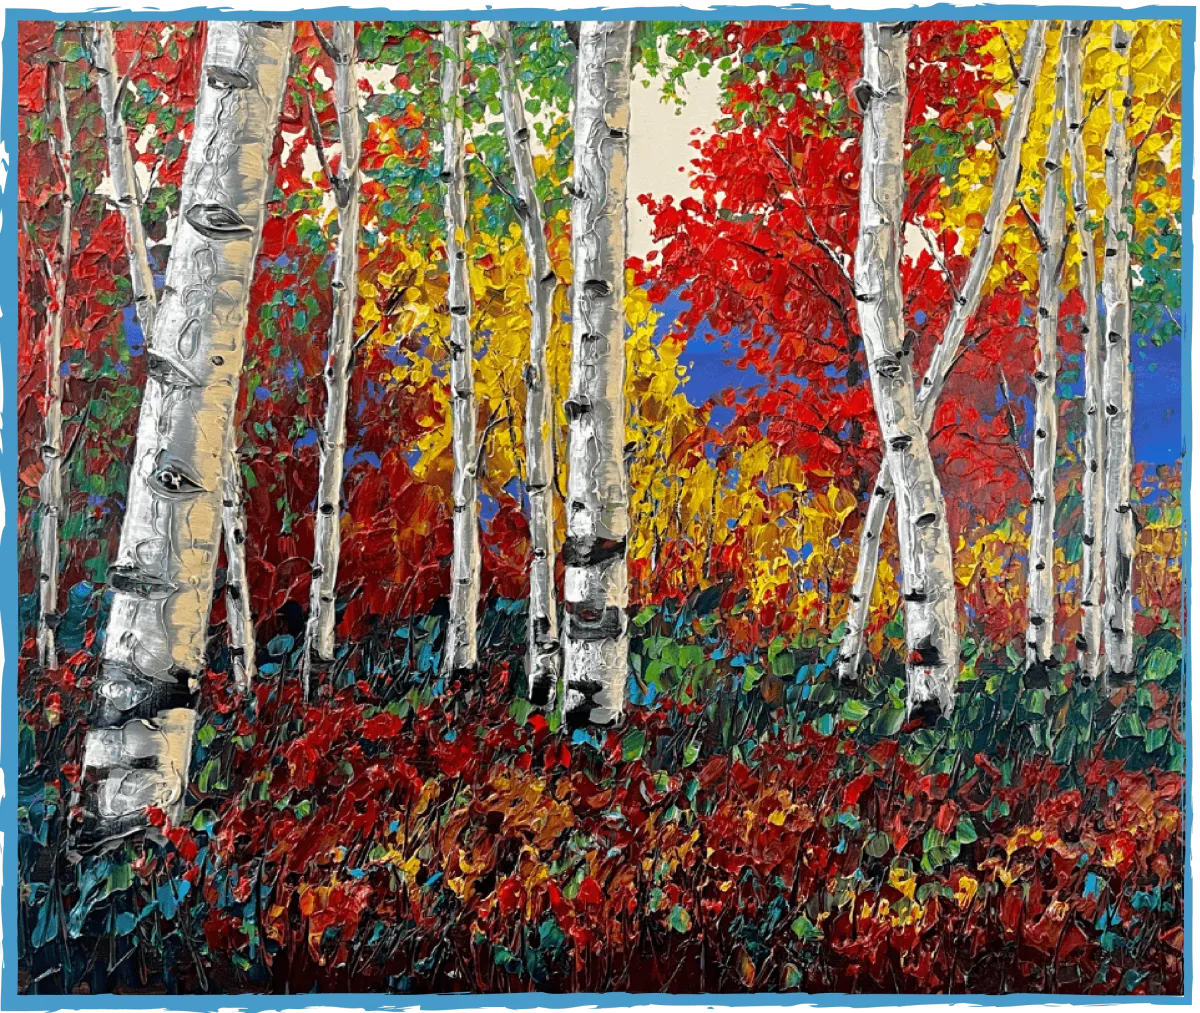
Lavender in Provence
Escape to Southern France where lavender grow in breathtaking rows of purples...without leaving your house. I will teach you step-by-step how to create this WOW painting and make you look like a pro!
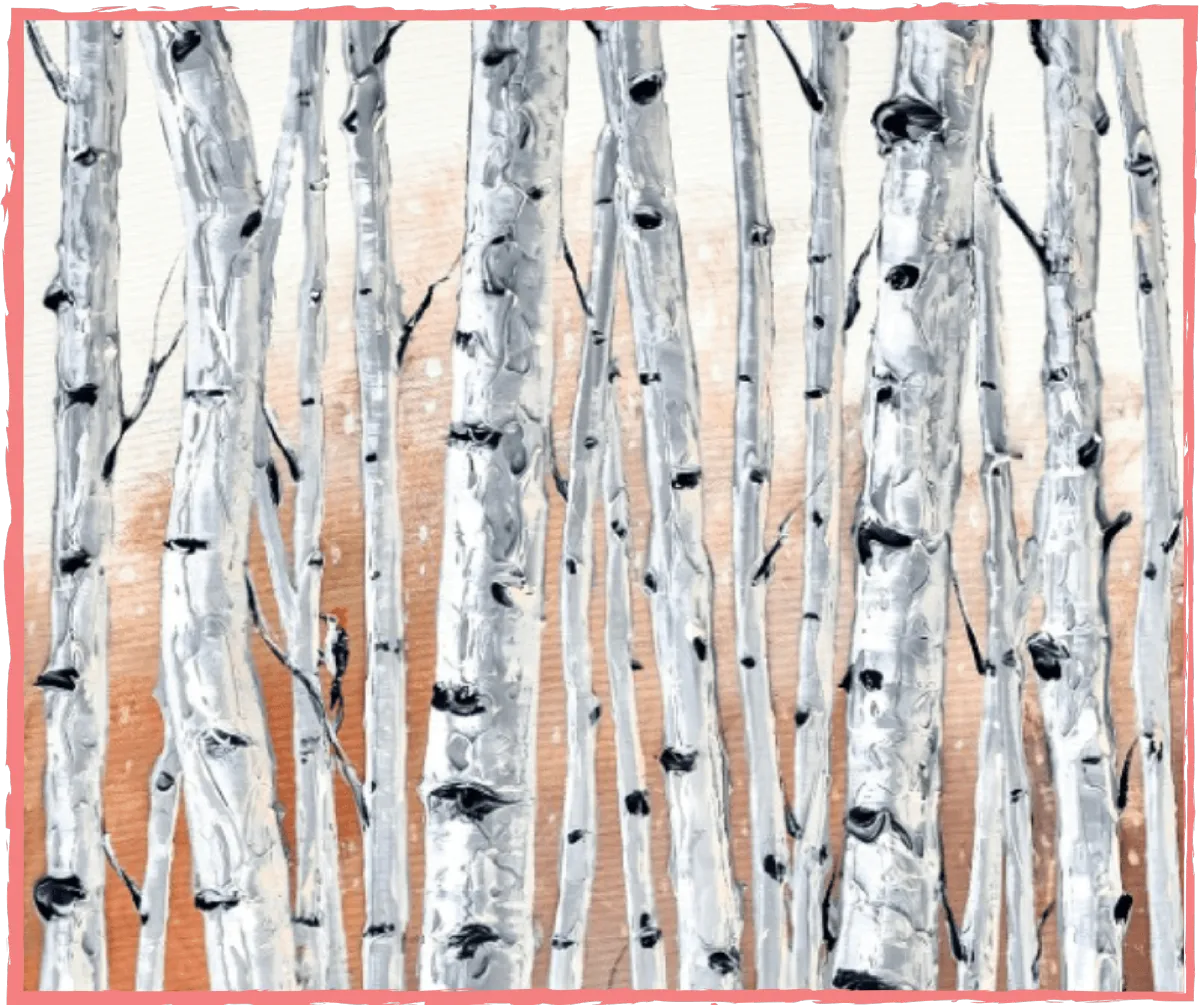
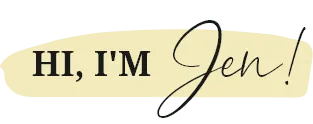
Forest Song
Learn how to paint this gorgeous aspen/birch forest that your friends and family will rave about! It's one of the artists' best sellers...and for the first time, she's teaching YOU how to do it too! You'll also learn how easy it is to paint a woodpecker hidden on a branch!
What's been holding you back all these years?
You've put yourself on the back burner for years, but now it's your turn! And now that you're on quarantine, you’re looking for a fun hobby, something to keep you busy and ease the boredom.
You're creative and now that you're retired, you're looking for a fun hobby. You want to develop a fun skill that will make you feel happy!
You love being creative and want to learn a new technique, but finding good instruction is near impossible! Are those YouTube tutorials teaching you bad techniques you'll have to break later?

Shop Products
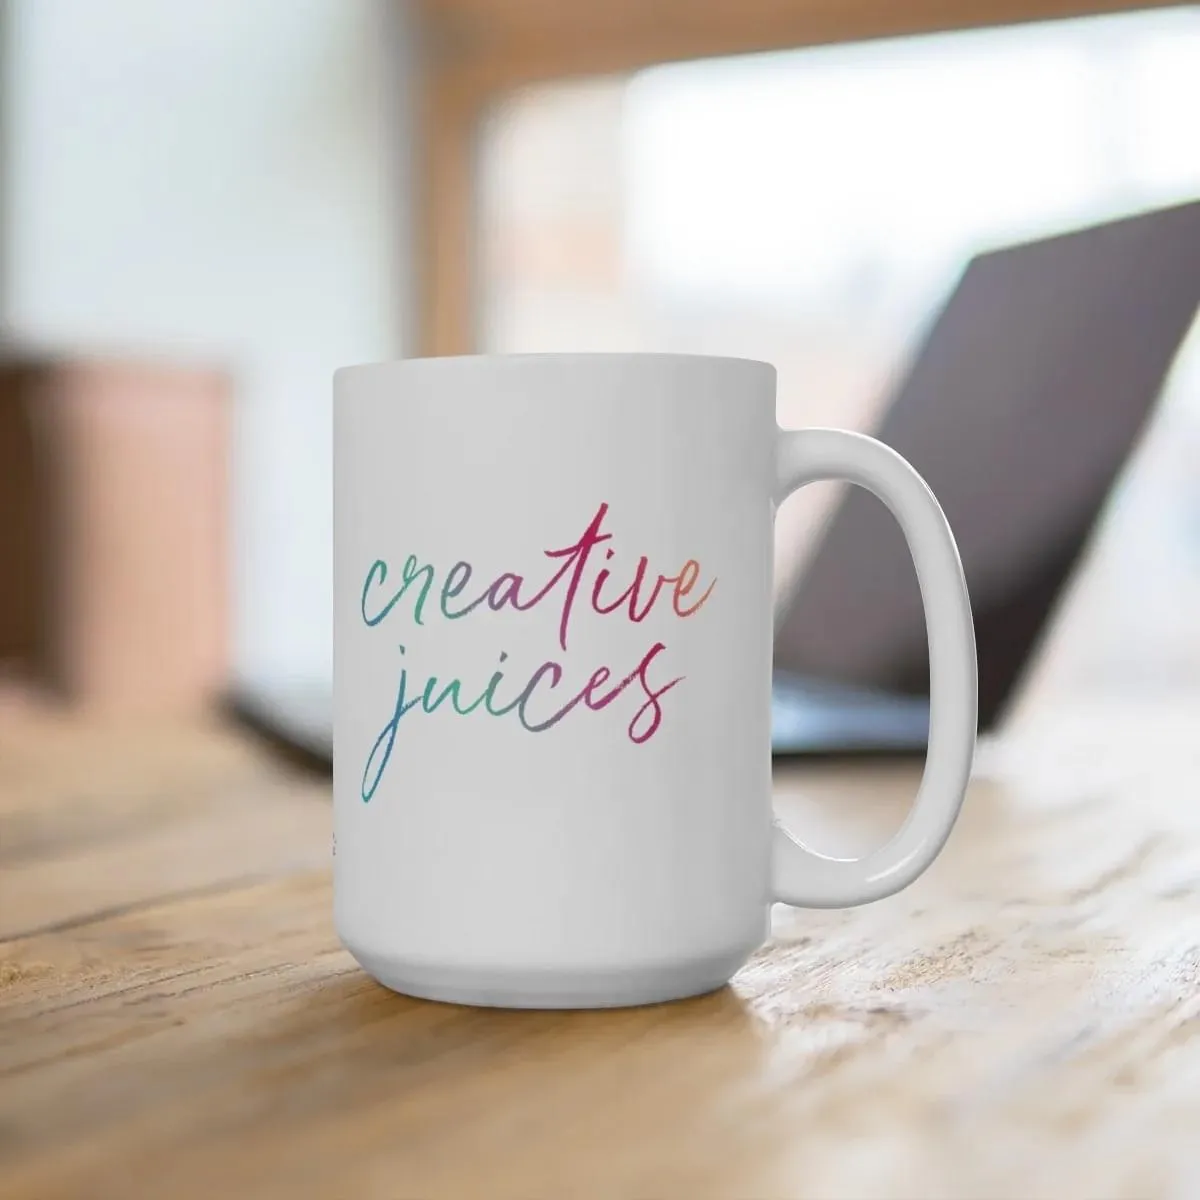
Mugs and Tumblers
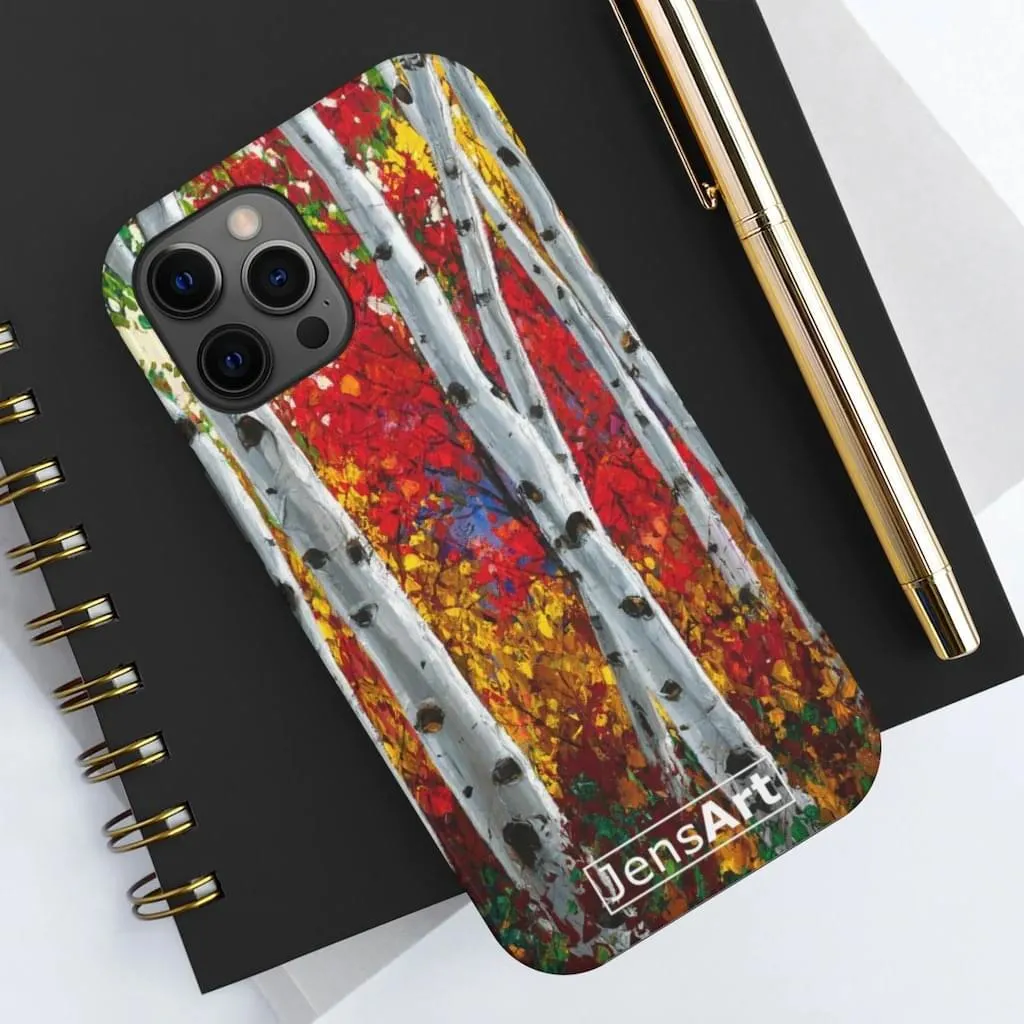
Art Phone Cases
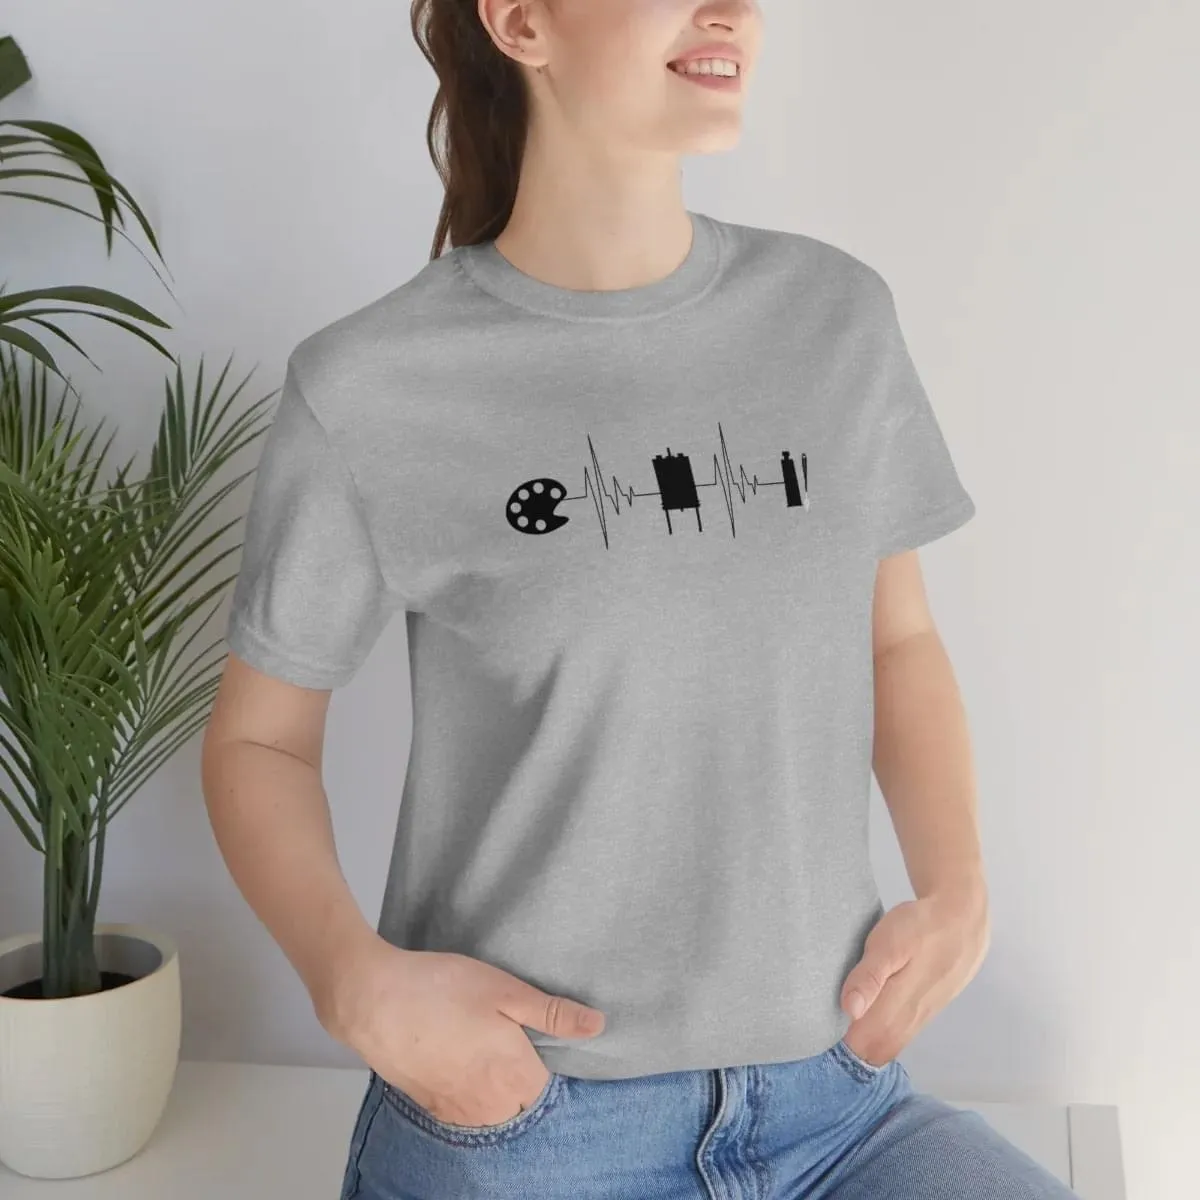
T-Shirts, Sweatshirts, and more!

Totes and Bags
The greatest compliment I ever received was from one of my Art Collectors.
The greatest compliment I ever received was from one of my Art Collectors. I will never forget what he said about my work, "Your paintings make me happy. I can look at them over and over again, and feel uplifted." His compliment embodies my goal for creating Art. There is nothing more I want in this world than to bring joy to people through my work.
My inspiration comes from places I have fallen in love with from all over the world. Each painting I create is a reflection of where I long to be. In a world of growing uncertainty, it is important for me to provide the viewer a momentary escape from reality. In my work, I strive to incorporate the rare diamonds I see in nature and bottle them up for the whole world to stop and take notice.
PO Box 5441 Central Point, OR 97502

Lorem ipsum dolor sit amet, consectetur adipiscing elit. Vivamus vitae iaculis felis. Maecenas eget est lectus. In tempus nisi mauris, nec ullamcorper nibh semper varius.