
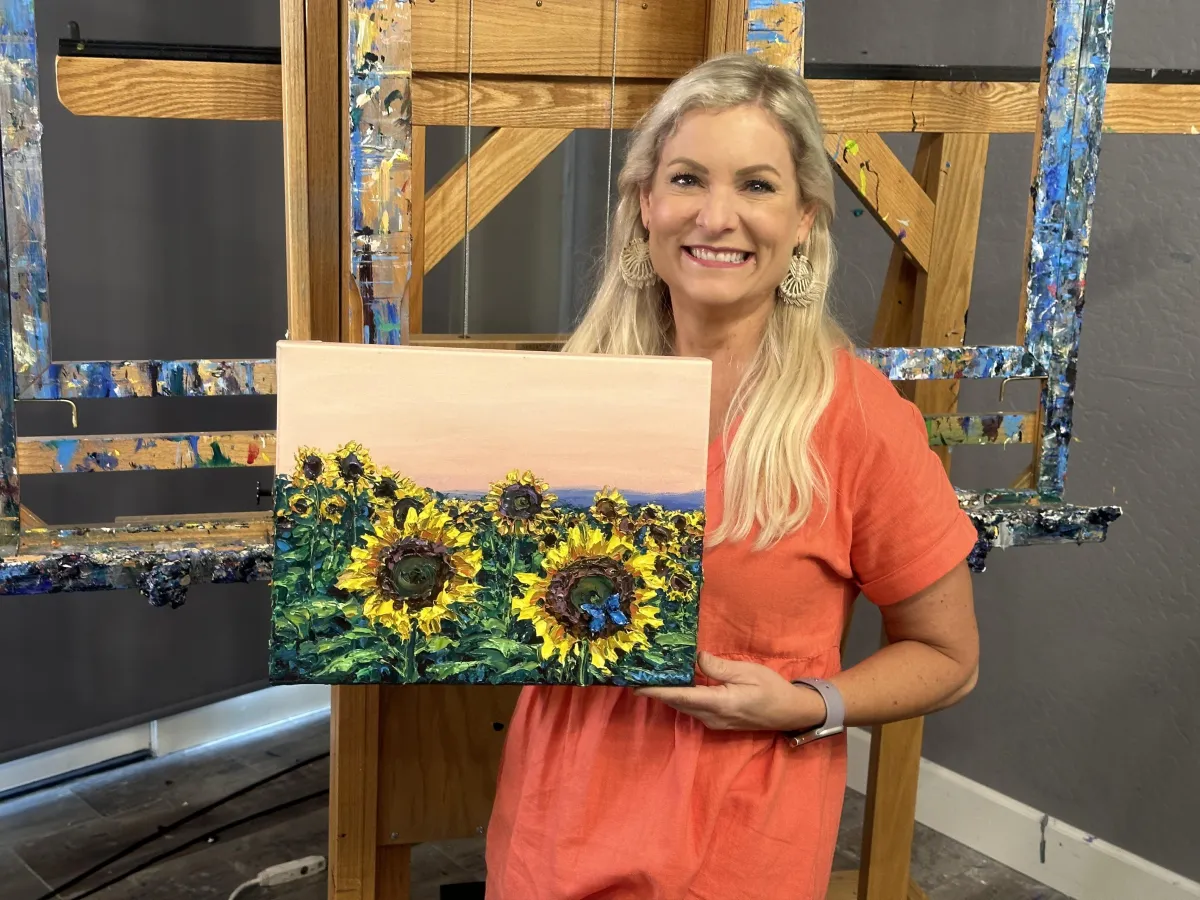
"Sunflower Dreams"
by Jennifer Vranes
Course Notes
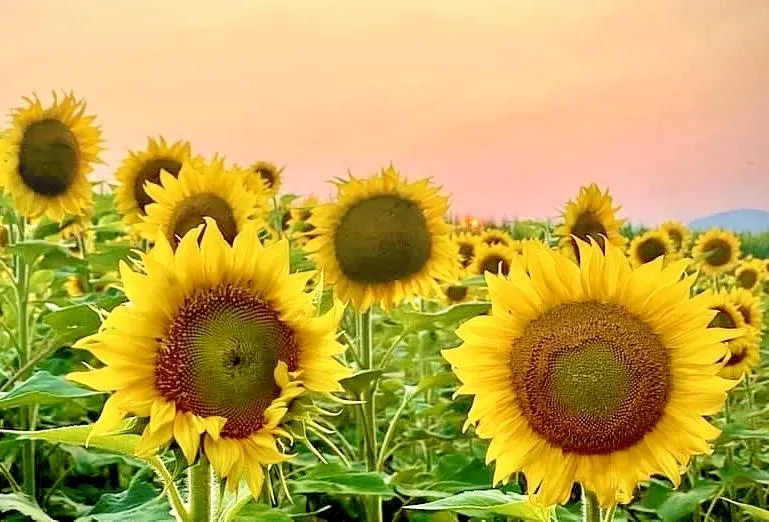
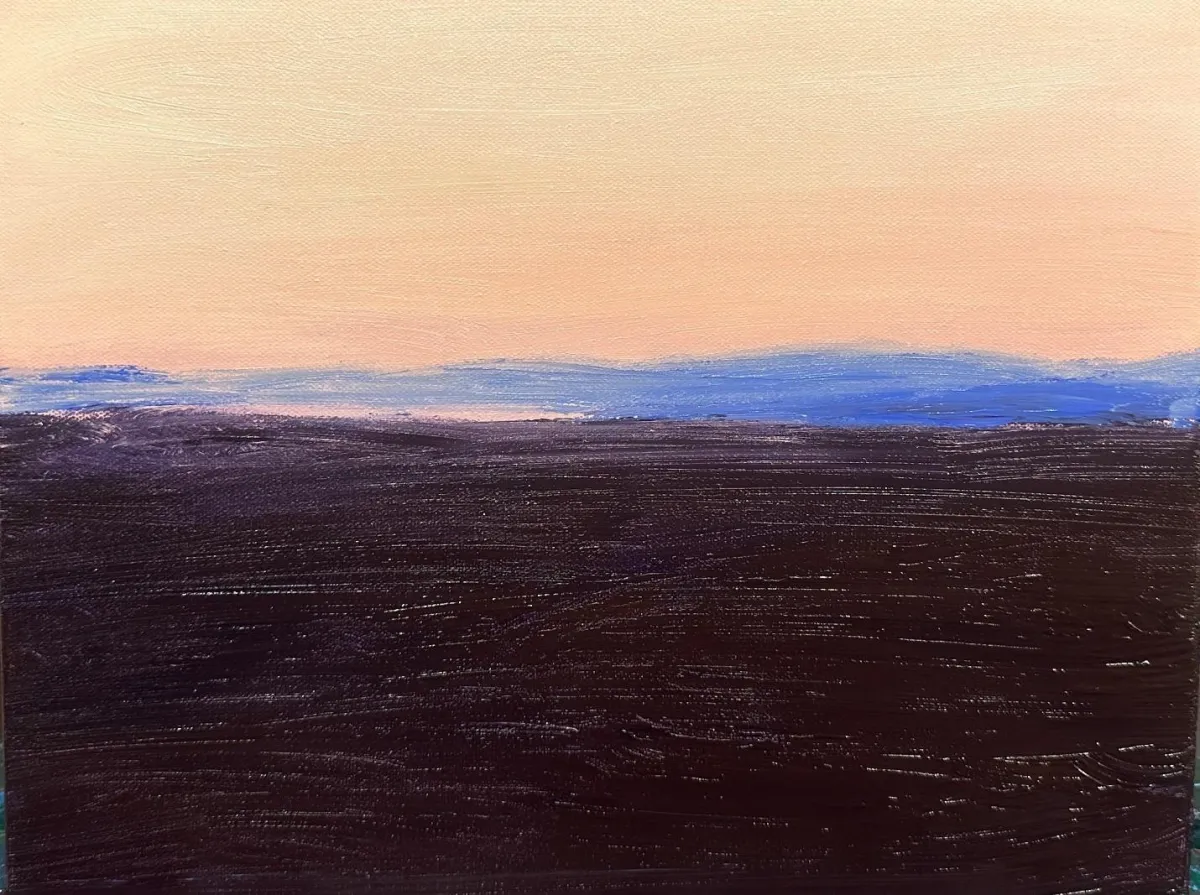
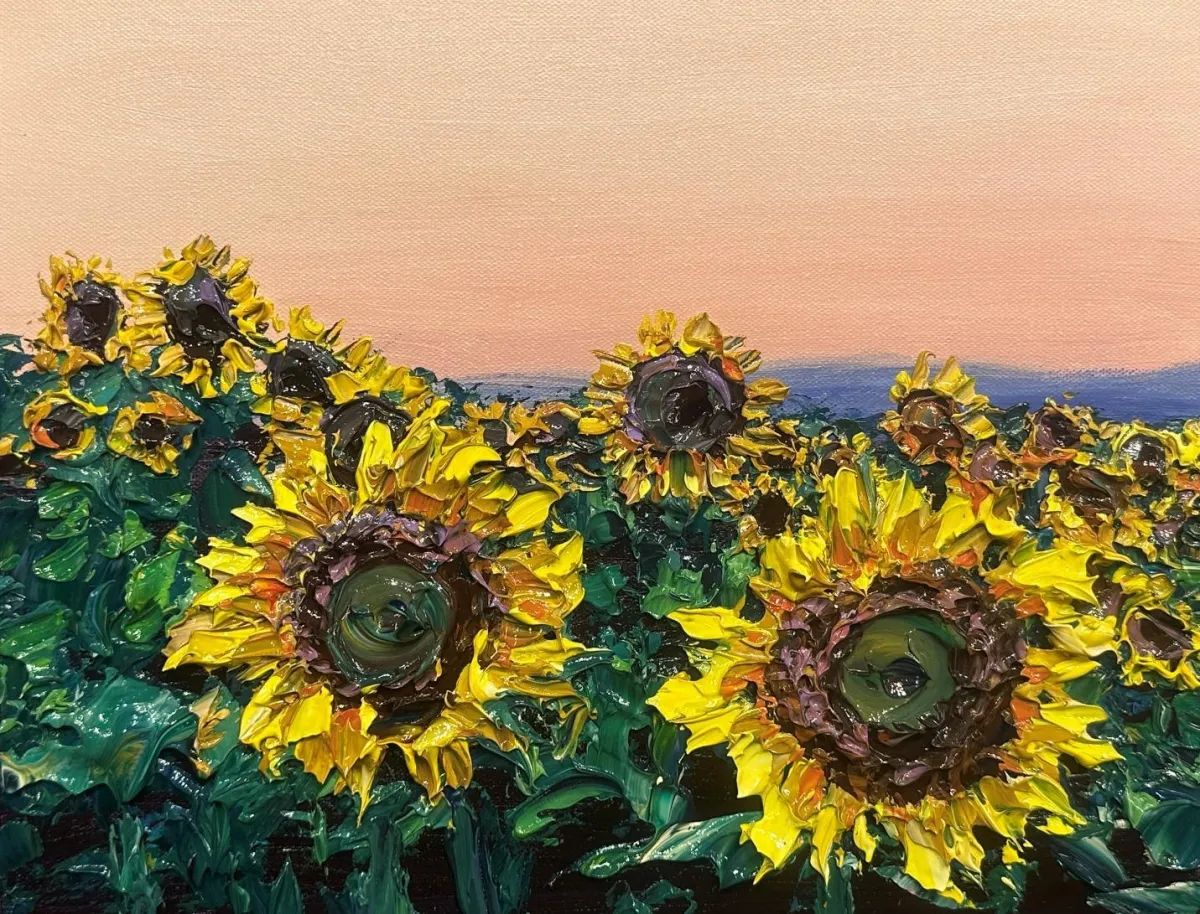
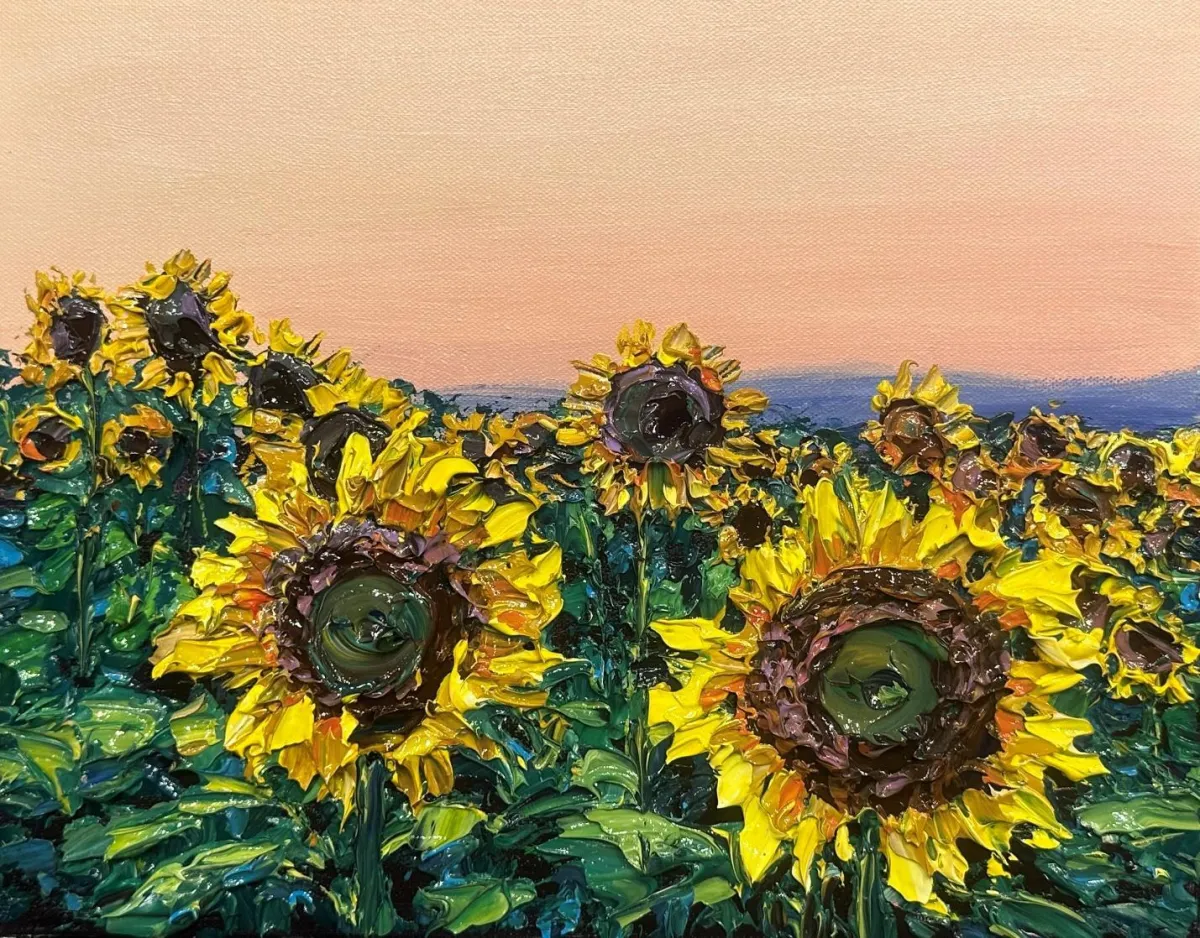
REFERENCE PHOTO
Introduction
Welcome to “Sunflower Dreams.” In this tutorial, we’ll create a dreamy, textured sunflower landscape starting with a glowing peachy pink sky and a soft mountain range in the distance. I’ll show you a shortcut technique that makes painting your background so much faster—something many of our new Dabblers have never seen before.
Then the fun really begins as we sculpt in a vibrant sunflower field using palette knives. I’ll guide you through exactly which knife works best for each part of the sunflower—centers, petals, and leaves—so your painting experience feels smooth, intuitive, and so much fun. You’ll be surprised how easy it becomes once you get the hang of it—even if this is your first time using a palette knife!
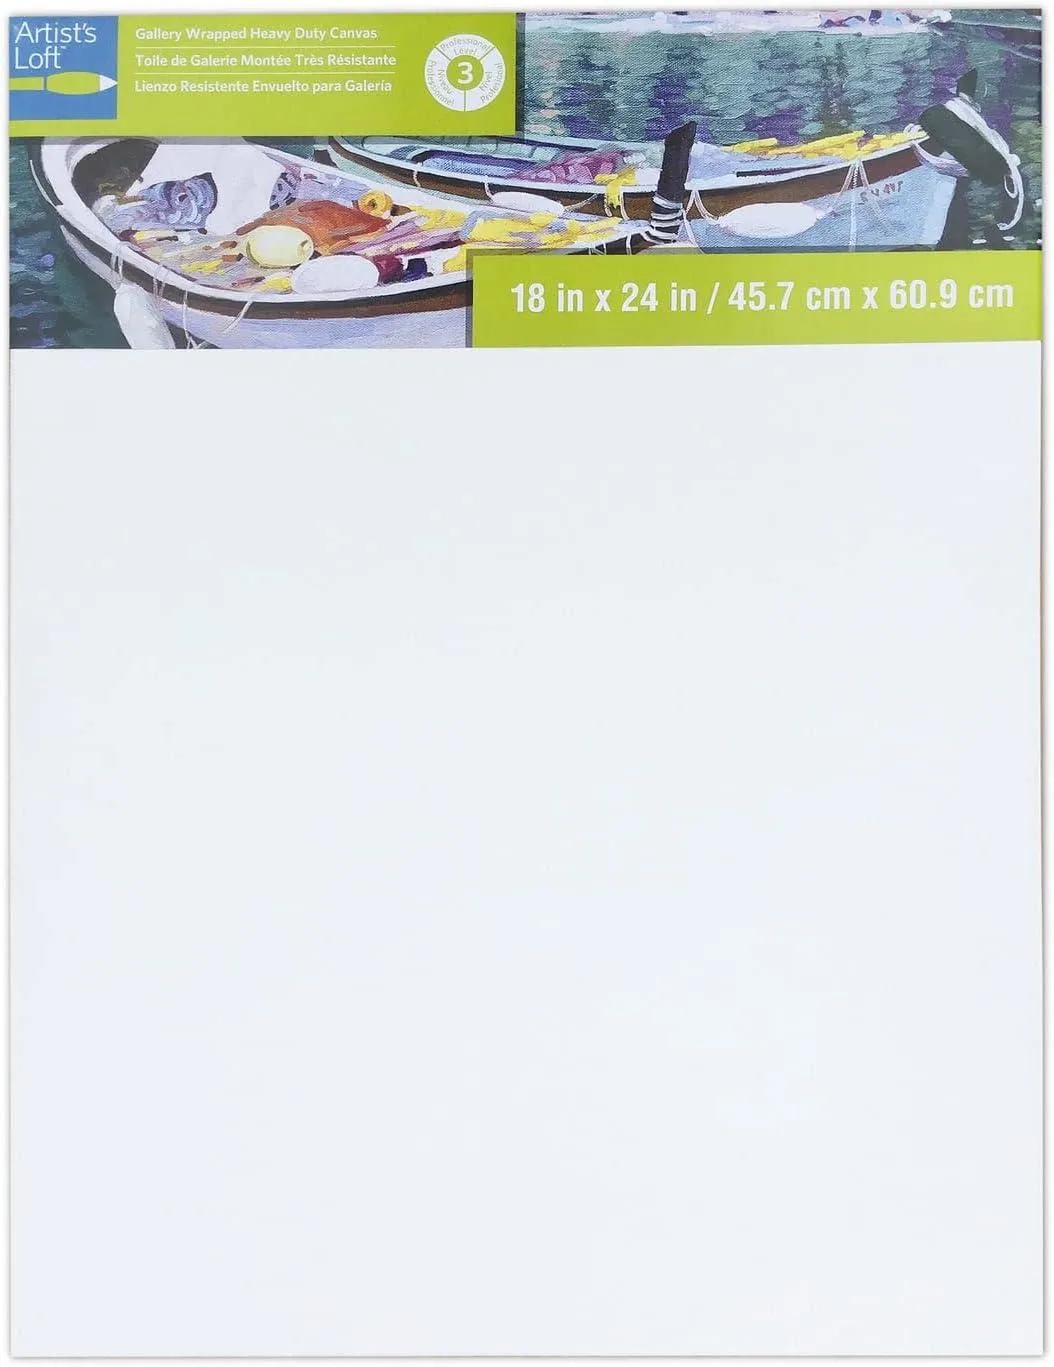
Our process follows a proven method that we use in all of our Let’s Dabble courses. Once you learn the steps here, you’ll be able to use the same approach to paint poppies, aspens, or any landscape your heart desires. Today, I am painting on an 11” x 14” gallery wrapped canvas. This scene will look great on any size so, use whatever size you want.
Let’s get started.
Best practice: Read through the entire lesson before you begin.
Materials used in my Let's Dabble Painting Course:
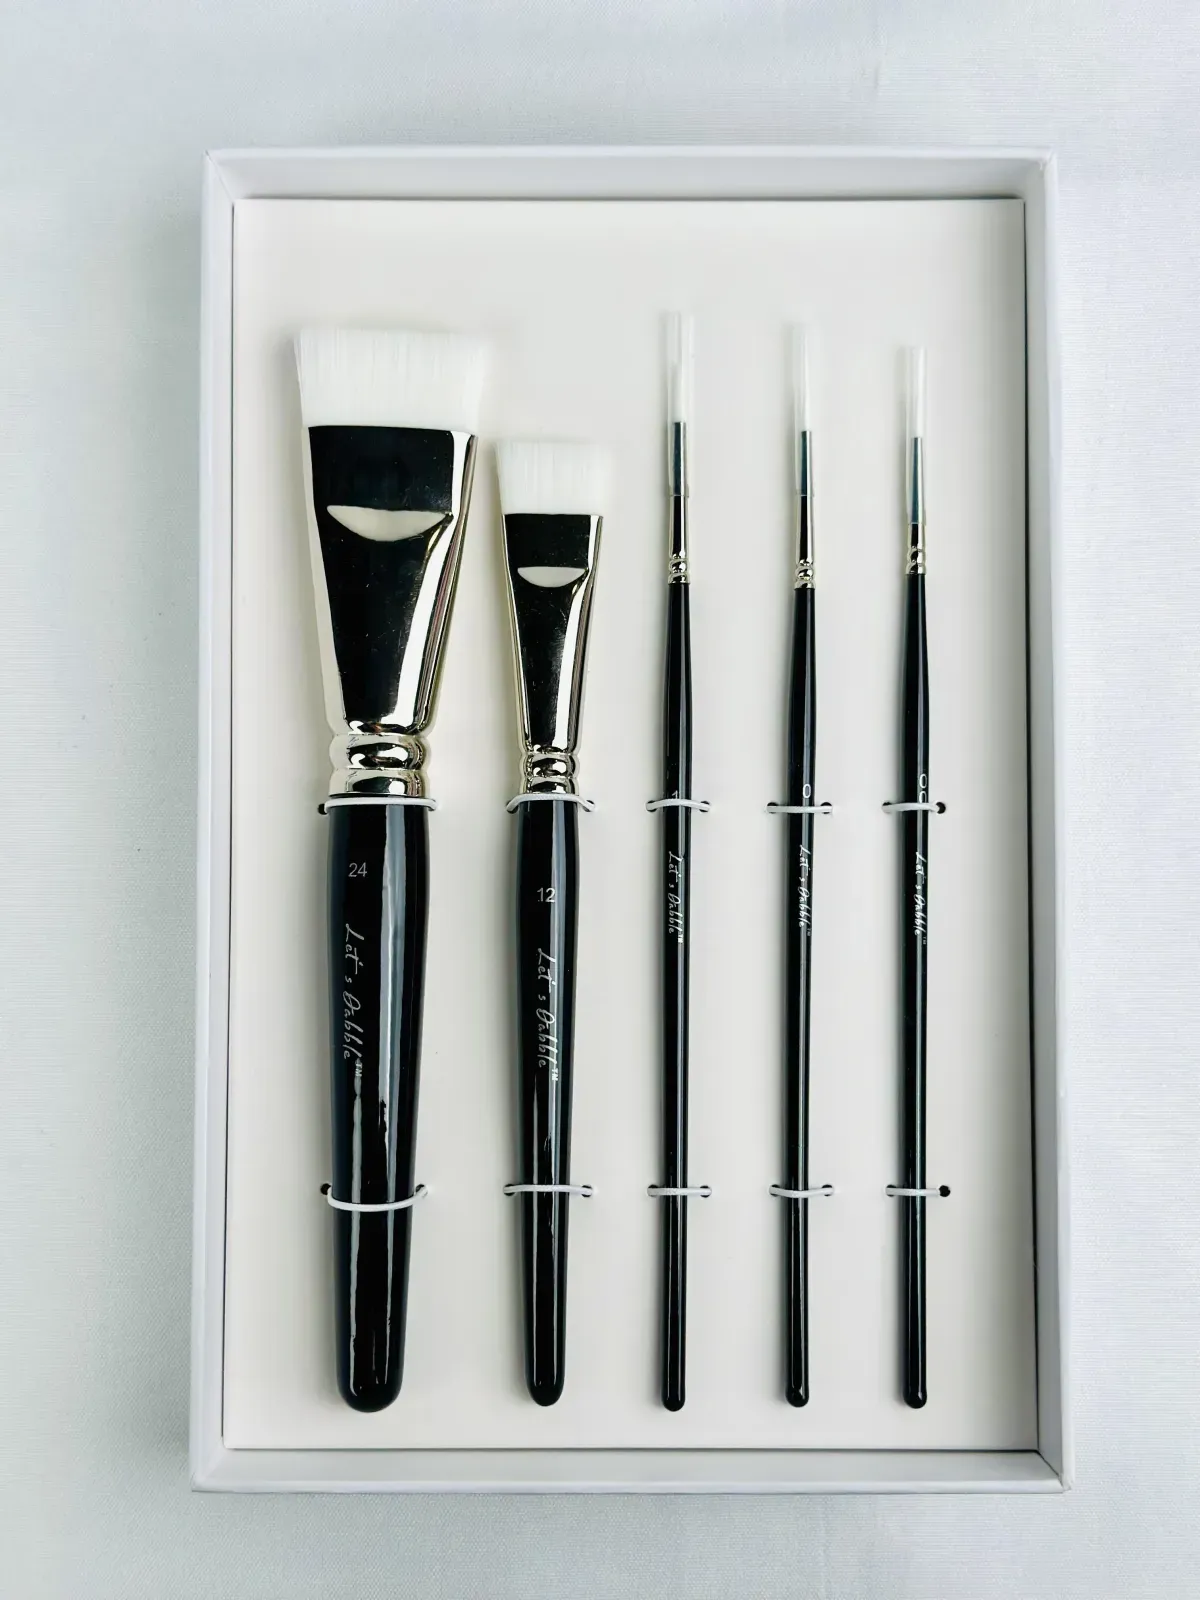
Let’s Dabble Palette Knives and Brushes

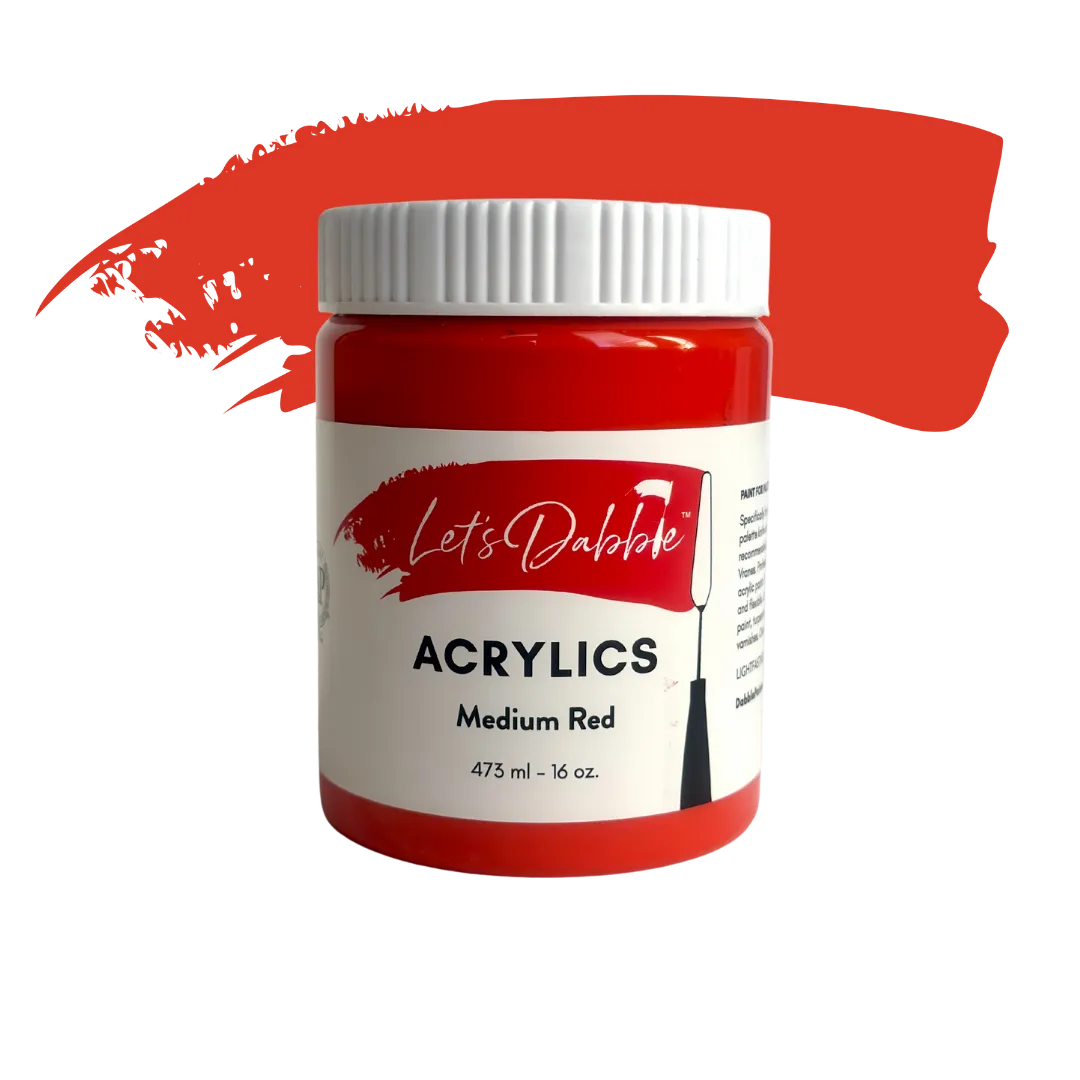
Let's Dabble Paints


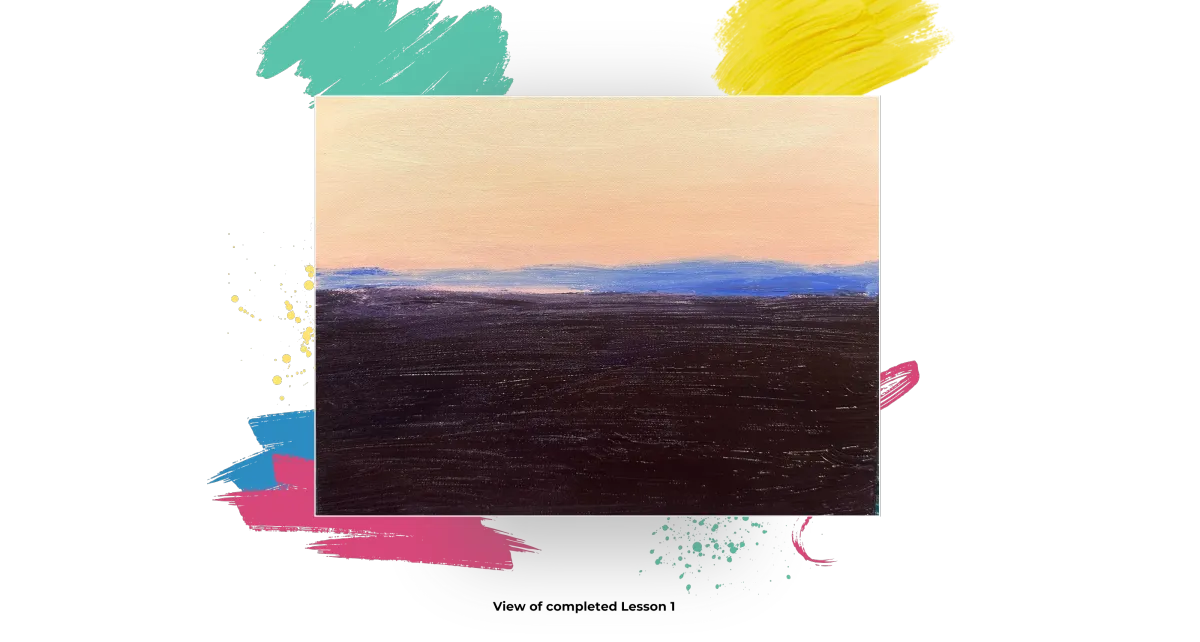
Lesson 1: The Background
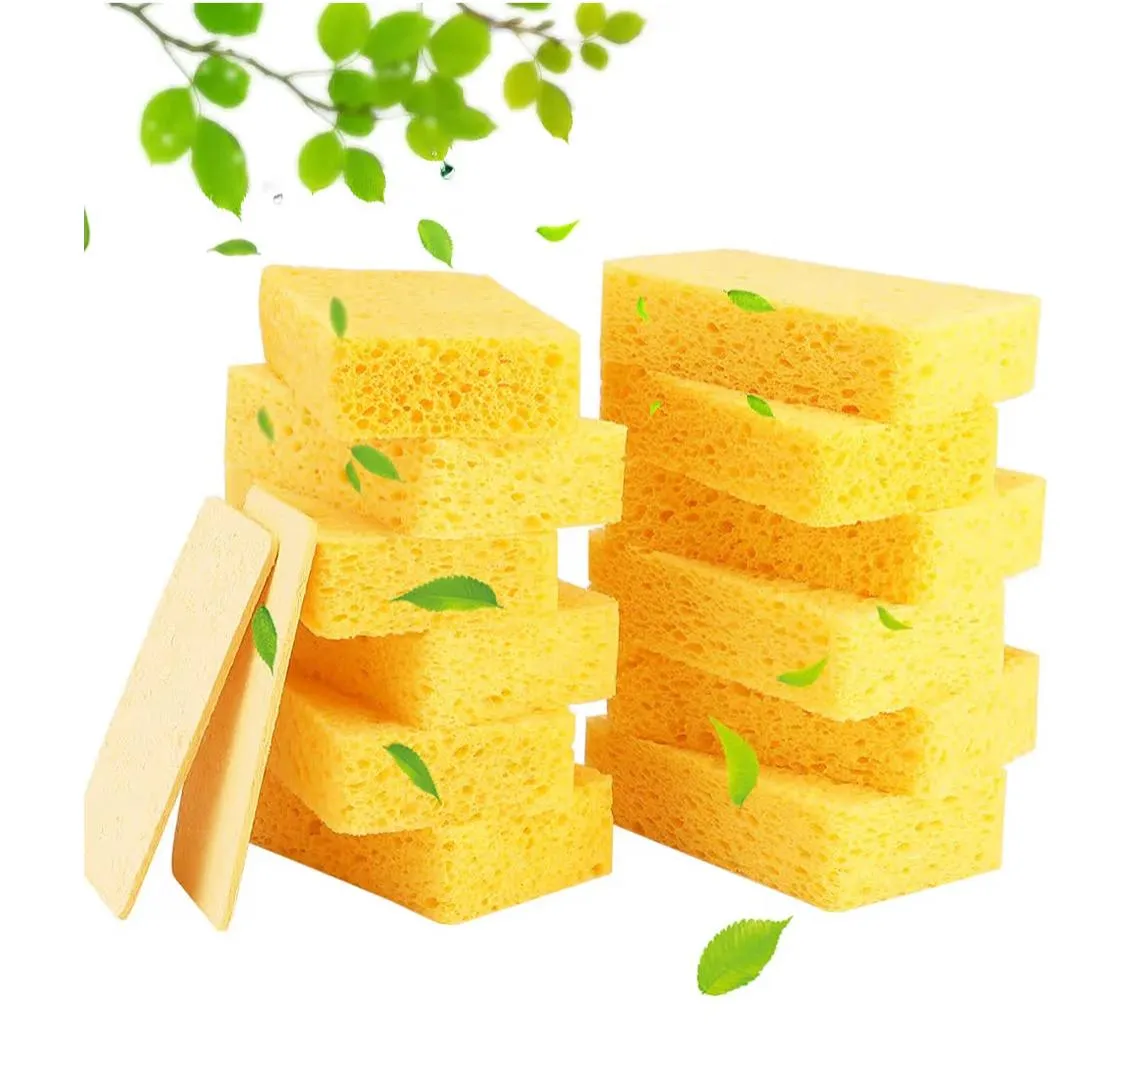
Sponge
Magenta
Yellow ochre
Medium red
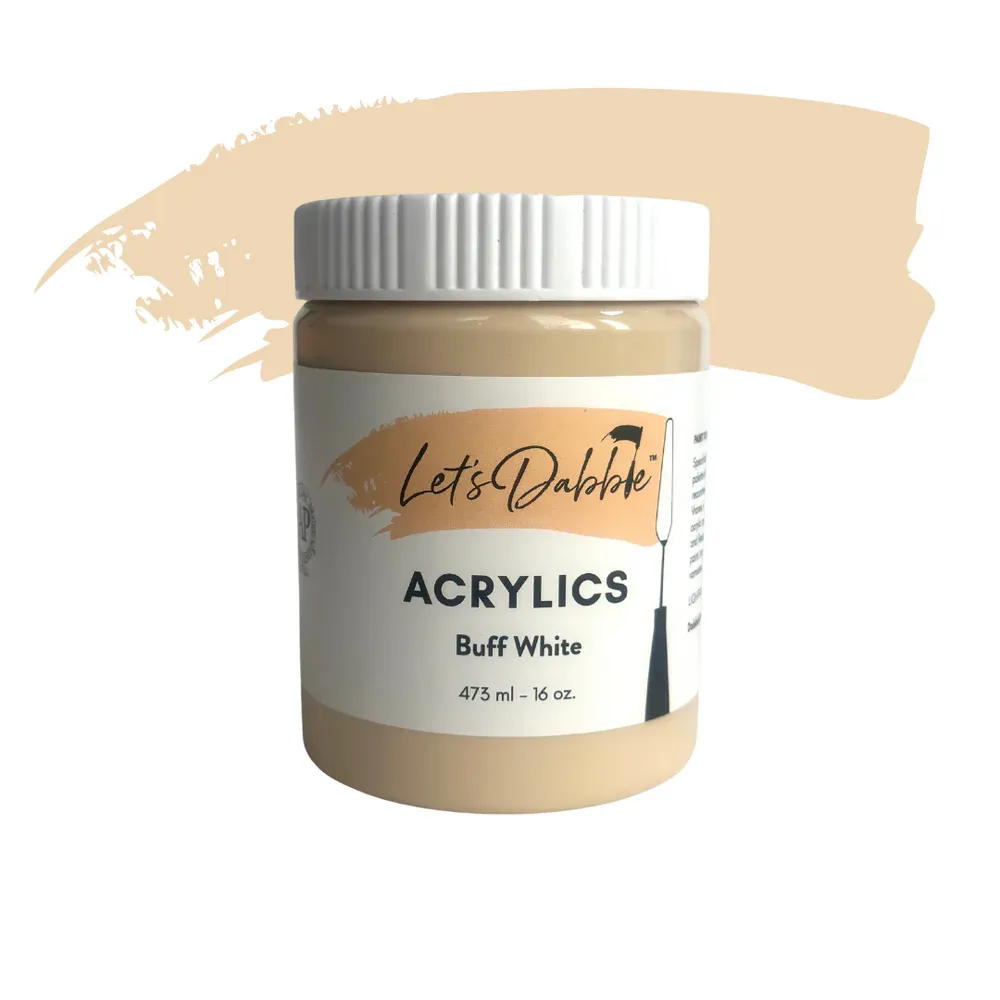
Buff white
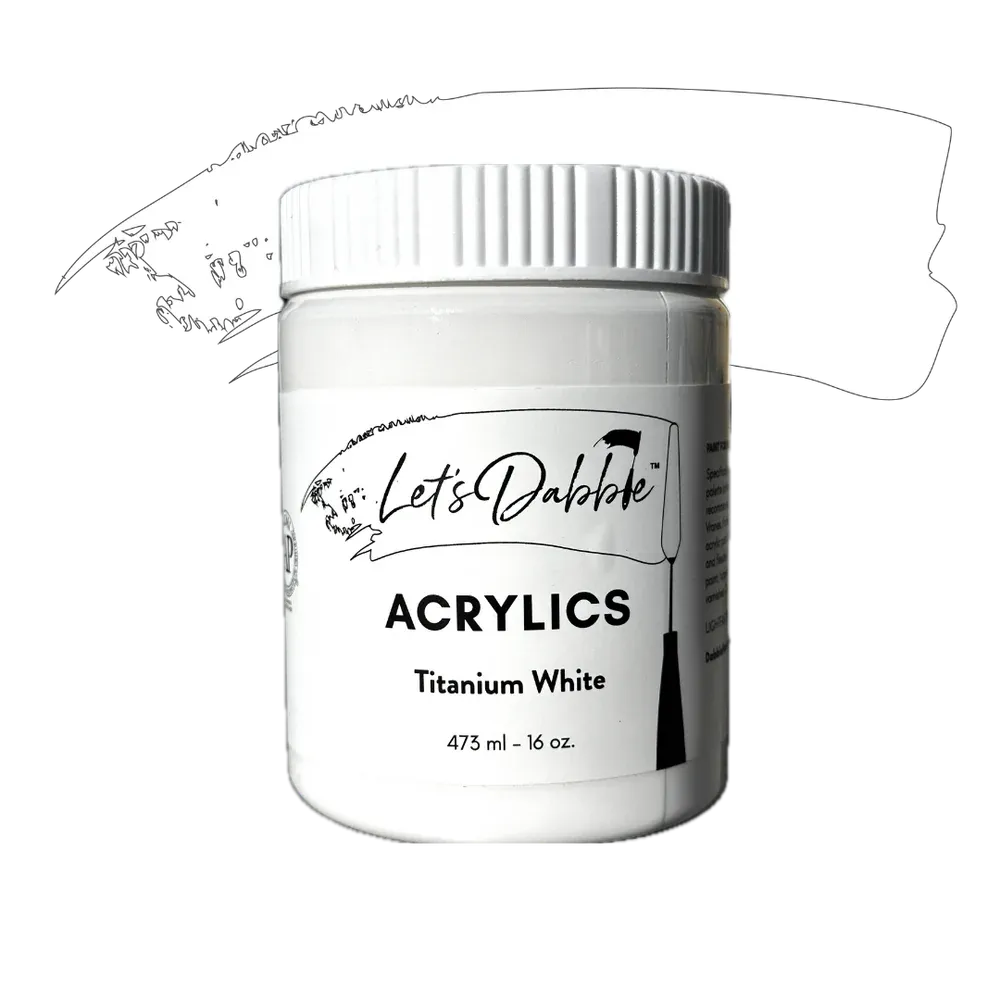
Titanium white
Brilliant purple
If your sponge has dried out, spritz it with water until it’s soft and pliable—but not dripping. Add the colors above to your palette.
The Sky
Using your sponge, mix a little bit of magenta, yellow ochre, medium red, buff white, and titanium white.
Pro tip: If you want it lighter, add more white. If you want it to be more pink, add more magenta. If you want it to be more peachy, add more yellow ochre.
Coat the back of your sponge, and do little circular motions. Go on the top—we want to get all the sides and the corners, so make sure you paint those too. Whatever you’re painting on the front, paint it on the sides as well. Carry this color down further than you think.
Now mix a little bit more buff white and a little white and go over it again. Layer your paint on: put one base coat down, and then go over the top with another. If you want to have more cloud formation, that is totally fine. Blend more, keeping that soft pink. You can even add a smidge of brilliant purple and mix it right into your pinky peach tone, adding a subtle hint at the base. If it comes off too strong, just grab your top color again and blend it in.
Distant Mountain
Make a new pile of ultramarine blue, light blue, and brilliant purple. Using your sponge, combine the colors. Look at your canvas and find the halfway mark. Go slightly above it and drag a line right across—even around the sides of your canvas. Map in a little hint of a mountain coming up. You can decide how much mountain you want to show—it doesn’t need to match a reference exactly. Use the corner of your sponge to add more light blue, a touch of purple, and a little white. Blend this into your soft sky to keep it dreamy and hazy. Remember to wrap the mountain around the sides for a more polished finish.
Underlayer for Greenery
This is your base tone before sculpting in any green—think of it like the earth underneath the flowers. Make a dark mix using burnt umber, a brilliant purple, and a bit of ultramarine blue. Use the opposite side of your sponge and coat it with this dark, rich mix. Dab and blend it into the bottom portion of your canvas, covering up the last of the white space. This will be the furthest part of your sunflower field.
Use your fingers if needed to help map in areas or blend. Make sure to paint the bottom and sides too. You want to cover the entire surface, including edges, so there’s no white canvas showing.
Pro tip: Use a quality Level 3 canvas if possible—it makes blending easier and gives your finished painting a more professional feel without needing a frame.
The Foreground
Mix a new pile of burnt umber, dark purple, and ultramarine blue. Using the opposite side of your sponge grab those colors then take it over to your canvas, and get rid of the rest of the white.
Then, pick up the canvas and paint the sides and very bottom.
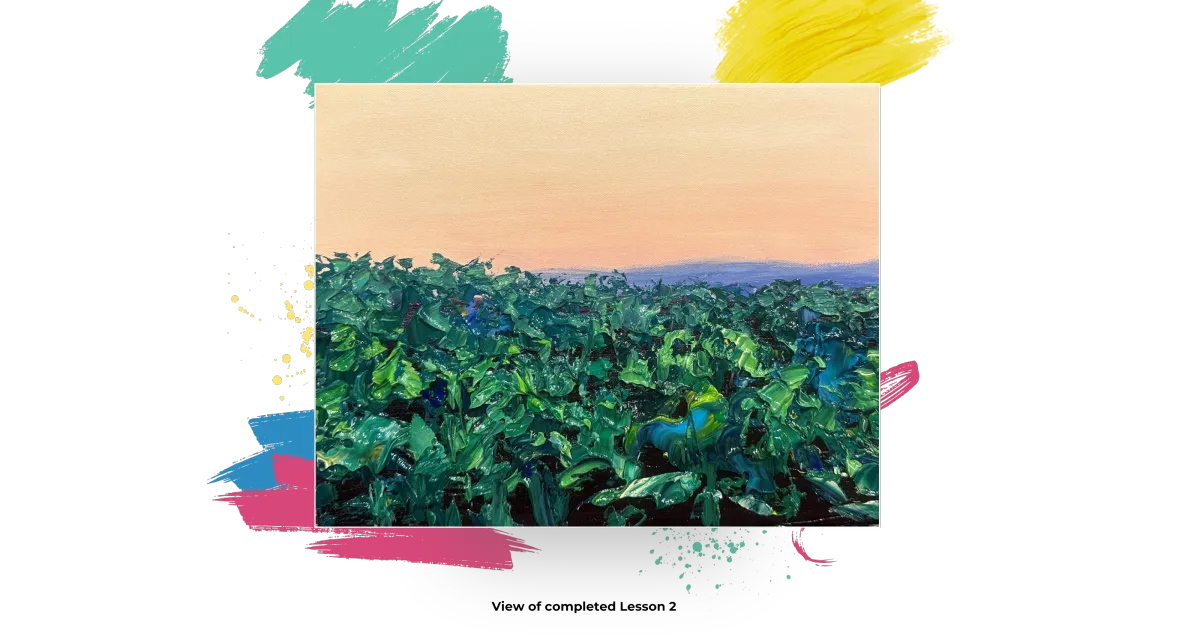
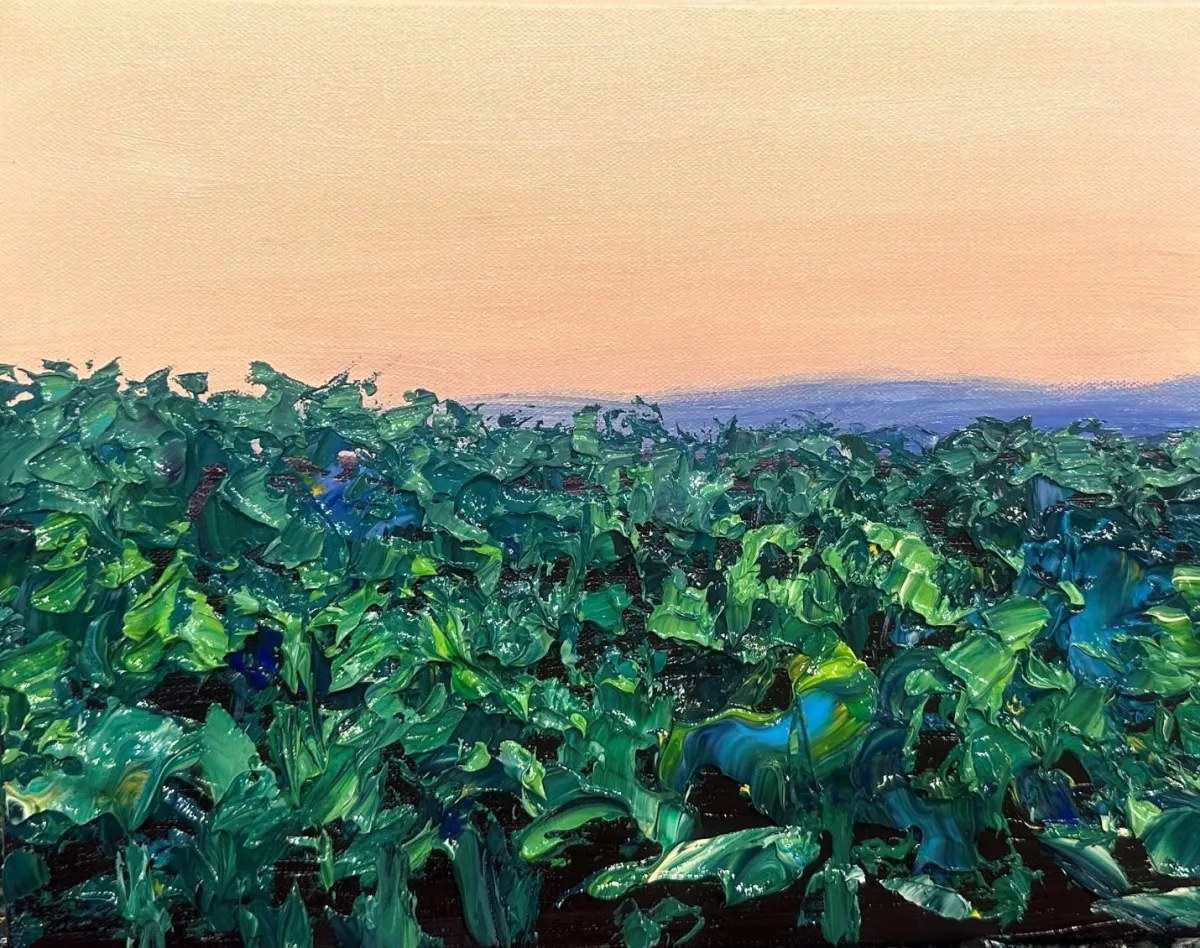
Lesson 2: The Greenery
#7 Let’s Dabble Art palette knife
Phthalo green
Light blue
Ultramarine blue
Lemon yellow
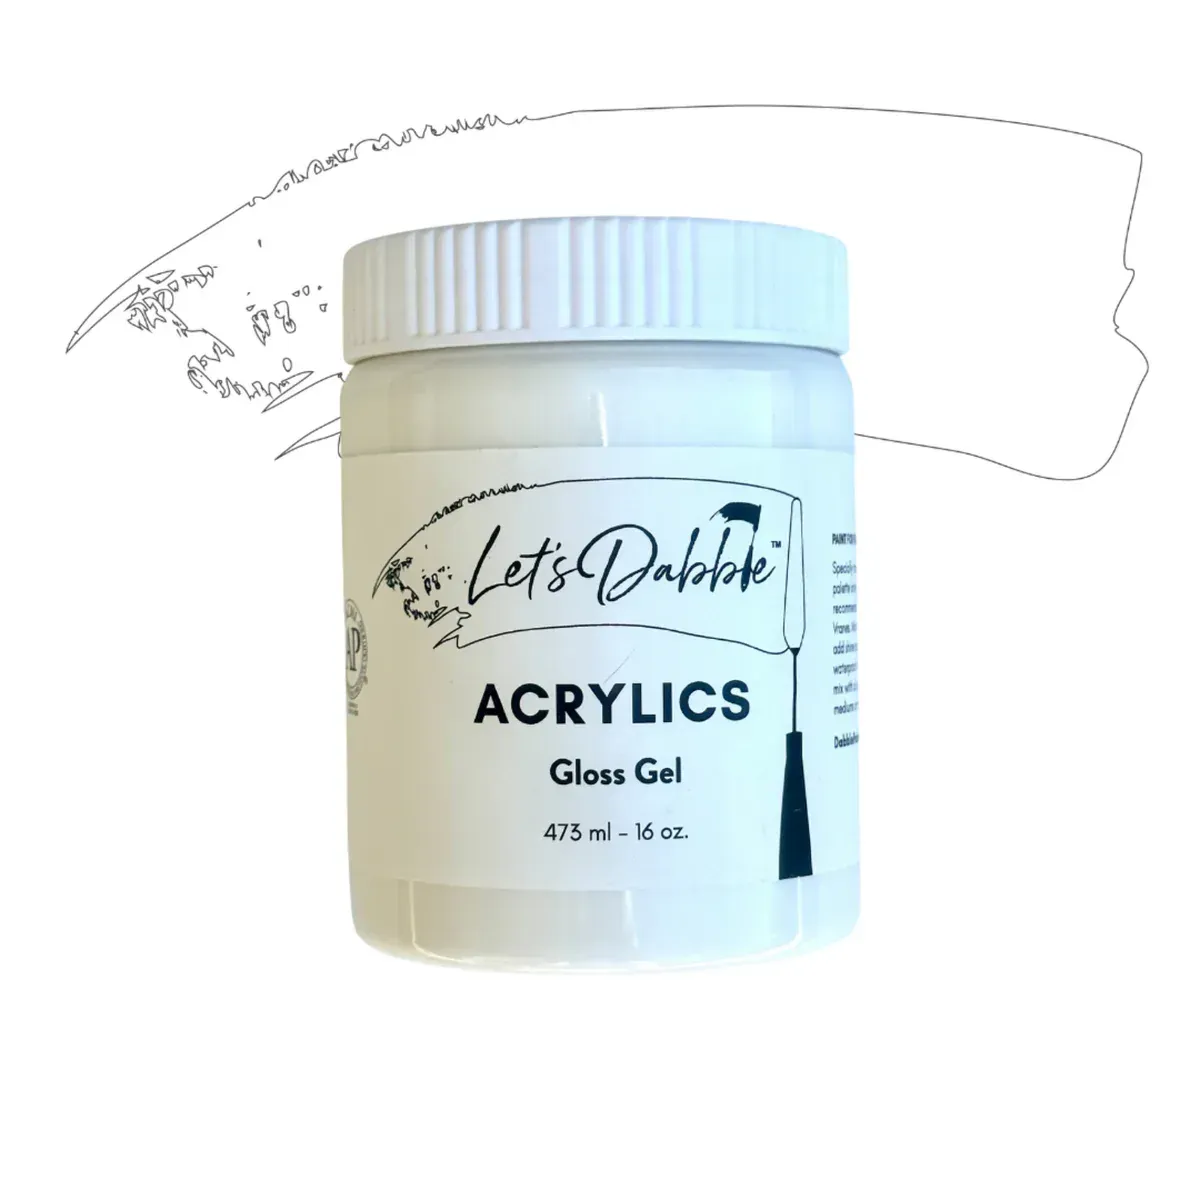
Gloss gel
Pro Tip: Gloss gel dries clear, so it takes on the color of your paint. It is a way to extend your paint. This is more economical than using all paint. Gloss gel also adds a bit of shine to your paint much like the look of oil paints. I mix it anywhere from about 30/50 gel/paint ratio to about 50/50.
Background Green
Multiple Colors
Start with a darker mix. Using the #7 knife, create a new pile of phthalo green, light blue, ultramarine blue, a small amount of yellow ochre, and gloss gel. Do not overmix—allow streaks of color to remain visible. Begin at the left mountain range. Scoop up the paint using the back of your palette knife and lay it down thickly over the brown underlayer, going up and over the horizon line.
Mix in a small amount of burnt umber (brown), gloss gel, ultramarine blue, and yellow ochre to enrich the tones. Add more ultramarine blue, phthalo green, and light blue as needed. Apply without blending too much to preserve natural color variation.
Paint around the sides of the canvas as well. Continue building texture by layering thick paint. To warm up the foreground tones, add lemon yellow and additional gloss gel to the mix.
For added depth and interest, incorporate a small amount of brilliant purple and a touch of pink. Let multiple colors show throughout the midground.
Once the dark tone is applied, scoop up a lighter shade by mixing lemon yellow and buff white into the green. Apply over the top in key areas to highlight and brighten. Be sure to coat the sides too.
To keep the distant background toned down and cool, mix in more light blue and ultramarine blue, then layer it gently over the top without smearing.
Break up any straight horizon lines by creating straggler leaves—pull upward strokes with the knife to suggest individual leaf shapes and add variety to the edges.
Clean your palette knife.
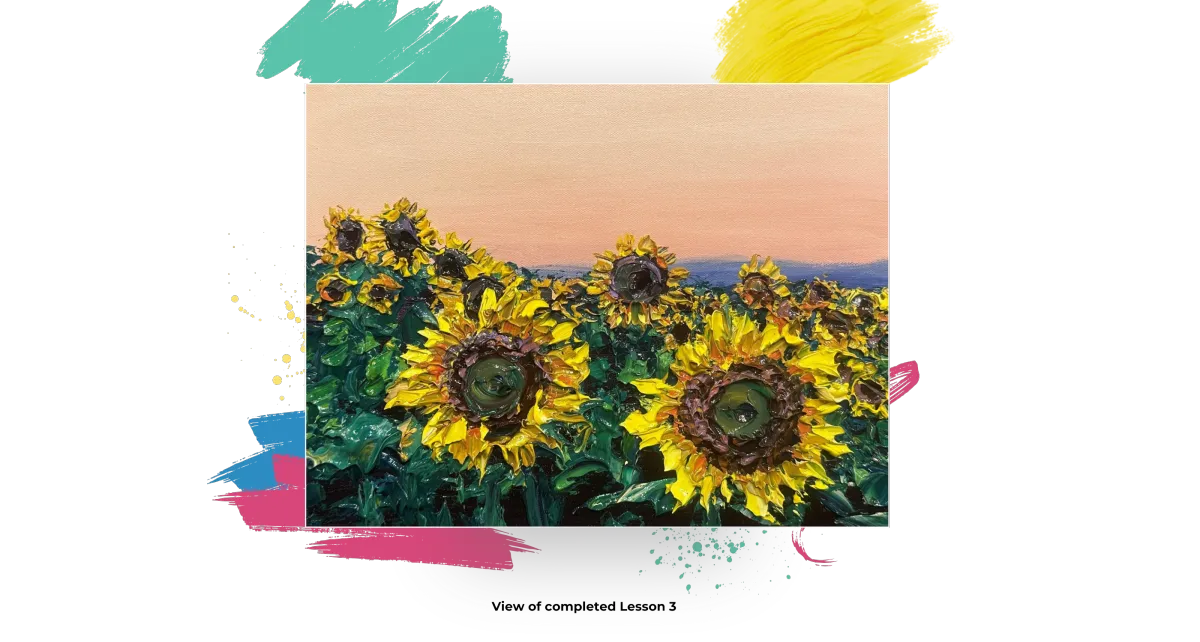
Lesson 3: The Sunflowers
#1 Let’s Dabble Art palette knife
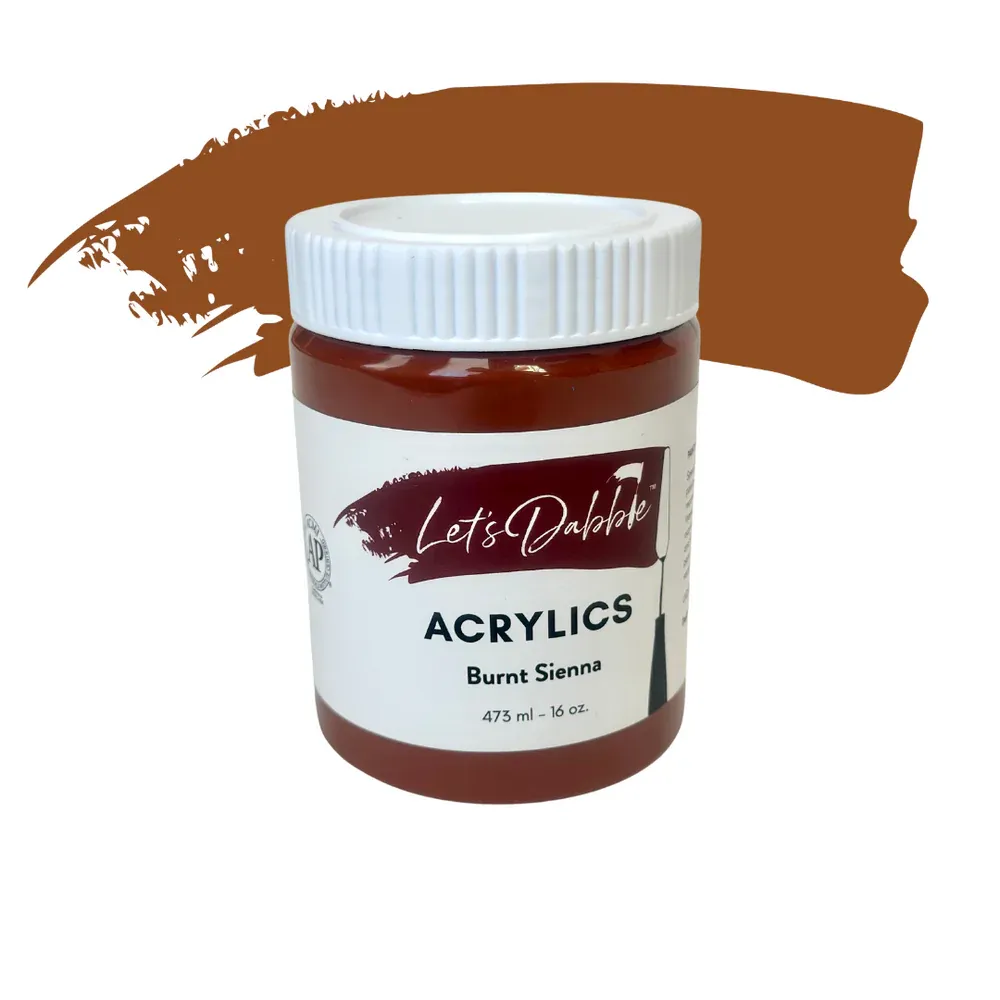
Burnt sienna
Yellow ochre
Lemon yellow
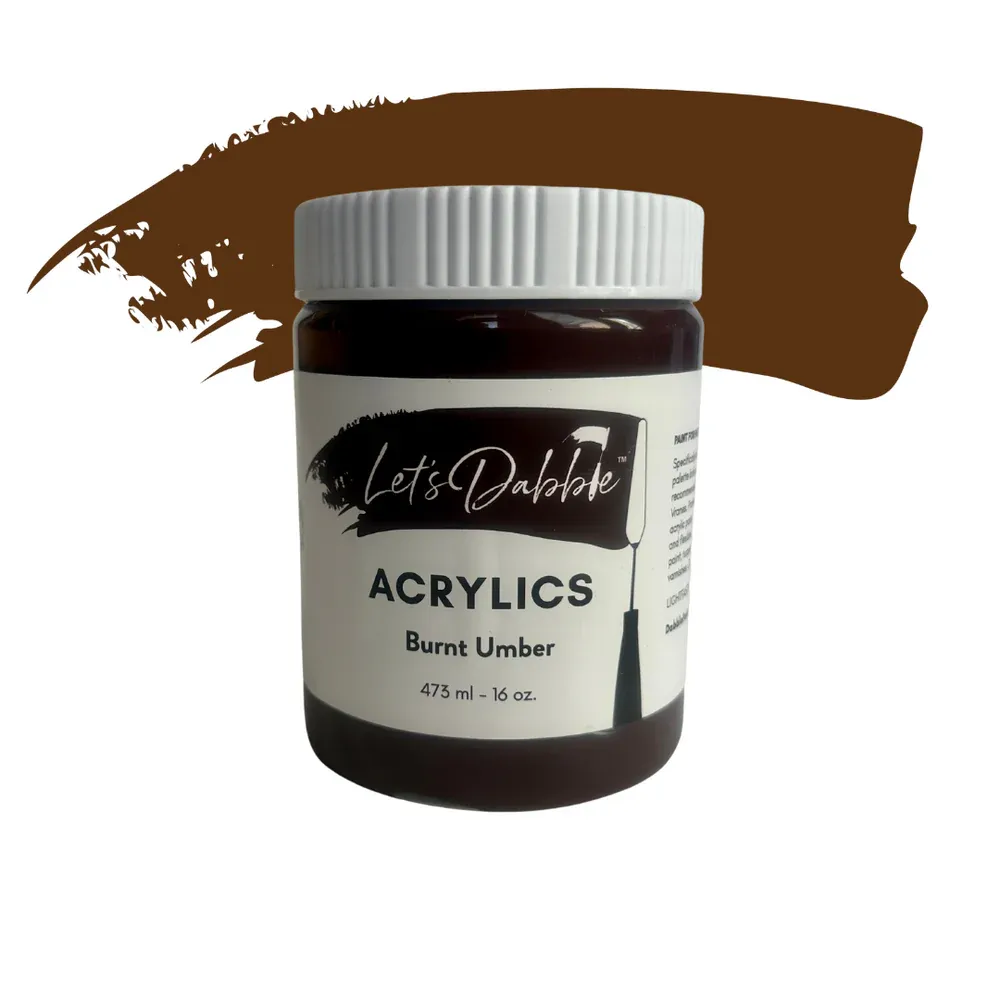
Previous colors: Burnt umber, Brilliant purple, White
Gloss gel
The Sunflowers
Start a little darker than you might think. Grab your #1 palette knife. From your first coat, scoop up paint using the back of your palette knife and begin adding small round sunflower centers at the top of the left mountain range. Add another center slightly off-center.
Mix a little burnt sienna and gloss gel into your dark brown mixture. Begin placing small sunflower centers in the background, working from the back forward. Cluster them closely together and work in groupings. Don’t forget to wrap some around the sides of the canvas.
Scoop up as much paint as possible and form two larger sunflower centers in the foreground. Vary the placement slightly to avoid symmetry—one can be pulled down lower. Use up extra dark brown here for added texture and thickness, helping these foreground flowers pop.
Use some of the green to tap around the center for contrast. Keep the darkest color concentrated in the middle.
On the pink-toned area of the palette, mix yellow ochre, burnt sienna, and gloss gel. Dab lightly over the sunflower centers to create subtle ridges and dimension. Add a small amount of magenta and brilliant purple to introduce pops of color.
In the background green mix, add burnt sienna and a touch of light purple. Give the area around the flower centers a quick coat, keeping the center dark. Switch to the #7 knife if needed to help navigate tighter areas. Dab in lighter burnt sienna with some pink to soften edges and enrich texture.
Clean your palette knife before continuing.
Sunflowers Leaves / Petals
On the pink sky color, mix yellow ochre, burnt sienna, lemon yellow and gloss gel.vUsing the point of your #7 palette knife, start with the smaller flowers in the back and begin adding petals. Petals can be grouped or loosely scattered—no need to define every single one. Let the palette knife guide you. Start at the base of the flower center and pull outward.
For flowers facing sideways, adjust petal placement to match the oval center shape. Allow the brown centers to show through some of the petals for added definition.
Move from one center to the next, adding yellow accents. For smaller background flowers, simply edge around the center using the knife tip. Don’t forget the sides of the canvas.
Scoop up multiple colors at once—lemon yellow, yellow ochre, and pink—for natural variation. Keep petals shorter to avoid a daisy-like appearance.
For larger flowers in the front, follow the same method. To deepen the shadows at the base of petals, add burnt sienna and yellow ochre. An optional touch of orange can also be mixed in to warm the tones.
The Highlights
Once darks are in place, highlight petal tips by mixing:
Lemon yellow
White
Focus highlights on the outer edges of the petals.
Pro Tip: Lay in grouped petals by going sideways with the palette knife.
Bring in more lemon yellow to brighten the petal tips. Mix in medium red with yellow to create a warm orange hue—dab that in for extra vibrancy. Repeat this on the second large sunflower. Take yellow ochre and pull through the orange to blend softly into the petal body.
Clean your knife.
As long as the sunflower centers are placed, surrounded by yellows, hints of orange, and ochre-toned petals, you're right on track.

Lesson 4: The Foreground
#7 Let’s Dabble Art palette knife
All previous colors
Welcome to Lesson 4! This is the part where we come through and do the stems of the sunflowers and some major leaves in the front.
The Leaves
To your greens, mix in some phthalo green, yellow and gloss gel using your #7 knife. Using the back of your knife, scoop up as thick as you can and add a leaf to your big sunflowers. This needs to be the thickest so it will look like it's 3D. Add more leaves by laying it down. Use the edge of your knife like a ruler and add some stem.
Mix in some light blue to the green and push it in the background to make a bluish green tone at the back.
Going back to the leaves, scoop in some lemon yellow and some white mix it to your green. Now that you got the texture of some of your leaves, edge it with that lighter lemony yellow green mixture to bring those big sunflower leaves in the font forward.
The Stems
Using the edge of your knife, add your stems by going to the dark green tone first and then drag it down.
Create some of the lighter leaves over the dark like a little highlight.
Make the lightest tone and connect some of the leaves to the stem of the sunflower.
Put your leaves in different places but with the same technique. Start with the dark tone then highlight it with some of the lemon yellow in with the green.
Inside that little sunflower center, I’m adding a little bit more of that lighter green.
Stand back and see if there’s anything you want to add. After you get all the light greens, the leaves and foreground, let it dry and clean your knife.
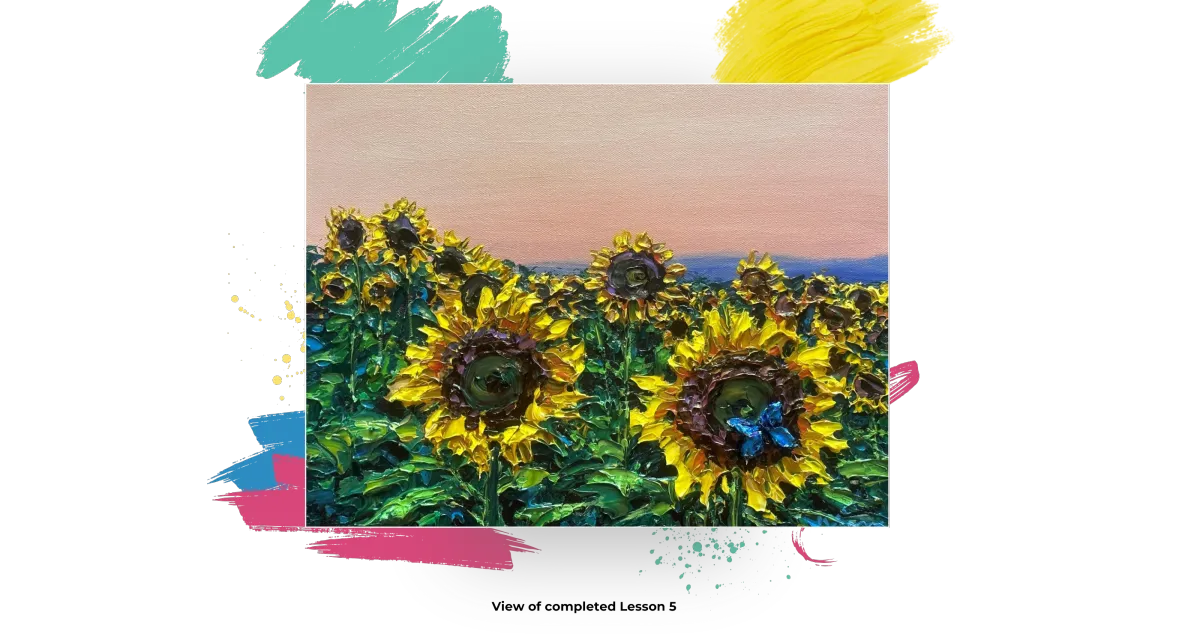
Lesson 5: Fine-Tune
#7 Let’s Dabble Art palette knife, #00 Let’s Dabble Art brush and baby wipes
Lemon yellow
Titanium white
Phthalo green
Light blue
Ultramarine blue
Yellow ochre
Gloss gel
By now, your painting should be all dried. Now step back, evaluate, and make tweaks if you need to. Just look for what might need to be added. Your painting will be different from mine, but hopefully, you can see the process I go through to add that something extra to make this painting all I can...Let’s get started!
Fine-Tuning
Using your #7 knife, mix a little bit of lemon yellow, white and gloss gel. At the little tips of the petals of your big sunflowers, go through and add a little bit more brightness where the sunlight is coming through. Do it on the very tips of your distant sunflowers.
I’m also adding a little bit to the background to keep it a different tone to push them back but not too much and not every petal. Add some yellow ochre.
On your yellows, mix in some phthalo green, yellow ochre and put the paint underneath.
Pro tip: If it’s too bright you can tone it down with a little bit of ultramarine blue and phthalo green and you can get the darks in there.
Using my #00 brush, I’m going to highlight the stems with the lightest shade of green.
Use the same brush for your sunflower leaves. Don’t forget the sides too.
Step back and look. Make any remaining changes you want. You don’t want to overwork it. Keep the texture and colors coming through. Clean up some of the leaves if you want it. Then it’s time for you to sign your painting.
Clean up your knife and brush.
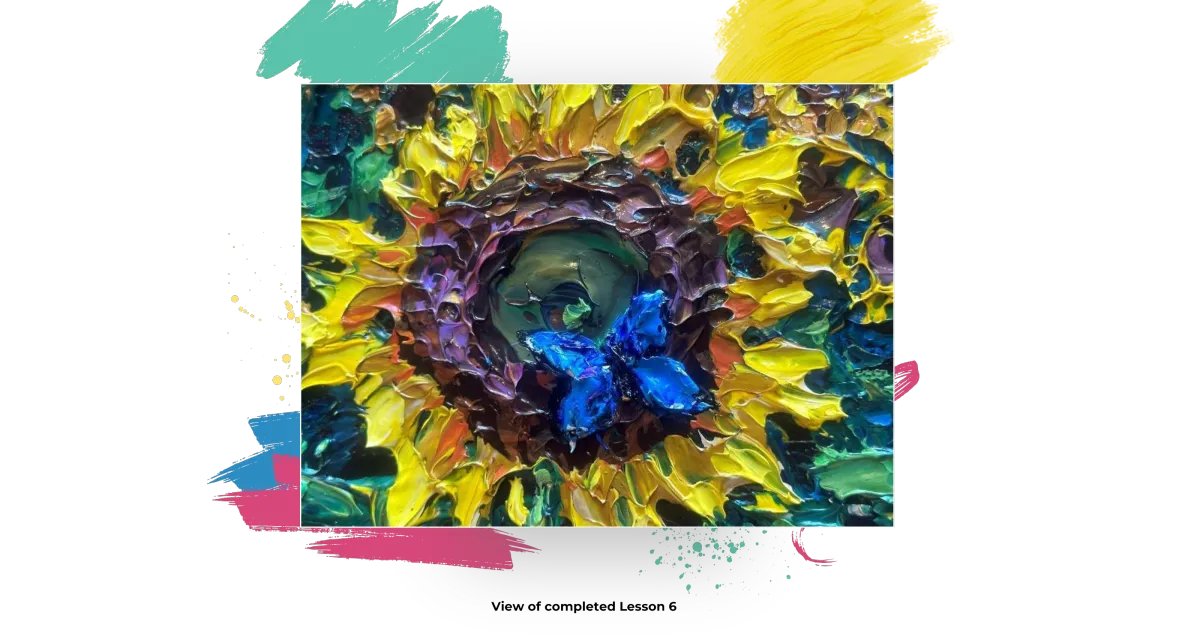
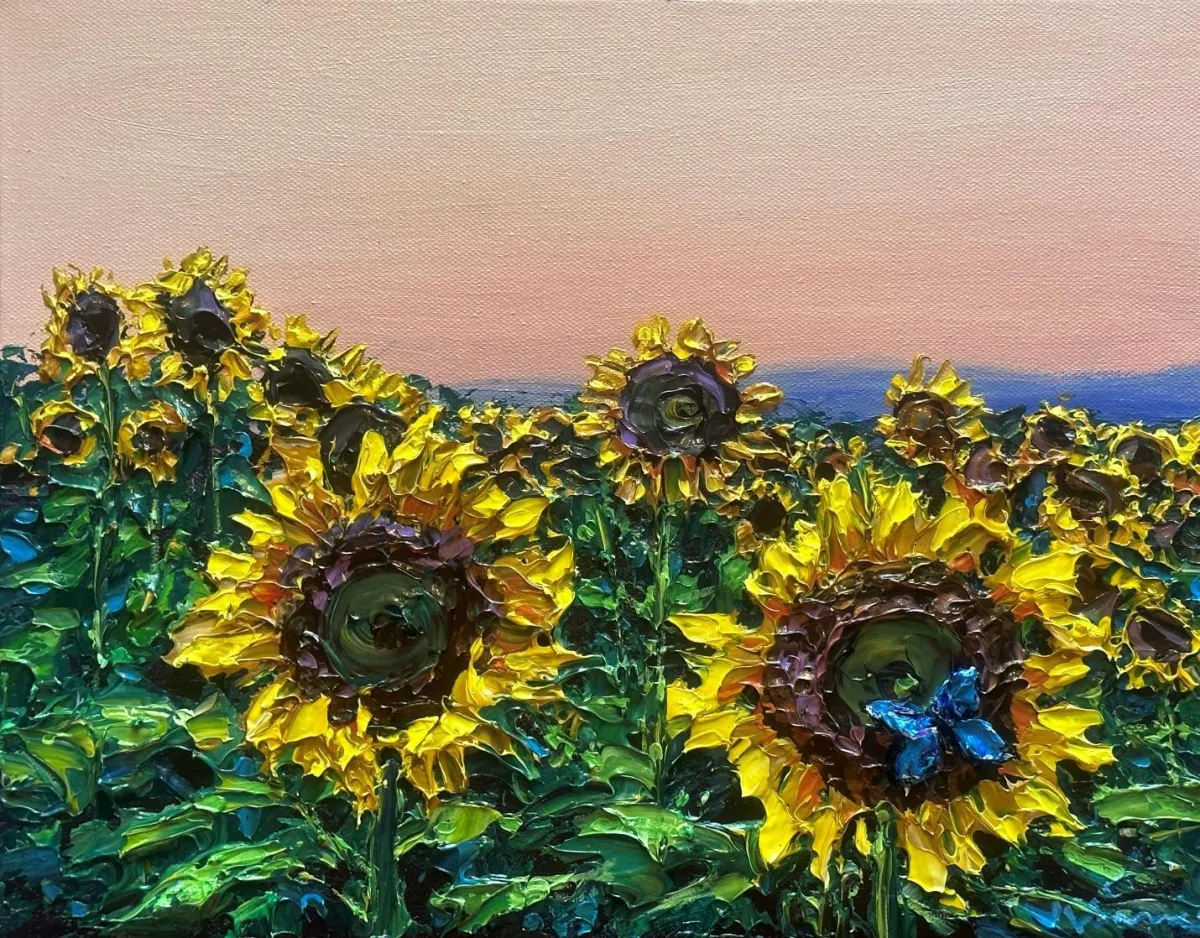
Lesson 6: Bonus Butterfly and Signature
#12 Let’s Dabble Art brush and #7 Let’s Dabble Art palette knife
Light blue
Ultramarine blue
Black
Gloss gel
Paint skins
All the previous colors
Welcome to the surprise lesson! I can’t wait to show you this. These are the exact methods that I would create a butterfly no matter what kind of painting I’m doing. So you can take this and add a butterfly to any of your future paintings.
Sketching the Butterfly
Start darker. Using your brush, mix some light blue and ultramarine blue. You can add your butterfly anywhere you want, I’m putting mine on the right corner of my big sunflower and sketching in a loose butterfly. It doesn’t have to be perfect.
If you want to do a special butterfly you can google any butterfly you want. You can also use your #1 brush when creating it.
Once you’re done, grab your black dip your brush on paint and put a line in between the wings.
Adding Texture
Now grab your #7 knife, mix light blue, ultramarine blue and a little gloss gel scoop up using the edge of your knife and apply it to its wings. Make it thicker so it pops out.
Now I’m adding some white, light blue, and a little gloss gel and once you have the texture, let’s eliminate it by loading it up a little bit more. You can change out the colors whatever you want. For the center, grab some black using the edge of your knife and load up the center thickly.
Sketching the Butterfly
When I scraped up, I saved some skins. I pick up all the blue colors, break them apart and go to your canvas and since it’s wet, press it to the paint, it will act like glue.
Pro tip: If you no longer have wet paint exposed, what you do is dip it into the gloss gel. It will dry clear after.
Keep going as thick as you want. You can turn it over and decide which side you want.
Take your brush, dip it in the black, and build some edge, do a little thicker body and its antenna. Edge your butterfly with the black. You can also take the white and dip it in your light blue, and add a little bit more if needed.
You can grab whatever color you have behind your sunflower and clean up your butterfly. Mine is burnt sienna.
Your Signature
To make it easier to paint your signature, spritz a tiny bit of water into the paint to make it more fluid if it needs it. Twist your clean #00 brush right through light blue wih some titanium white or whatever color you want on your palette. Then carve your name right in the wet paint in the bottom right corner. I wipe my brush with a baby wipe after each letter and then reload the brush with paint.
Name your painting with a unique name. Congratulations, you are almost done. Now it’s time to sign the back. I use a thin black permanent marker.
I put © and my name.
Then I put up my website.
Next, I put the title in all caps and in quotes.
Last, I put my full signature.