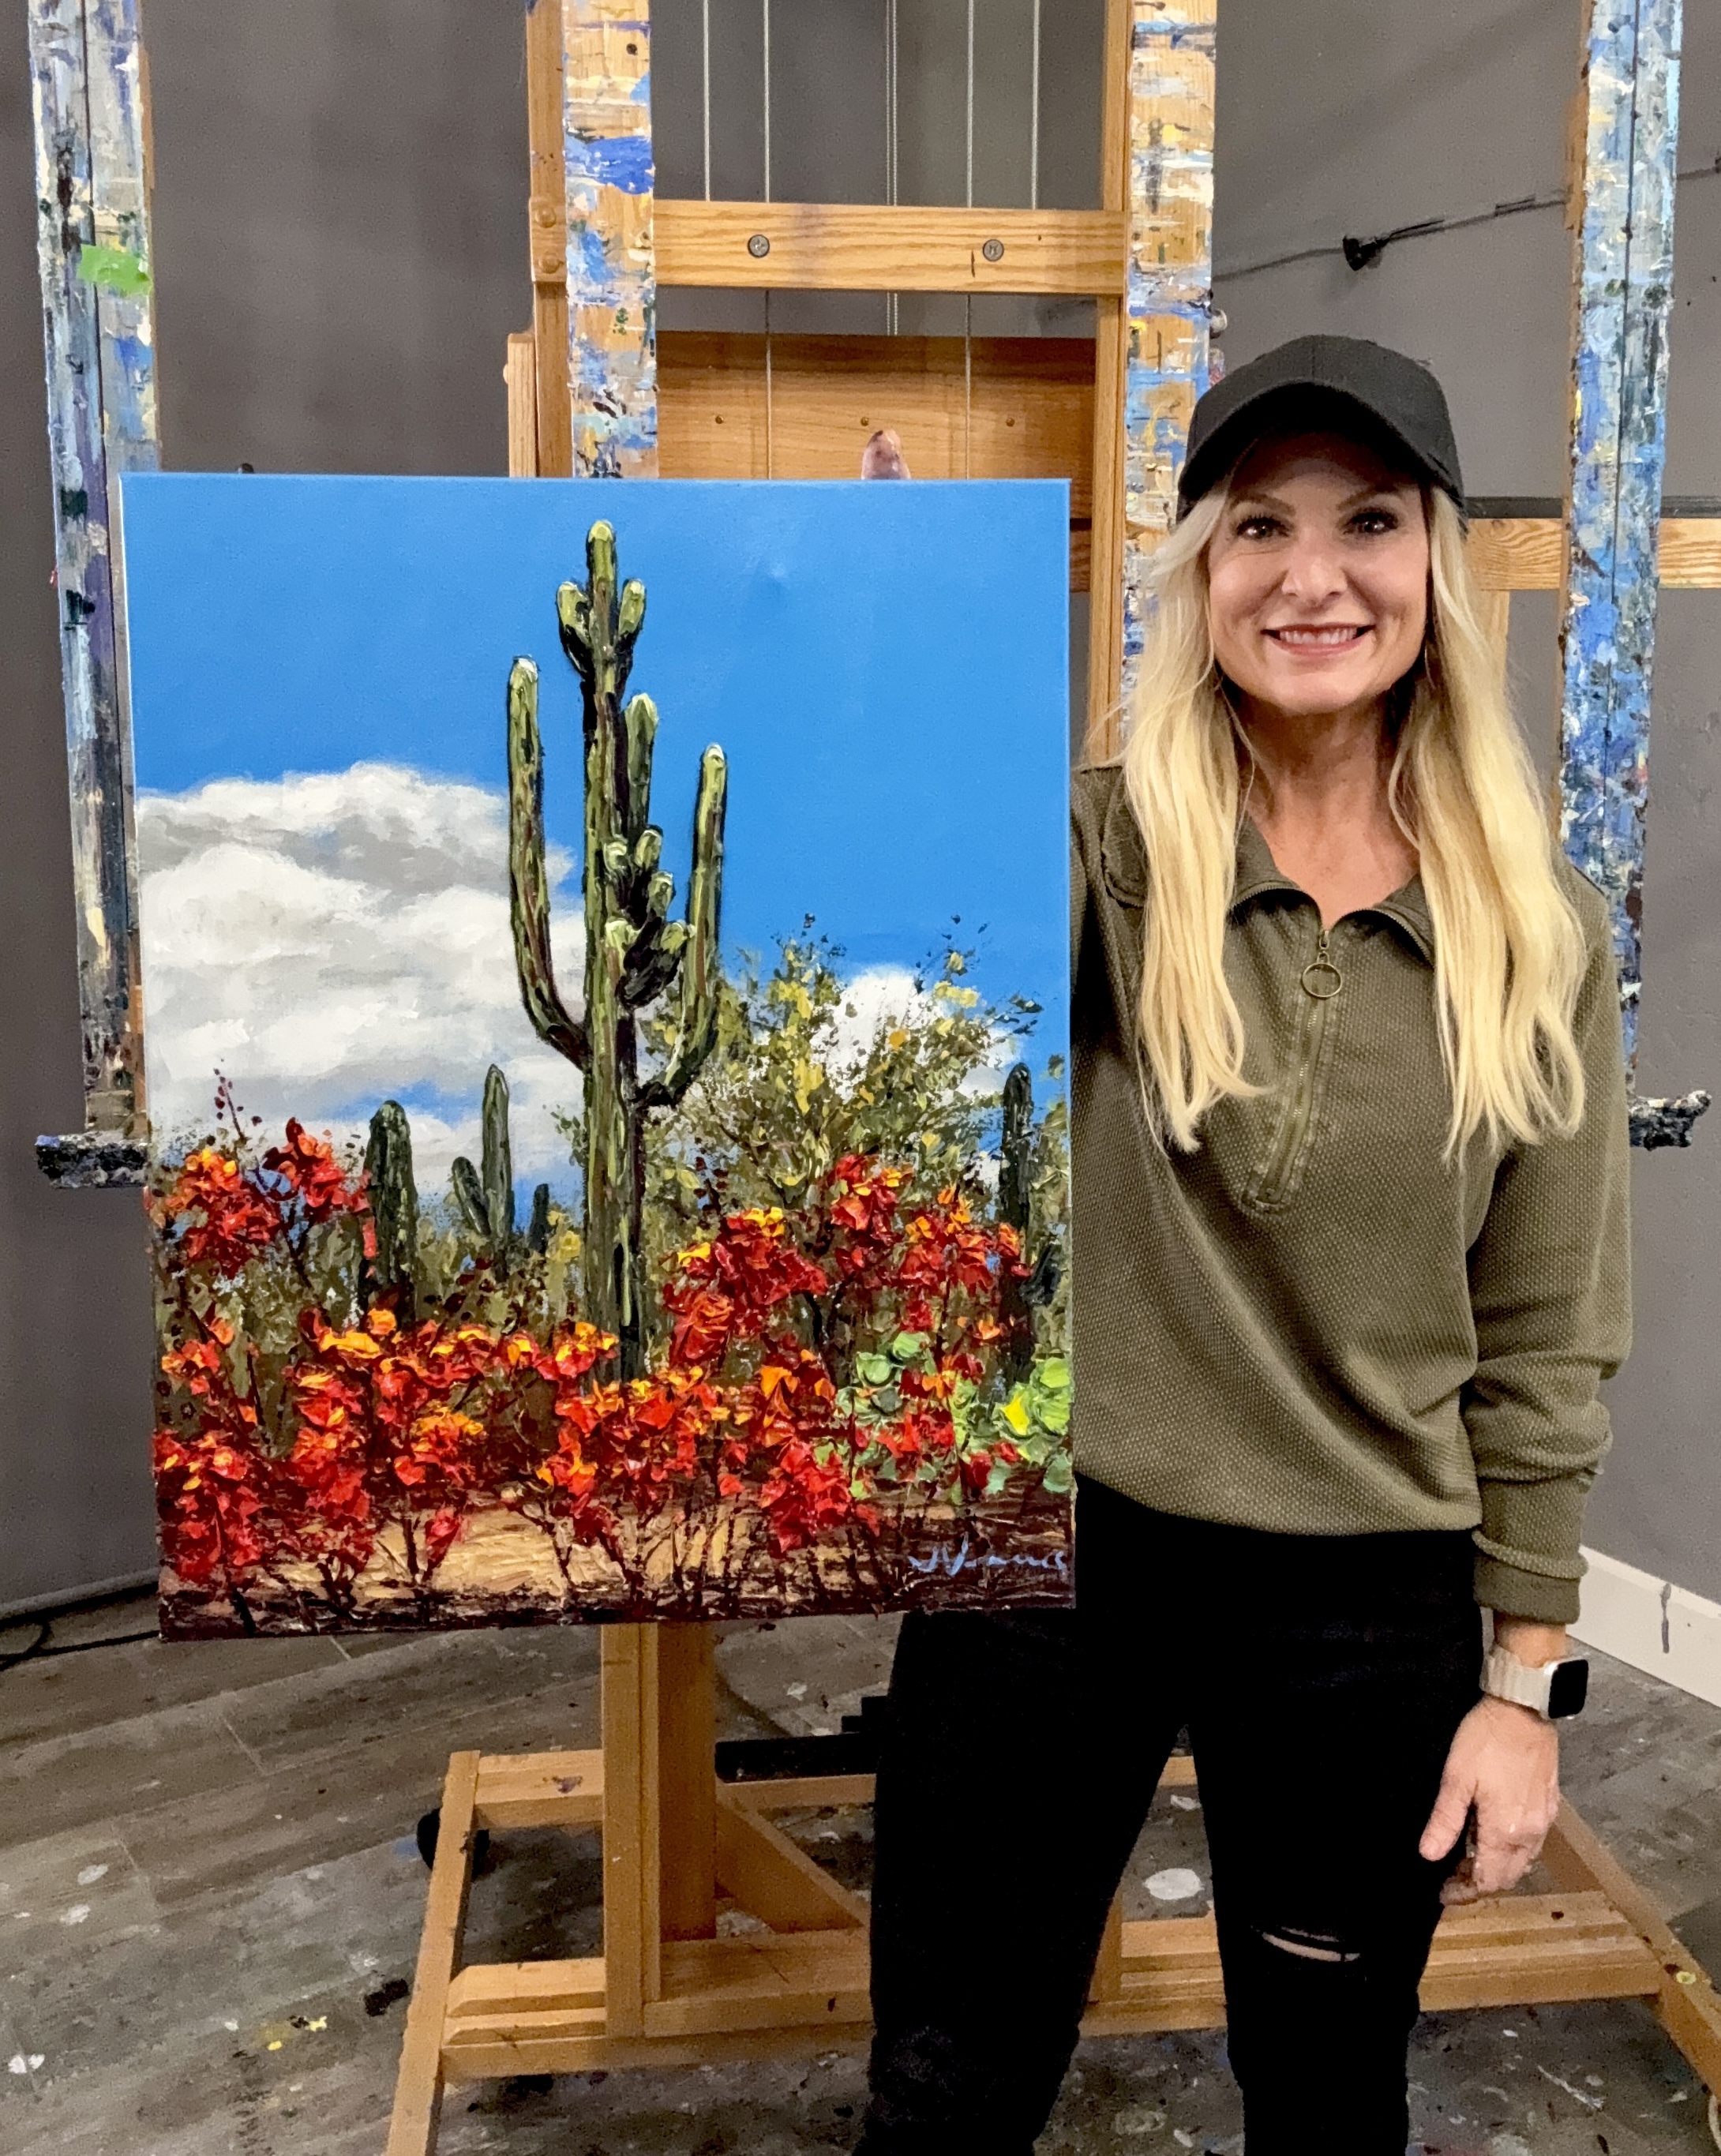
"Saguaro Sky"
by Jennifer Vranes
Course Notes
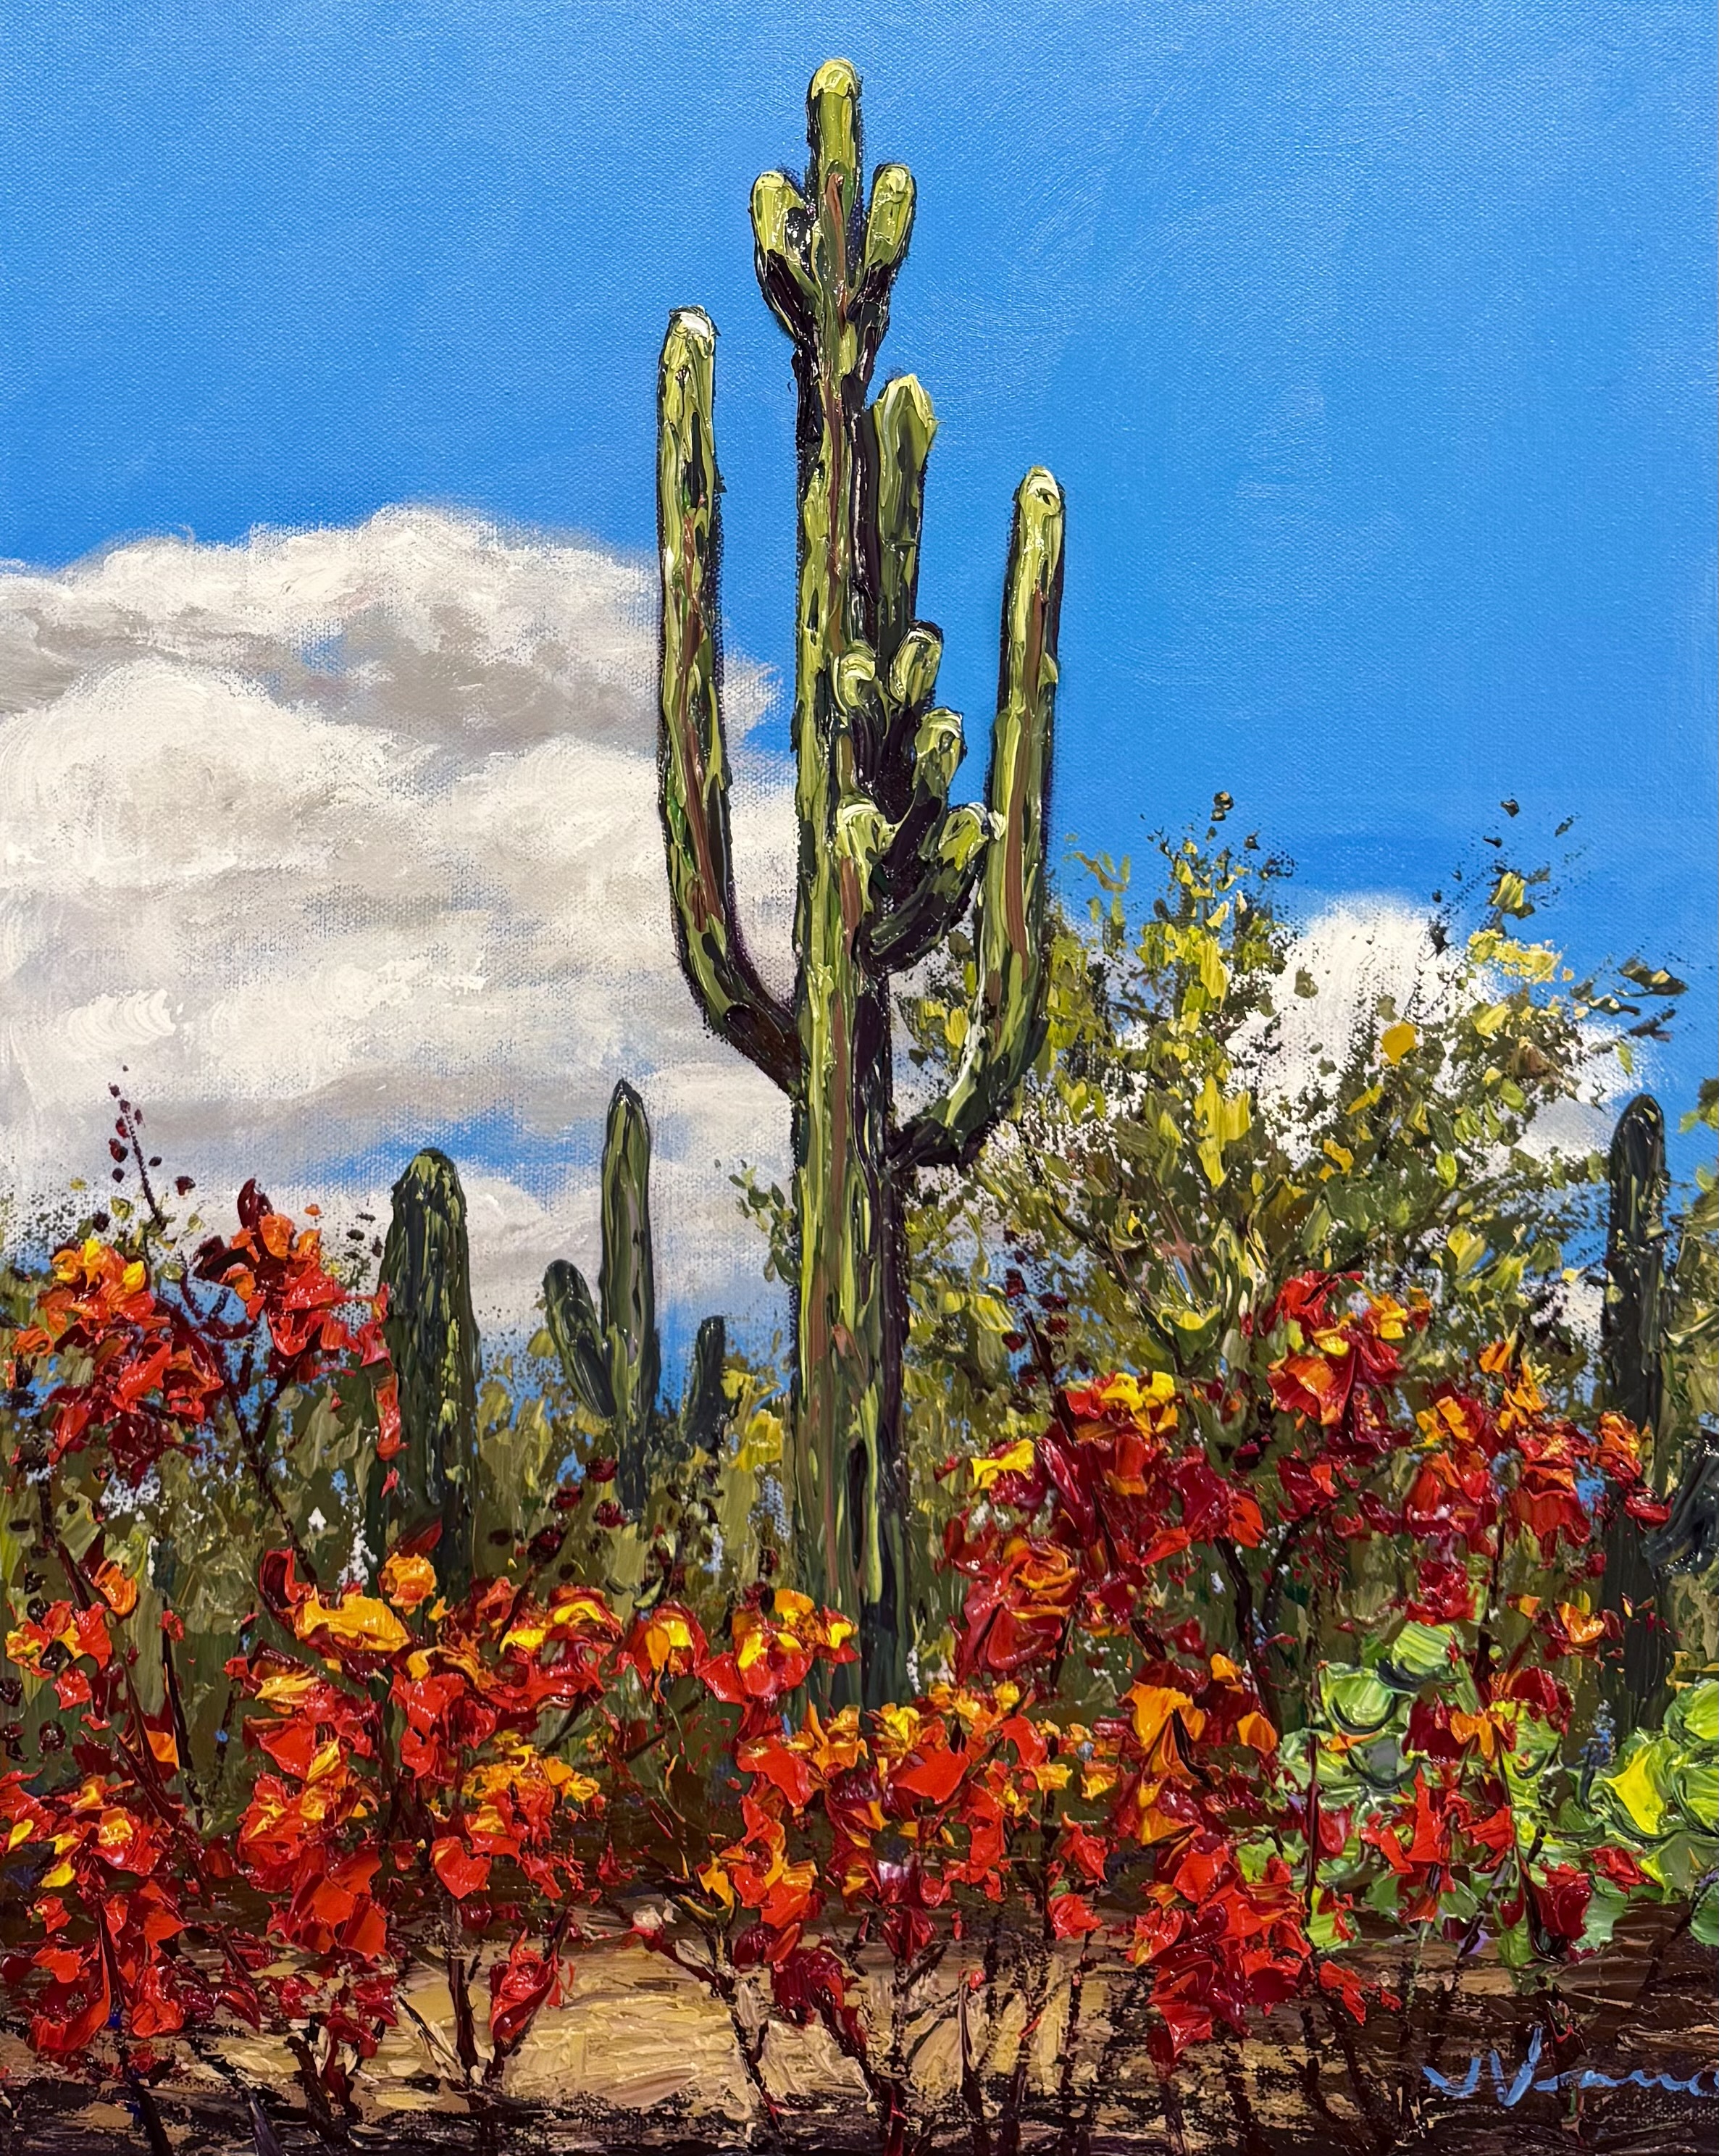
REFERENCE PHOTO
Introduction
Welcome to the “Saguaro Sky” tutorial – where you'll create a vibrant desert scene featuring a bold saguaro cactus set against a brilliant blue sky with soft, white clouds. The background will be filled with smaller cacti to add depth and contrast. Spending 14 years traveling to Arizona for art shows, I fell in love with the desert’s beauty—especially in spring, when bursts of red contrast beautifully against the endless sky.
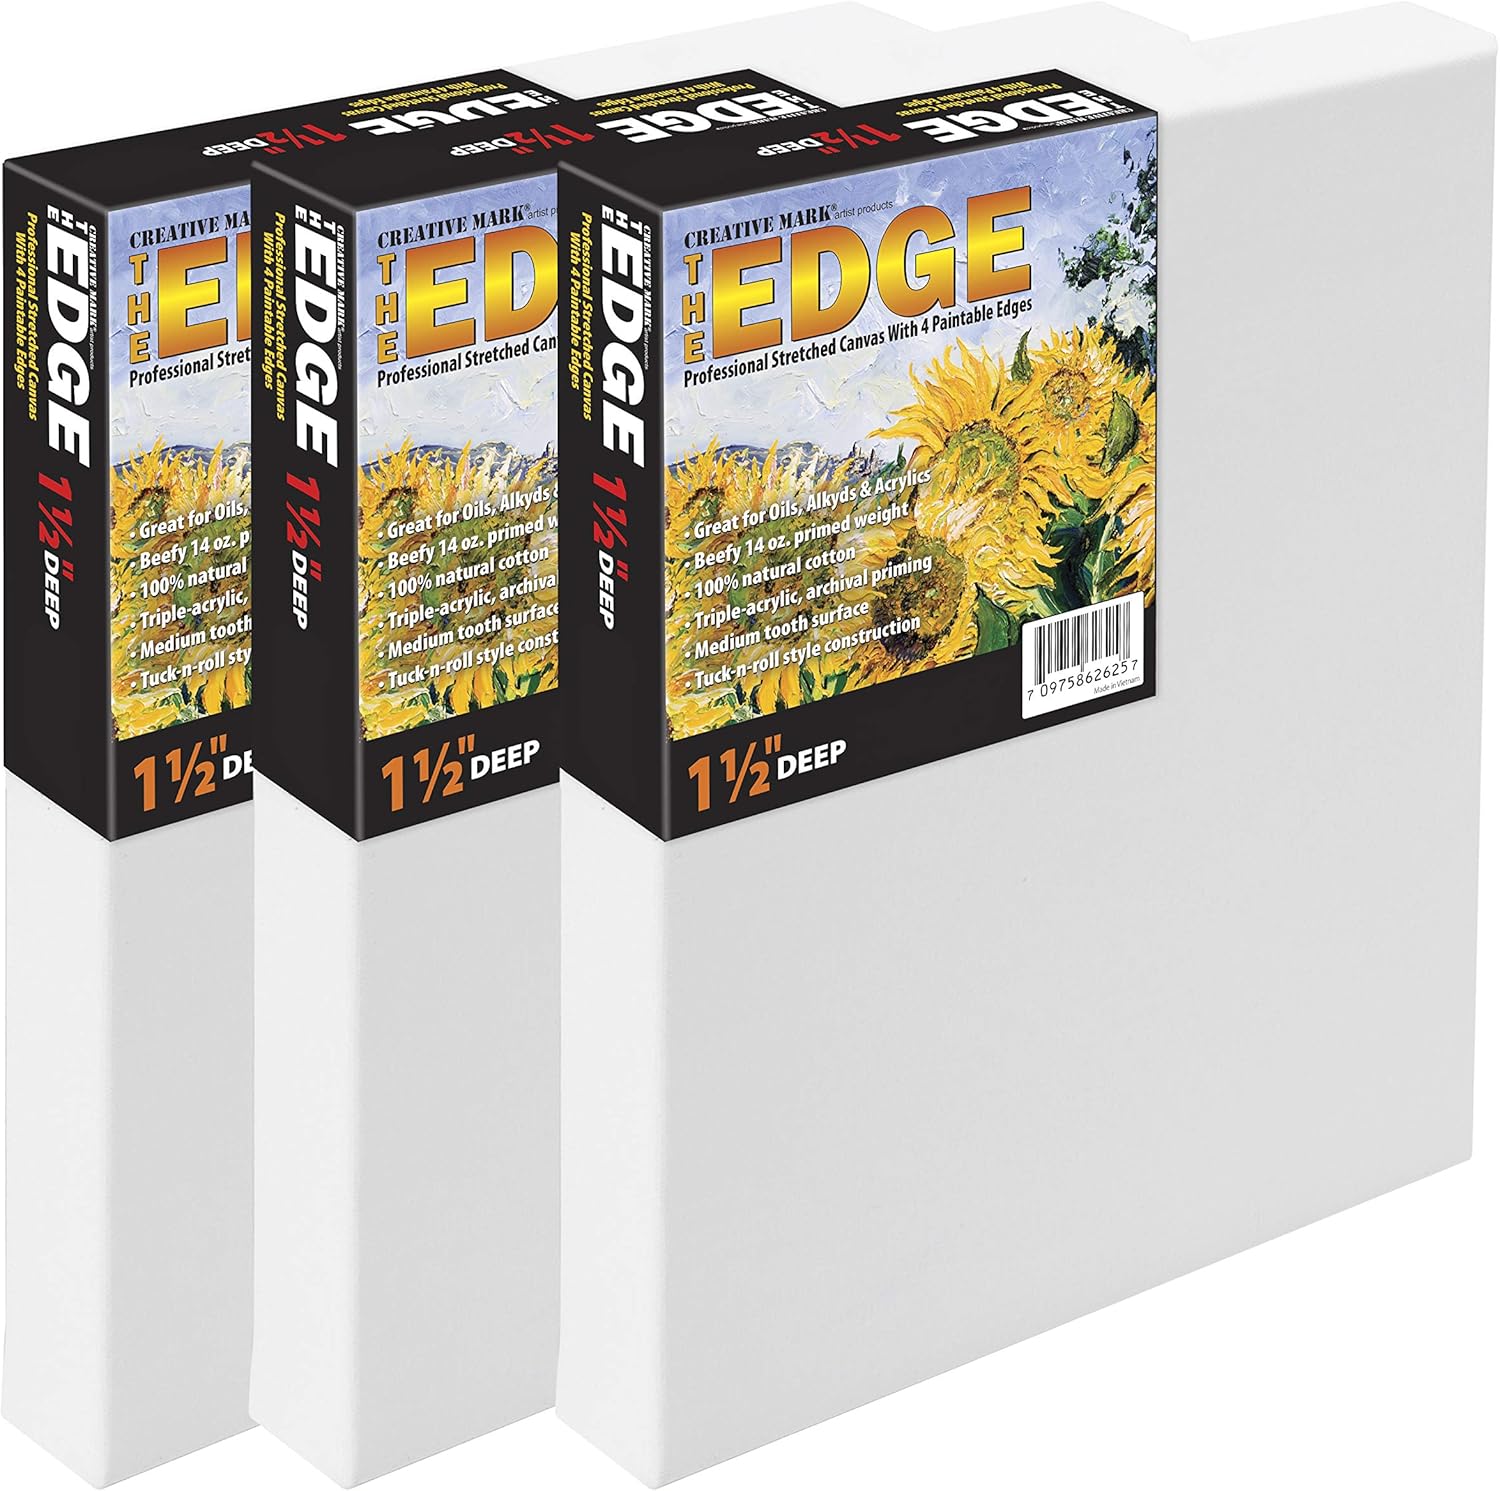
Today, I am painting on a 20” x 16” gallery wrapped canvas. This scene will look great on any size. So, use whatever size you want.
Let’s get started.
Best practice: Read through the entire lesson before you begin.
Materials used in my Let's Dabble Painting Course:
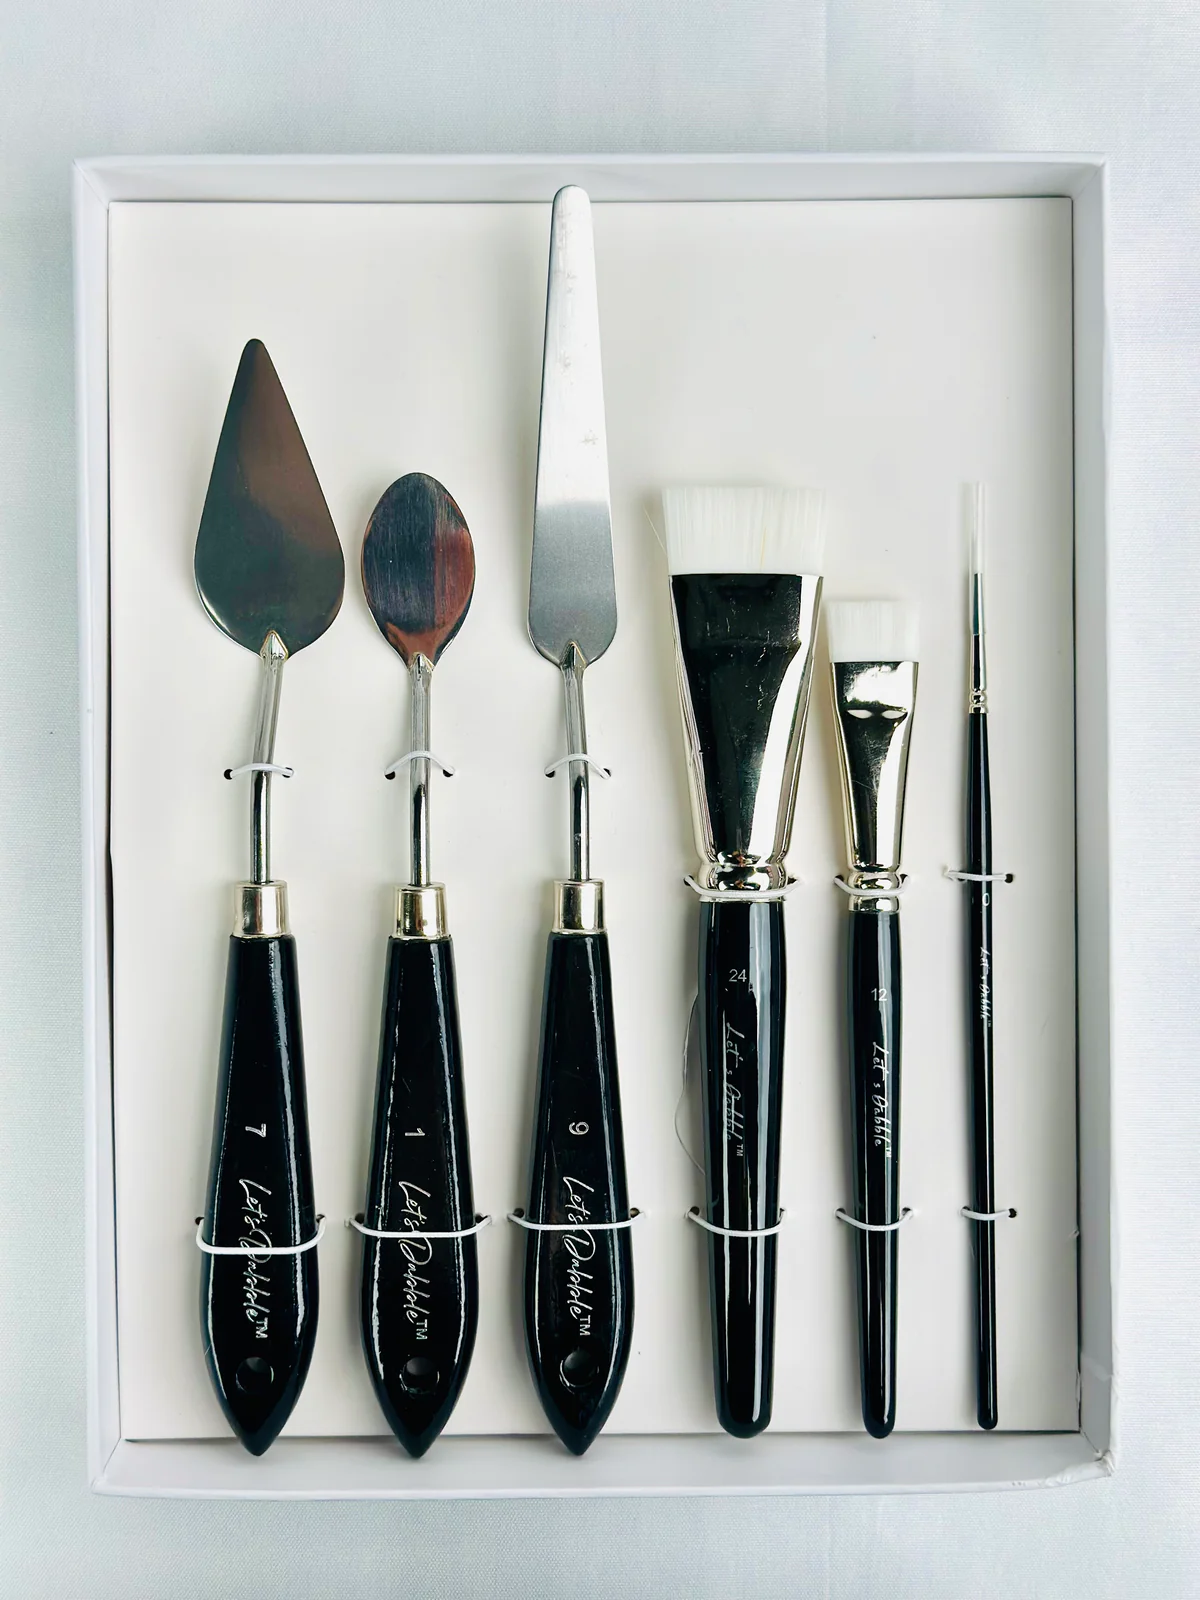
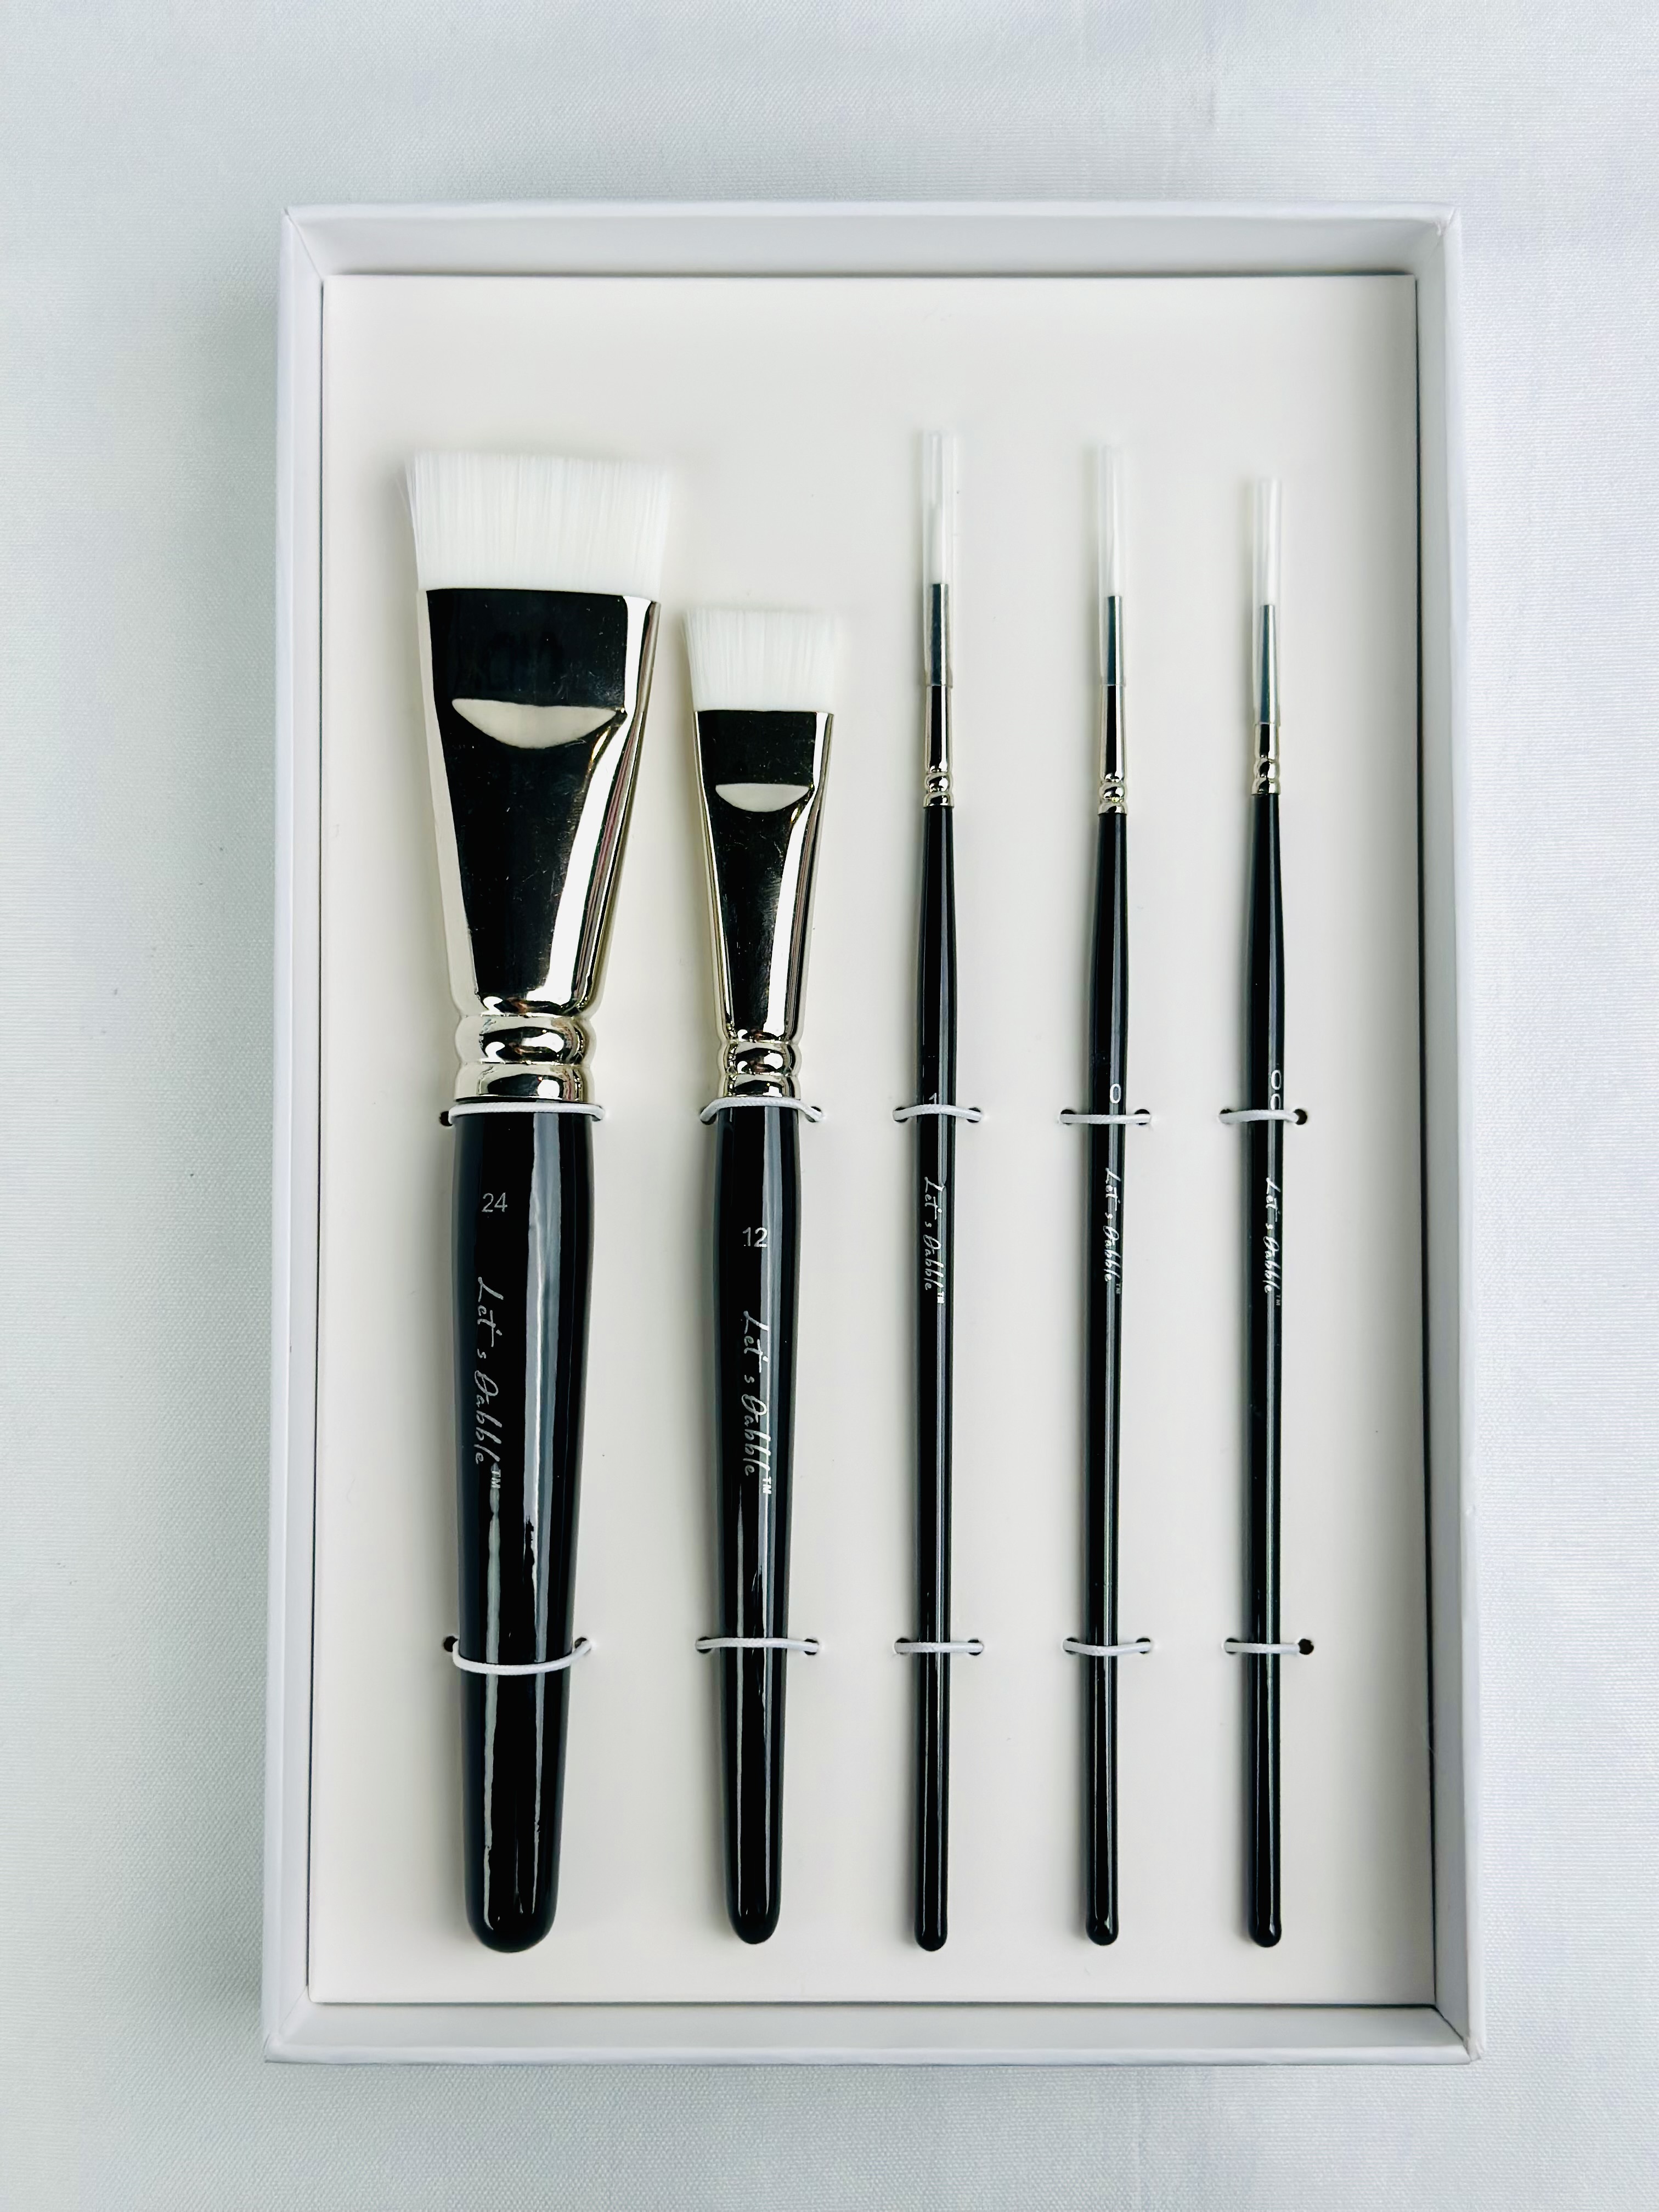
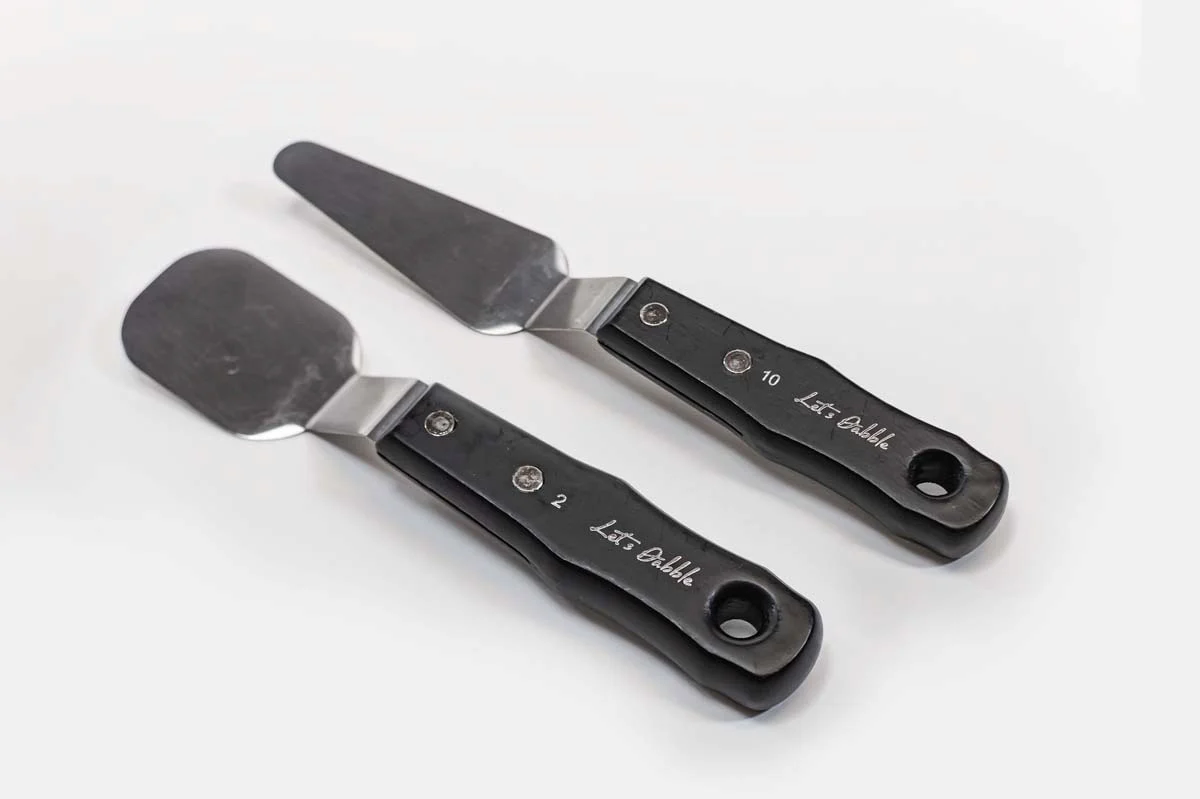
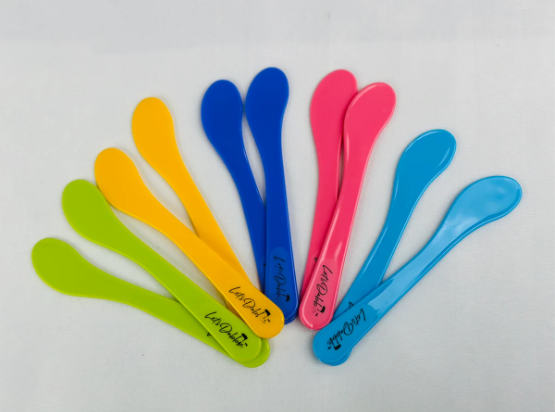
Let’s Dabble Palette Knives and Brushes
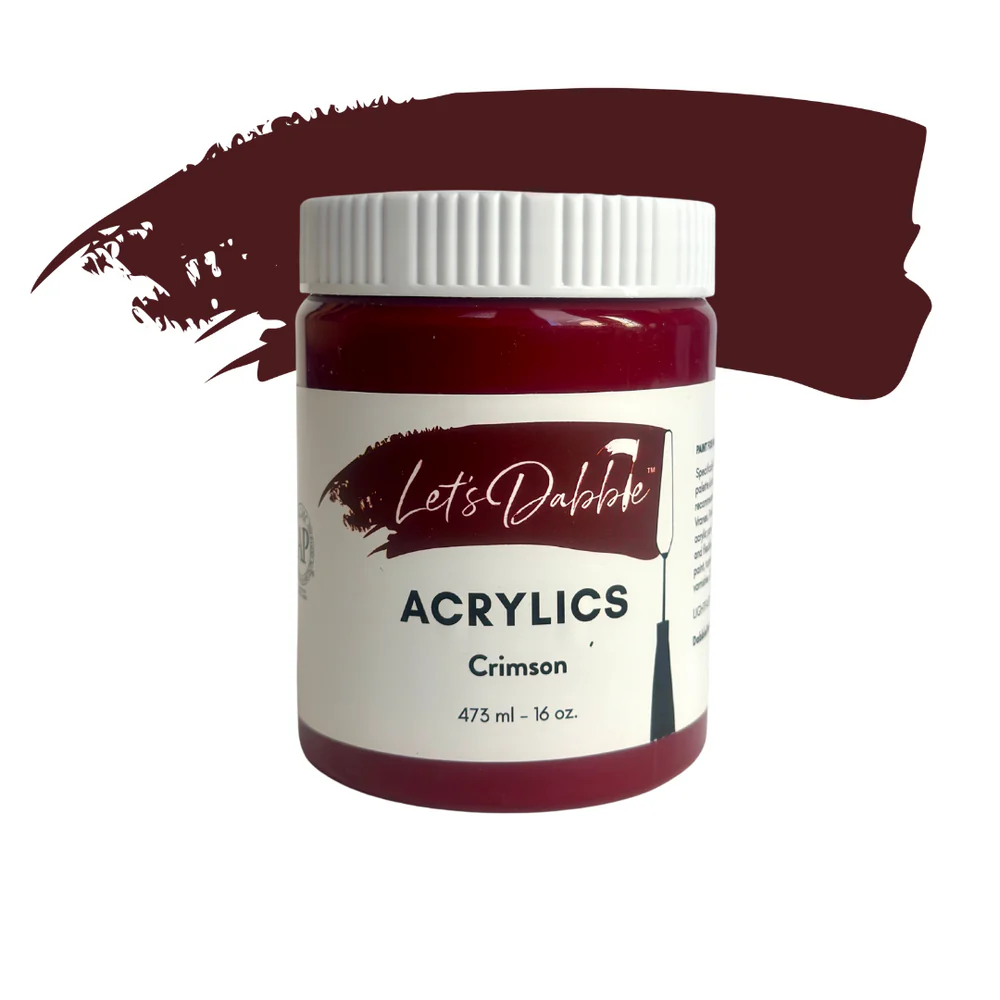
Let's Dabble Paints
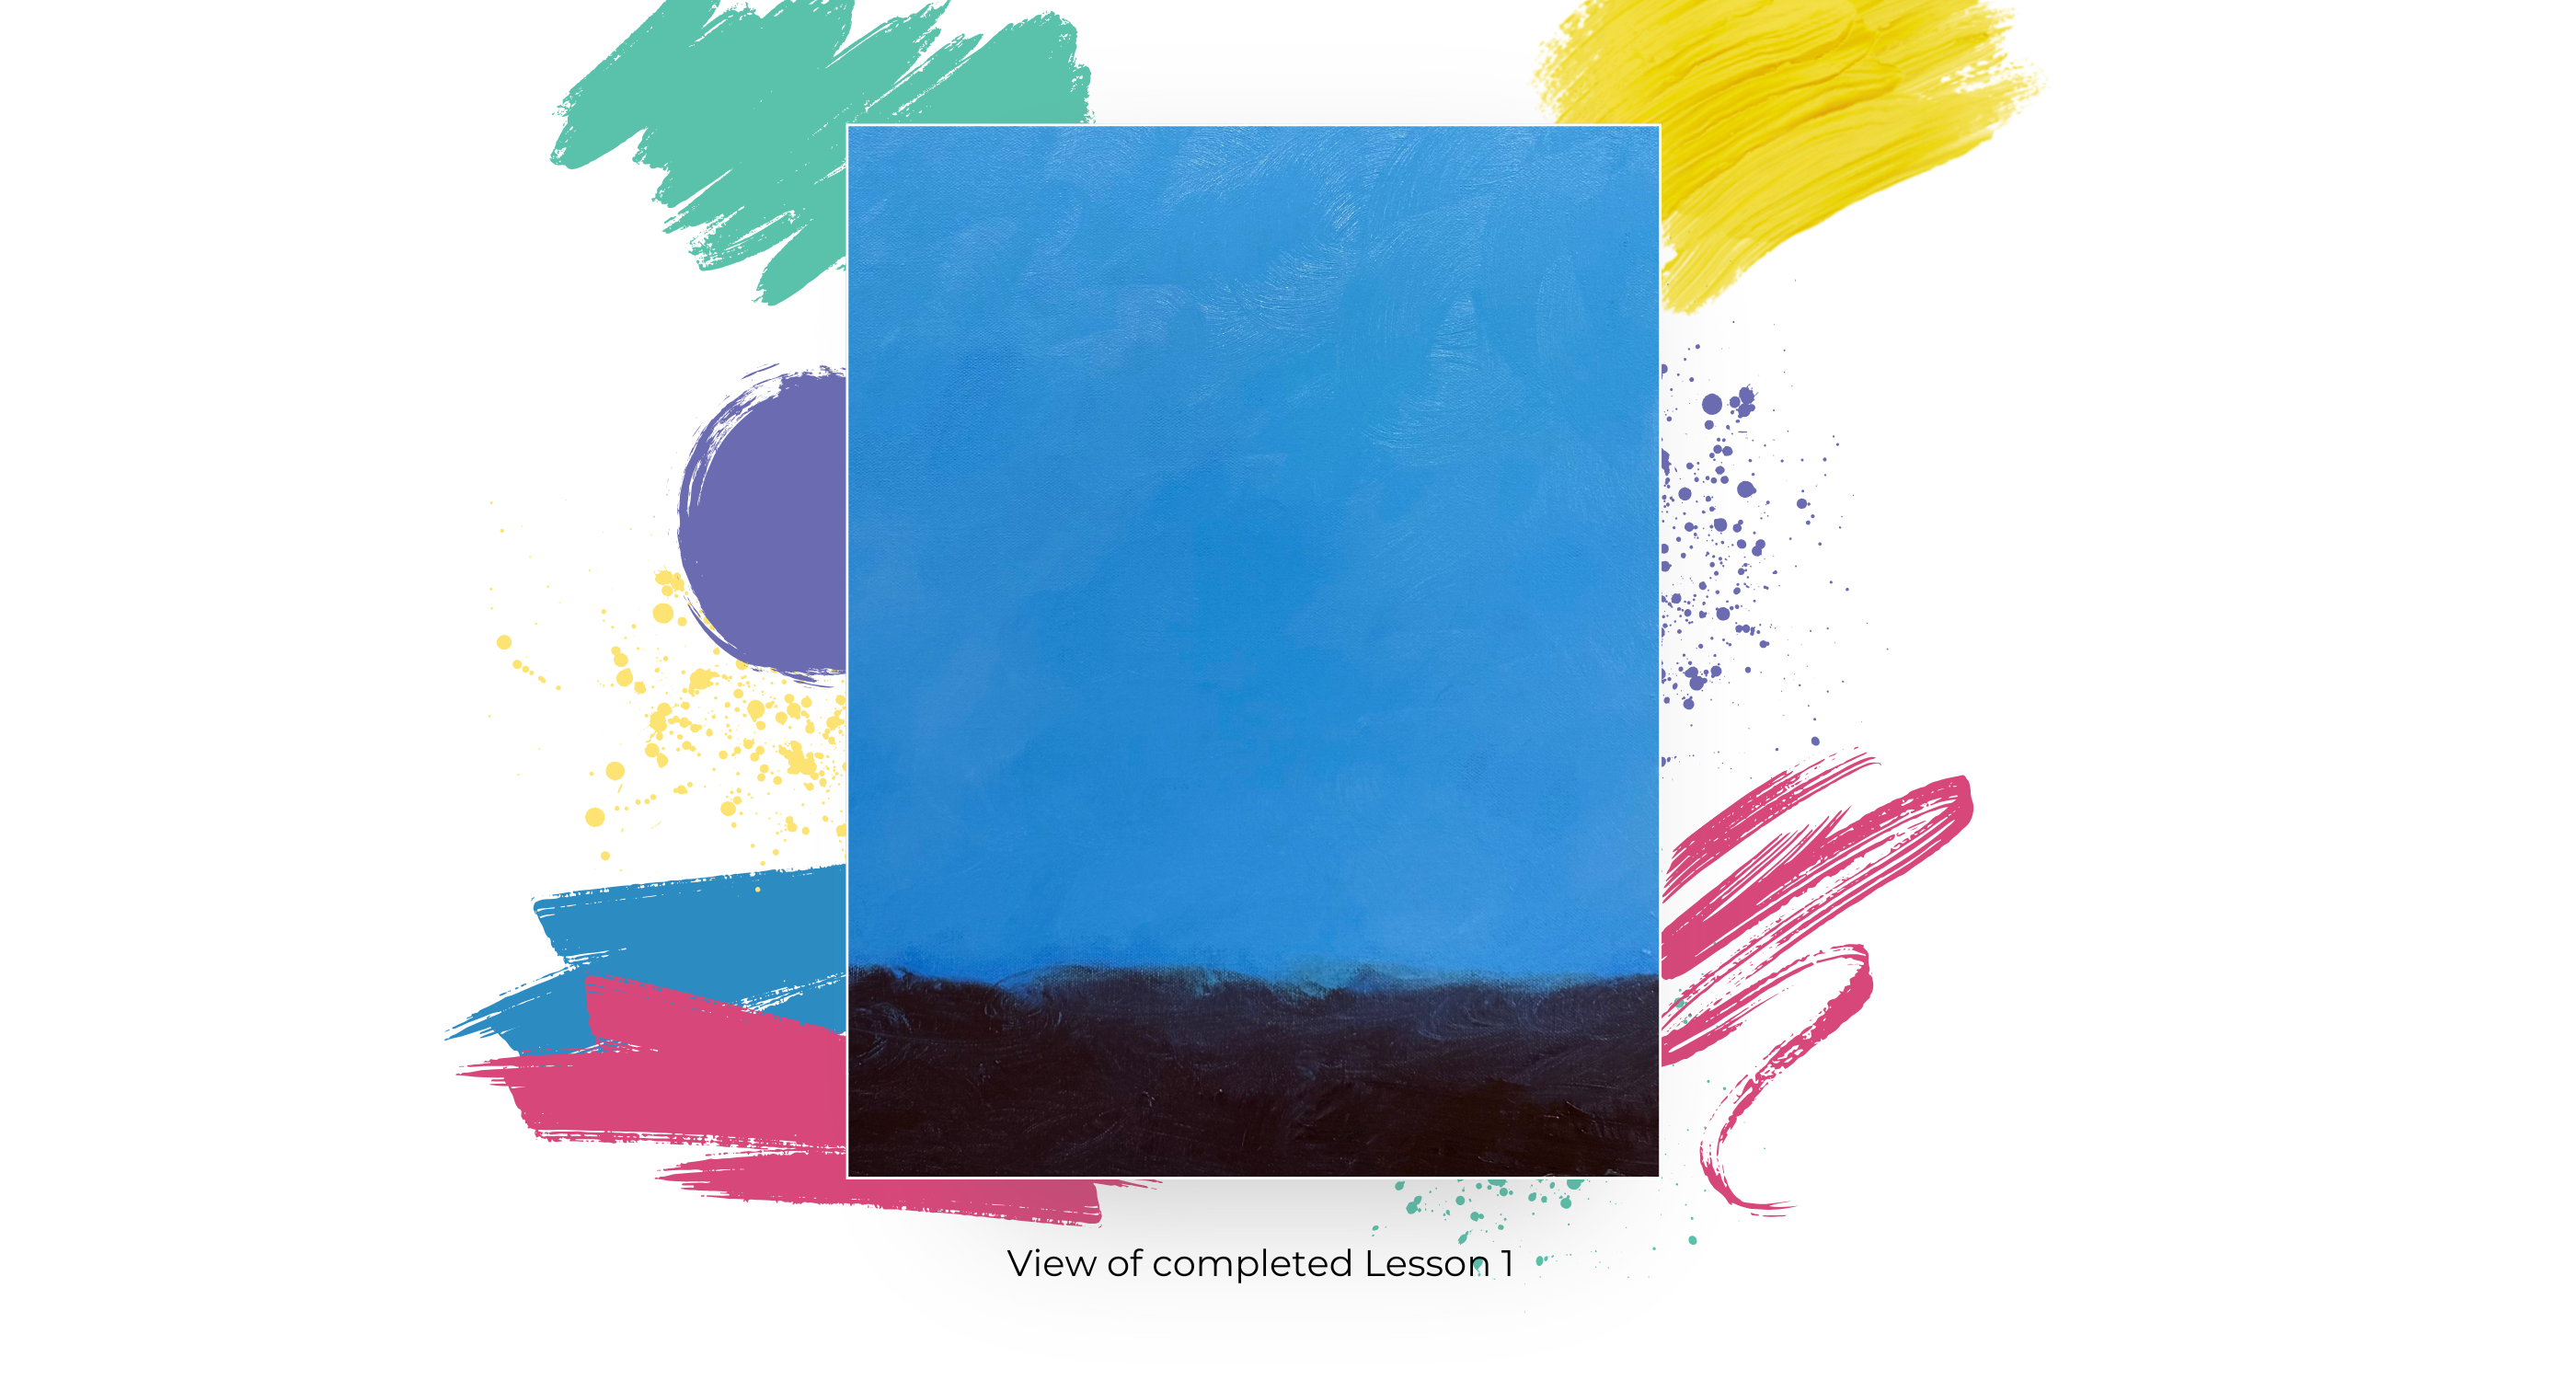
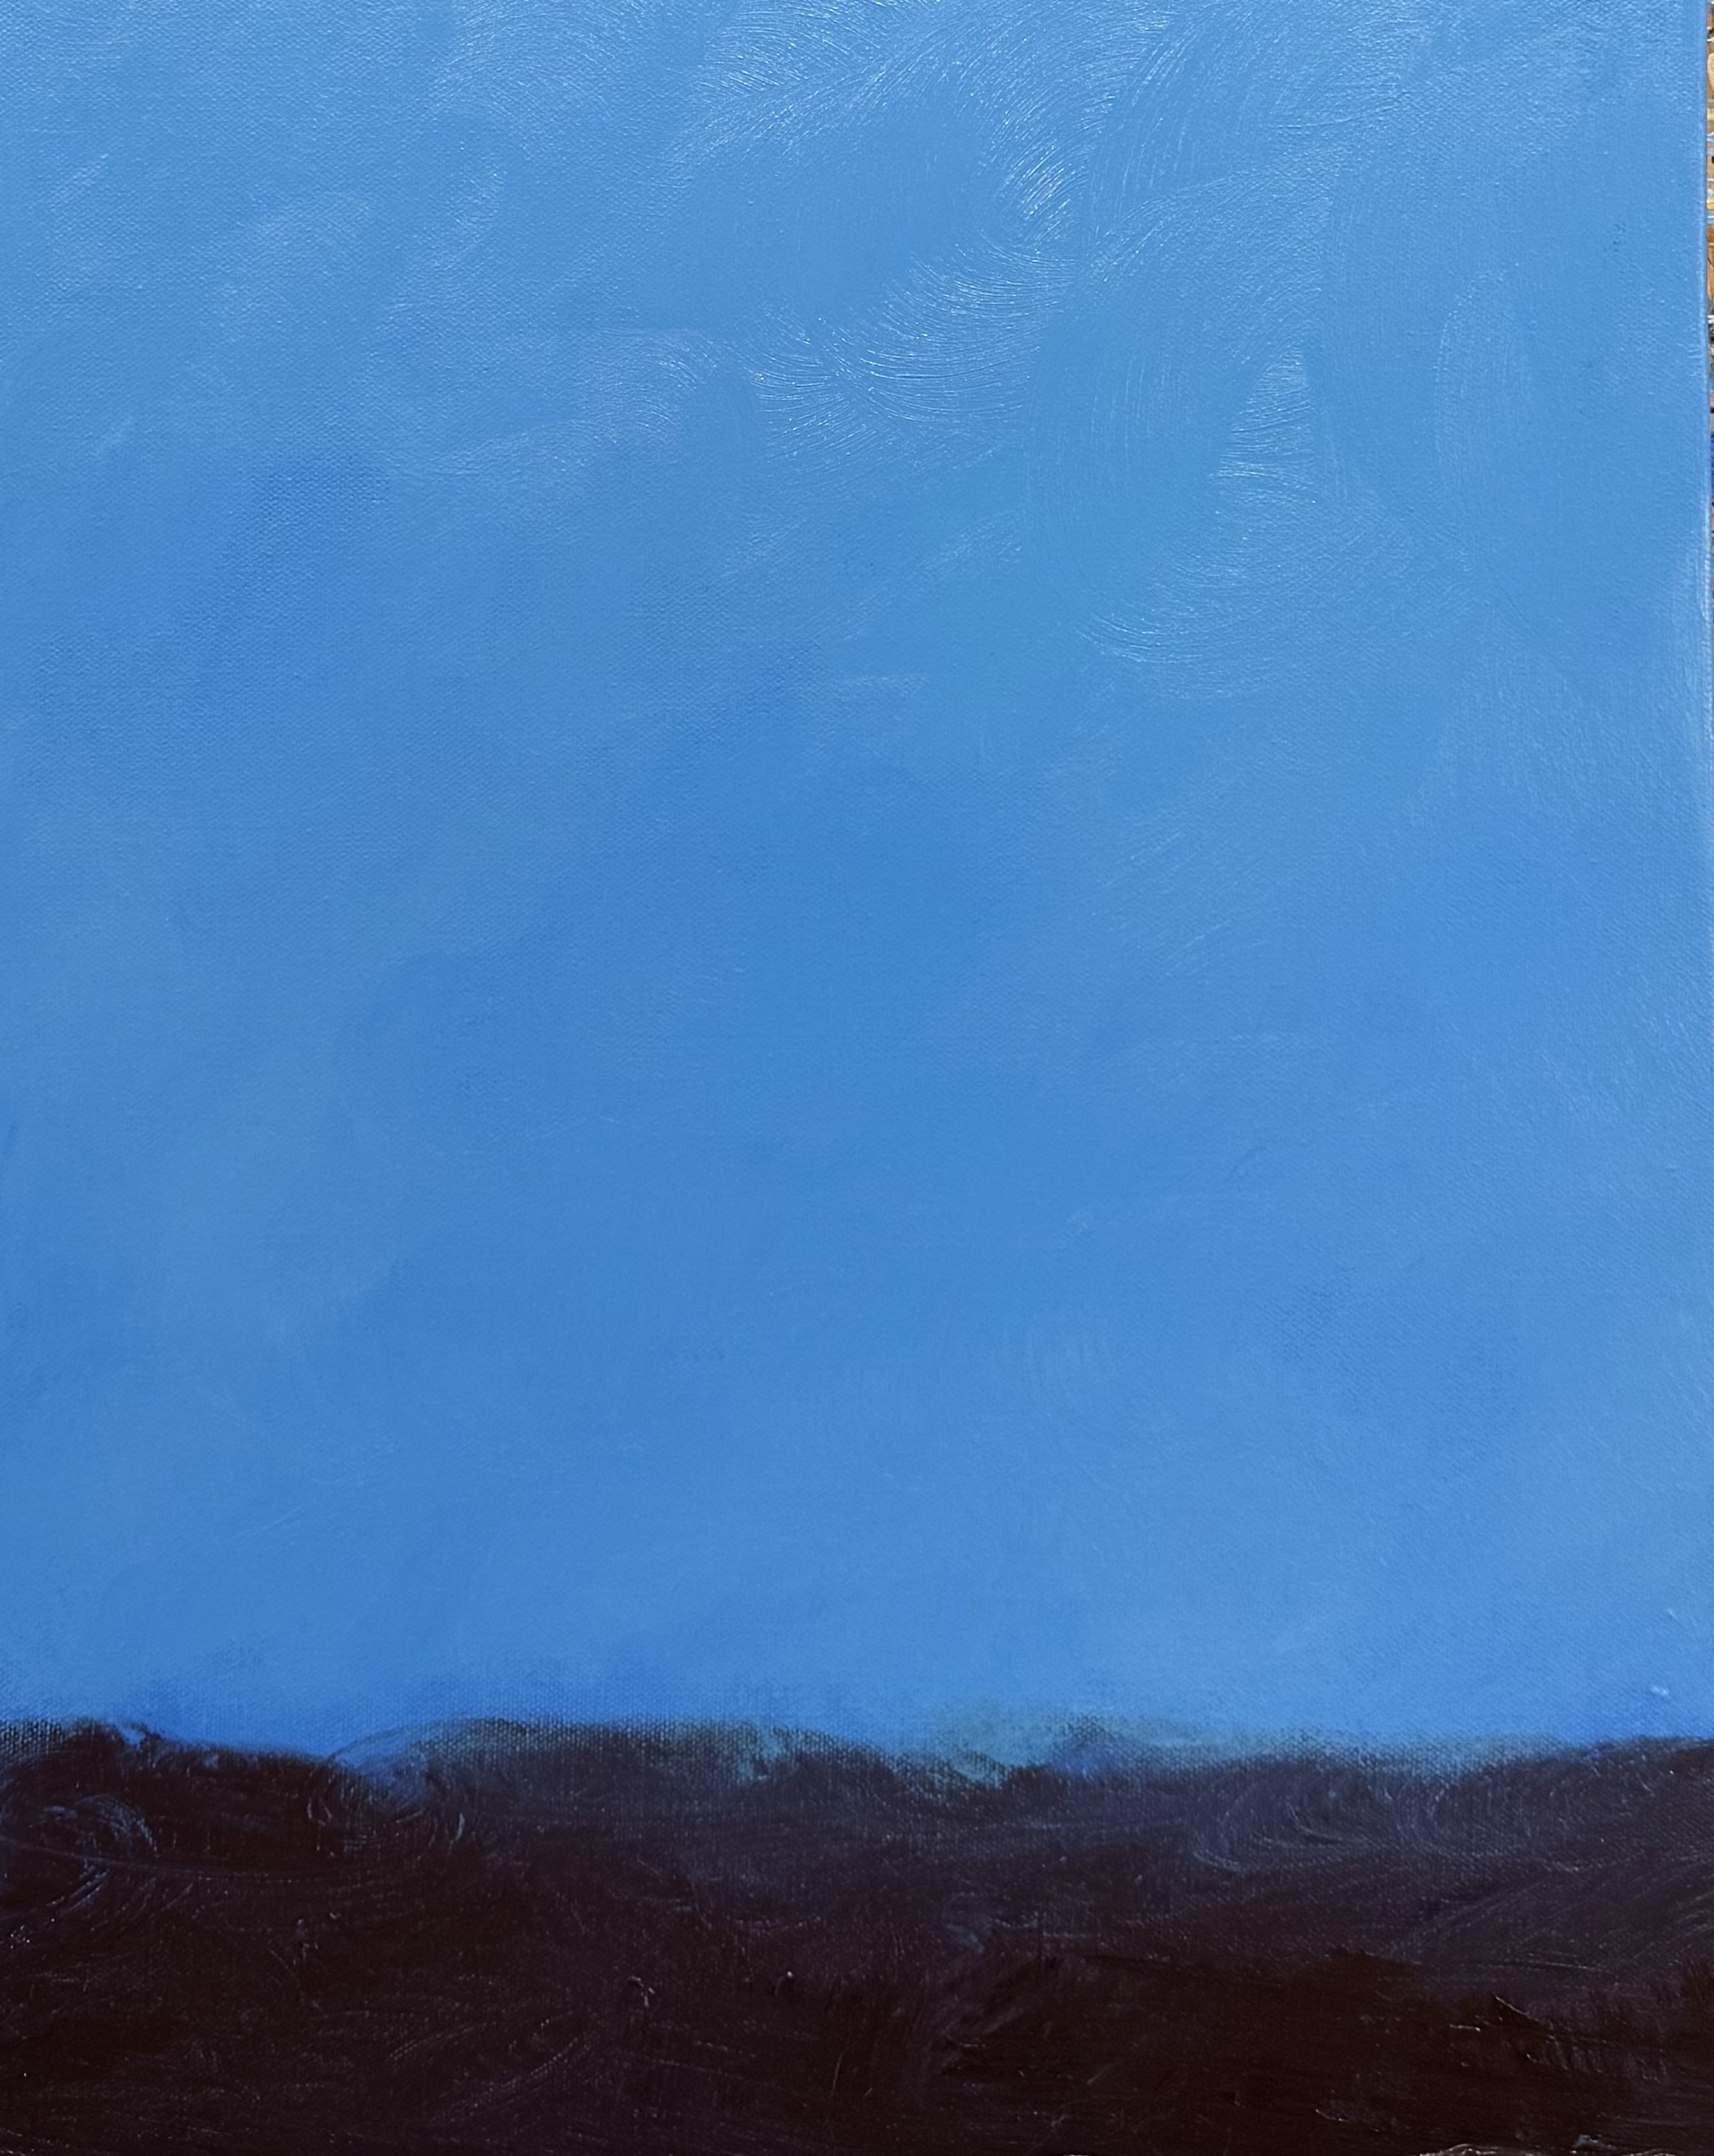
Lesson 1: The Background
Sponge
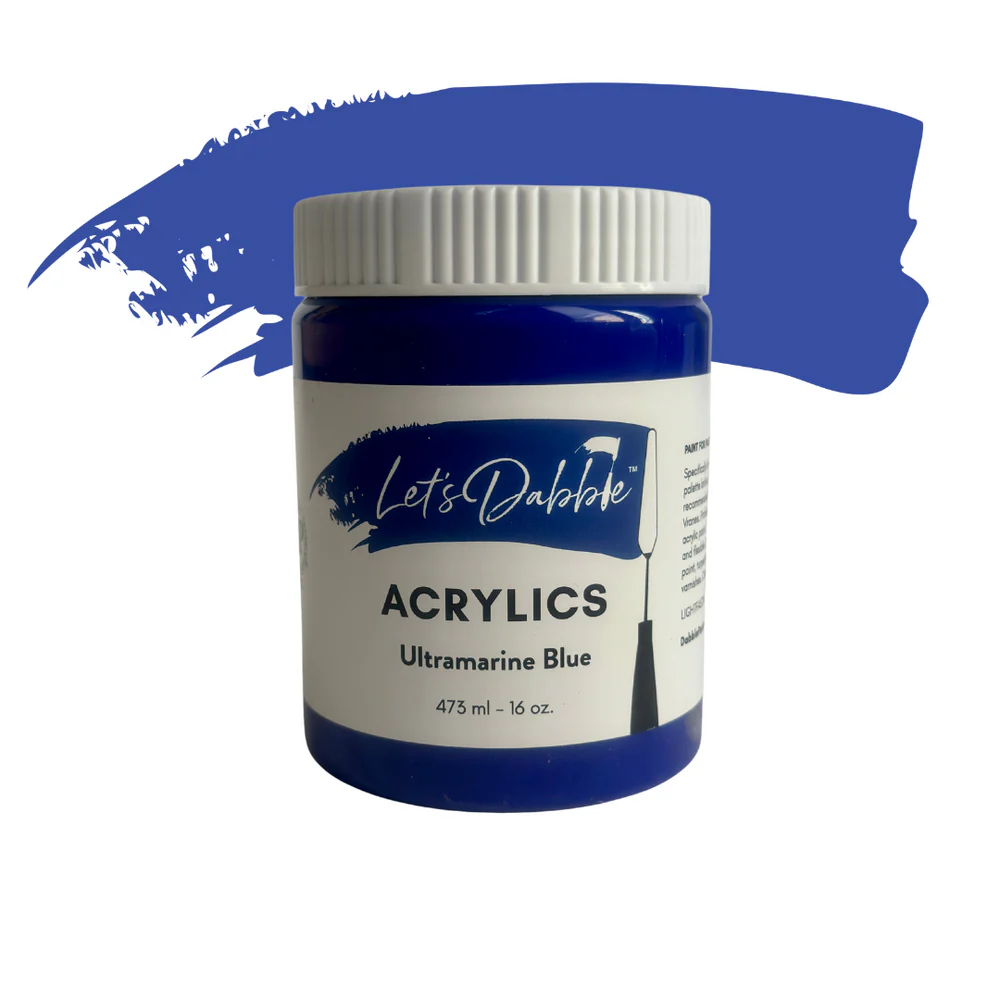
Ultramarine blue
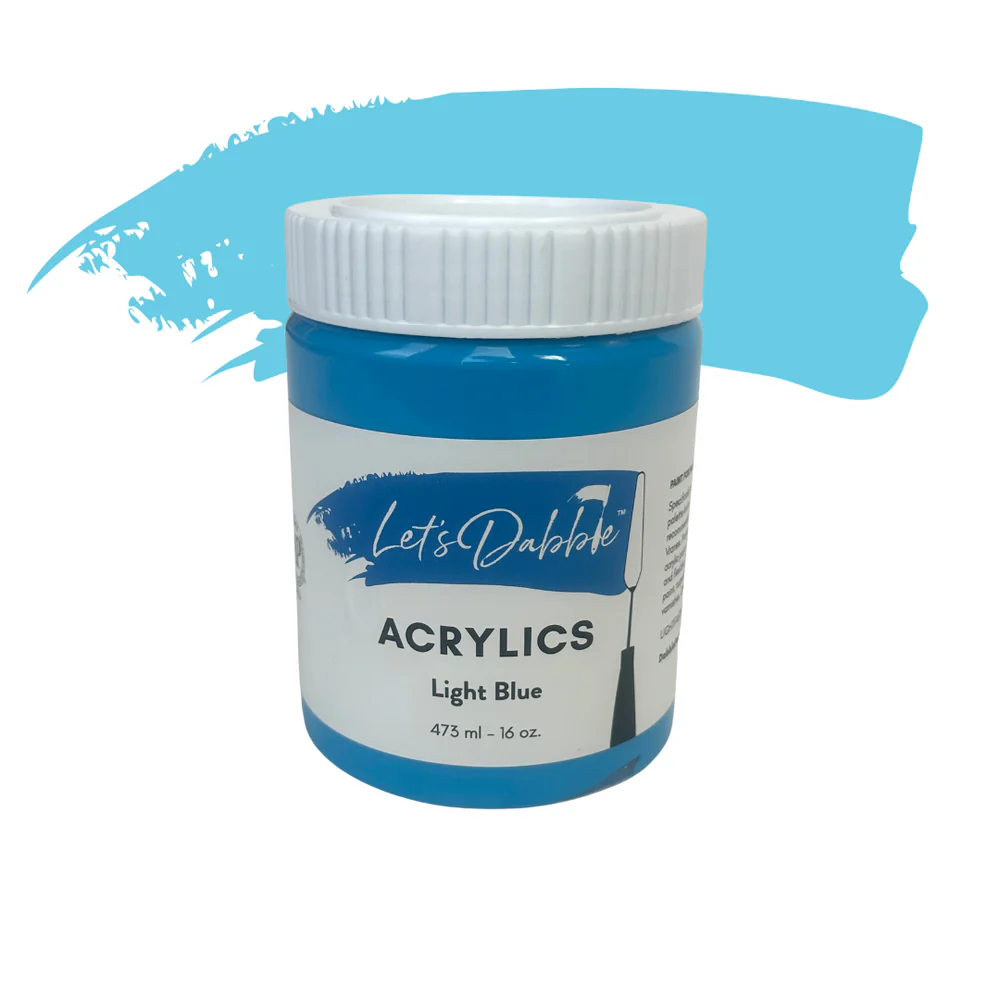
Light blue
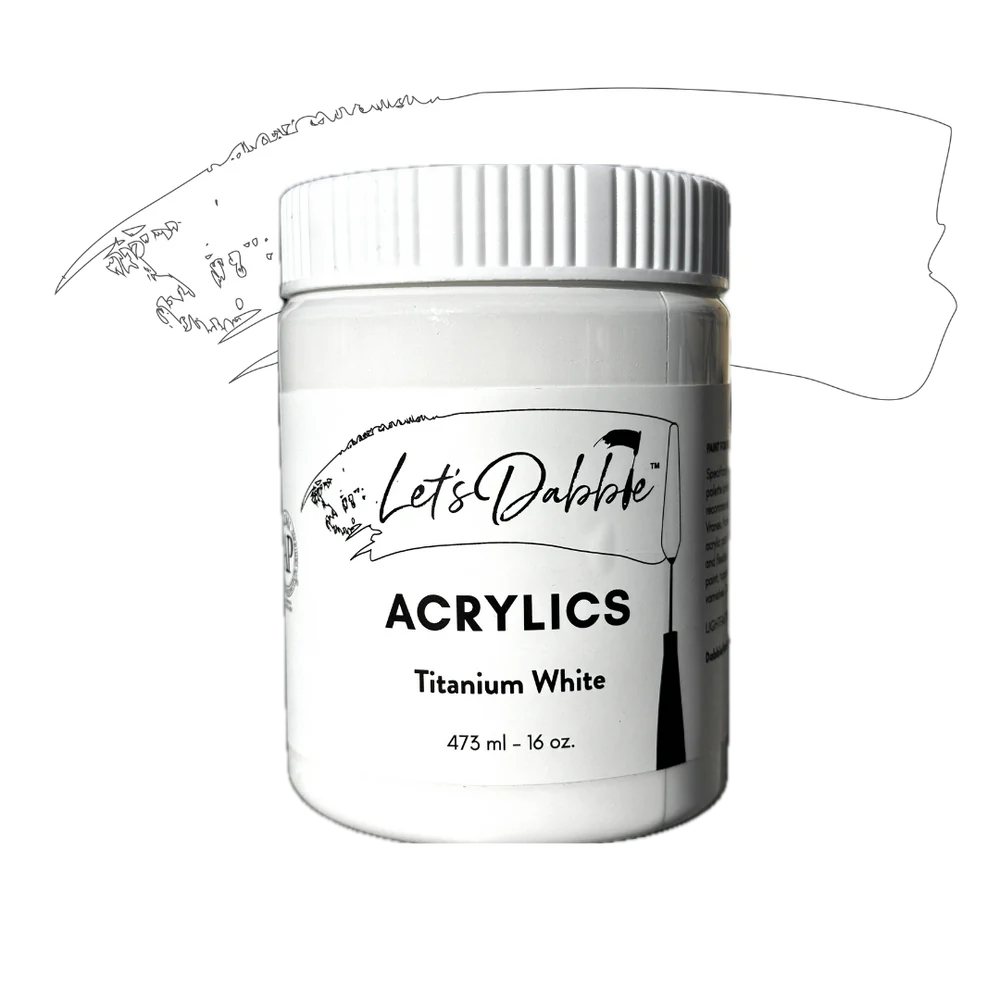
Titanium white
If your sponge is dried out, just spritz on some water until it is soft but not dripping water. Add the color above to your palette.
Sky
Using your sponge, do a combination of ultramarine blue and light blue. Decide on the color that you want to focus on. Bring it over to your canvas, apply a thin layer of paint in circular motions. Cover the top, sides, and corners of the canvas. Extend the blue further down than needed—it’s easier to bring the landscape up later.
Foreground
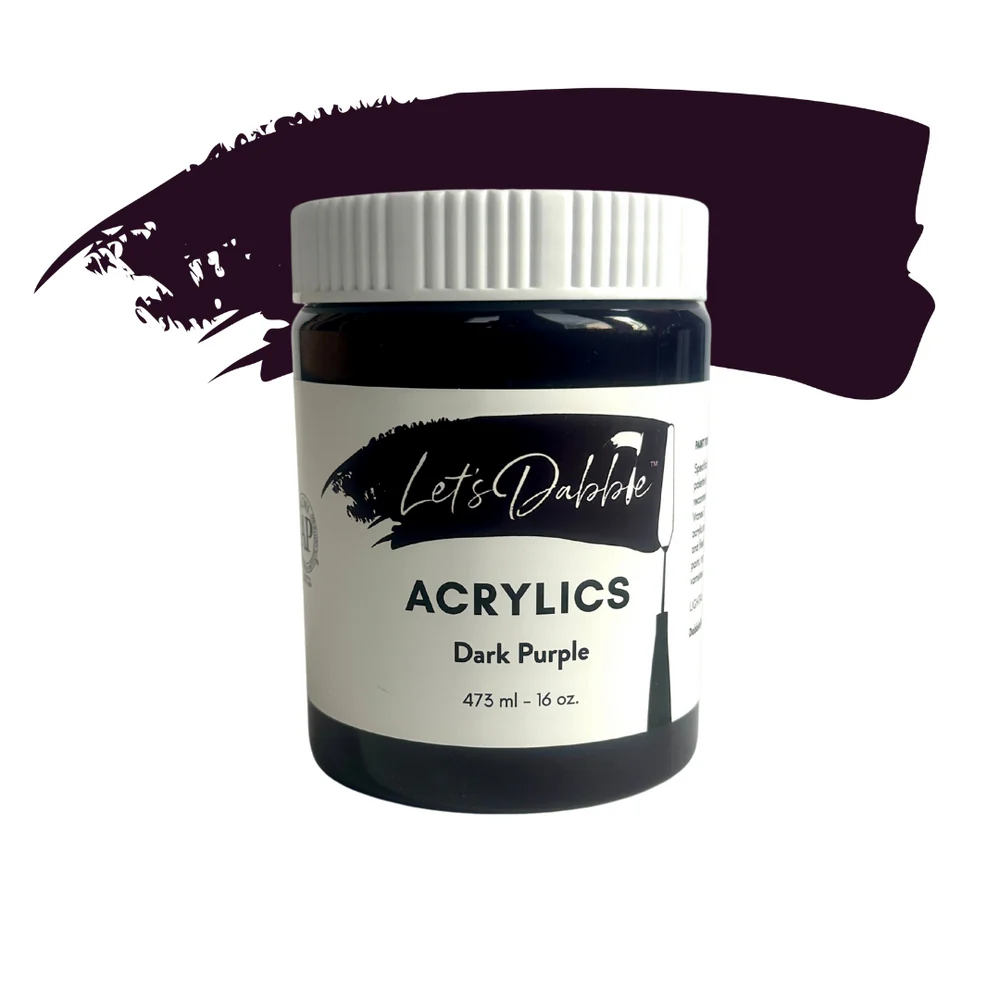
Mix burnt umber, dark purple and ultramarine blue and apply the dark mix to the bottom portion of the canvas then blend slightly into the blue sky.
Pick up and flip your canvas on the side so you can easily access the very bottom and finish off the rest of the white.
Let the background dry completely before moving on to clouds. Use a fan to speed up the drying process.
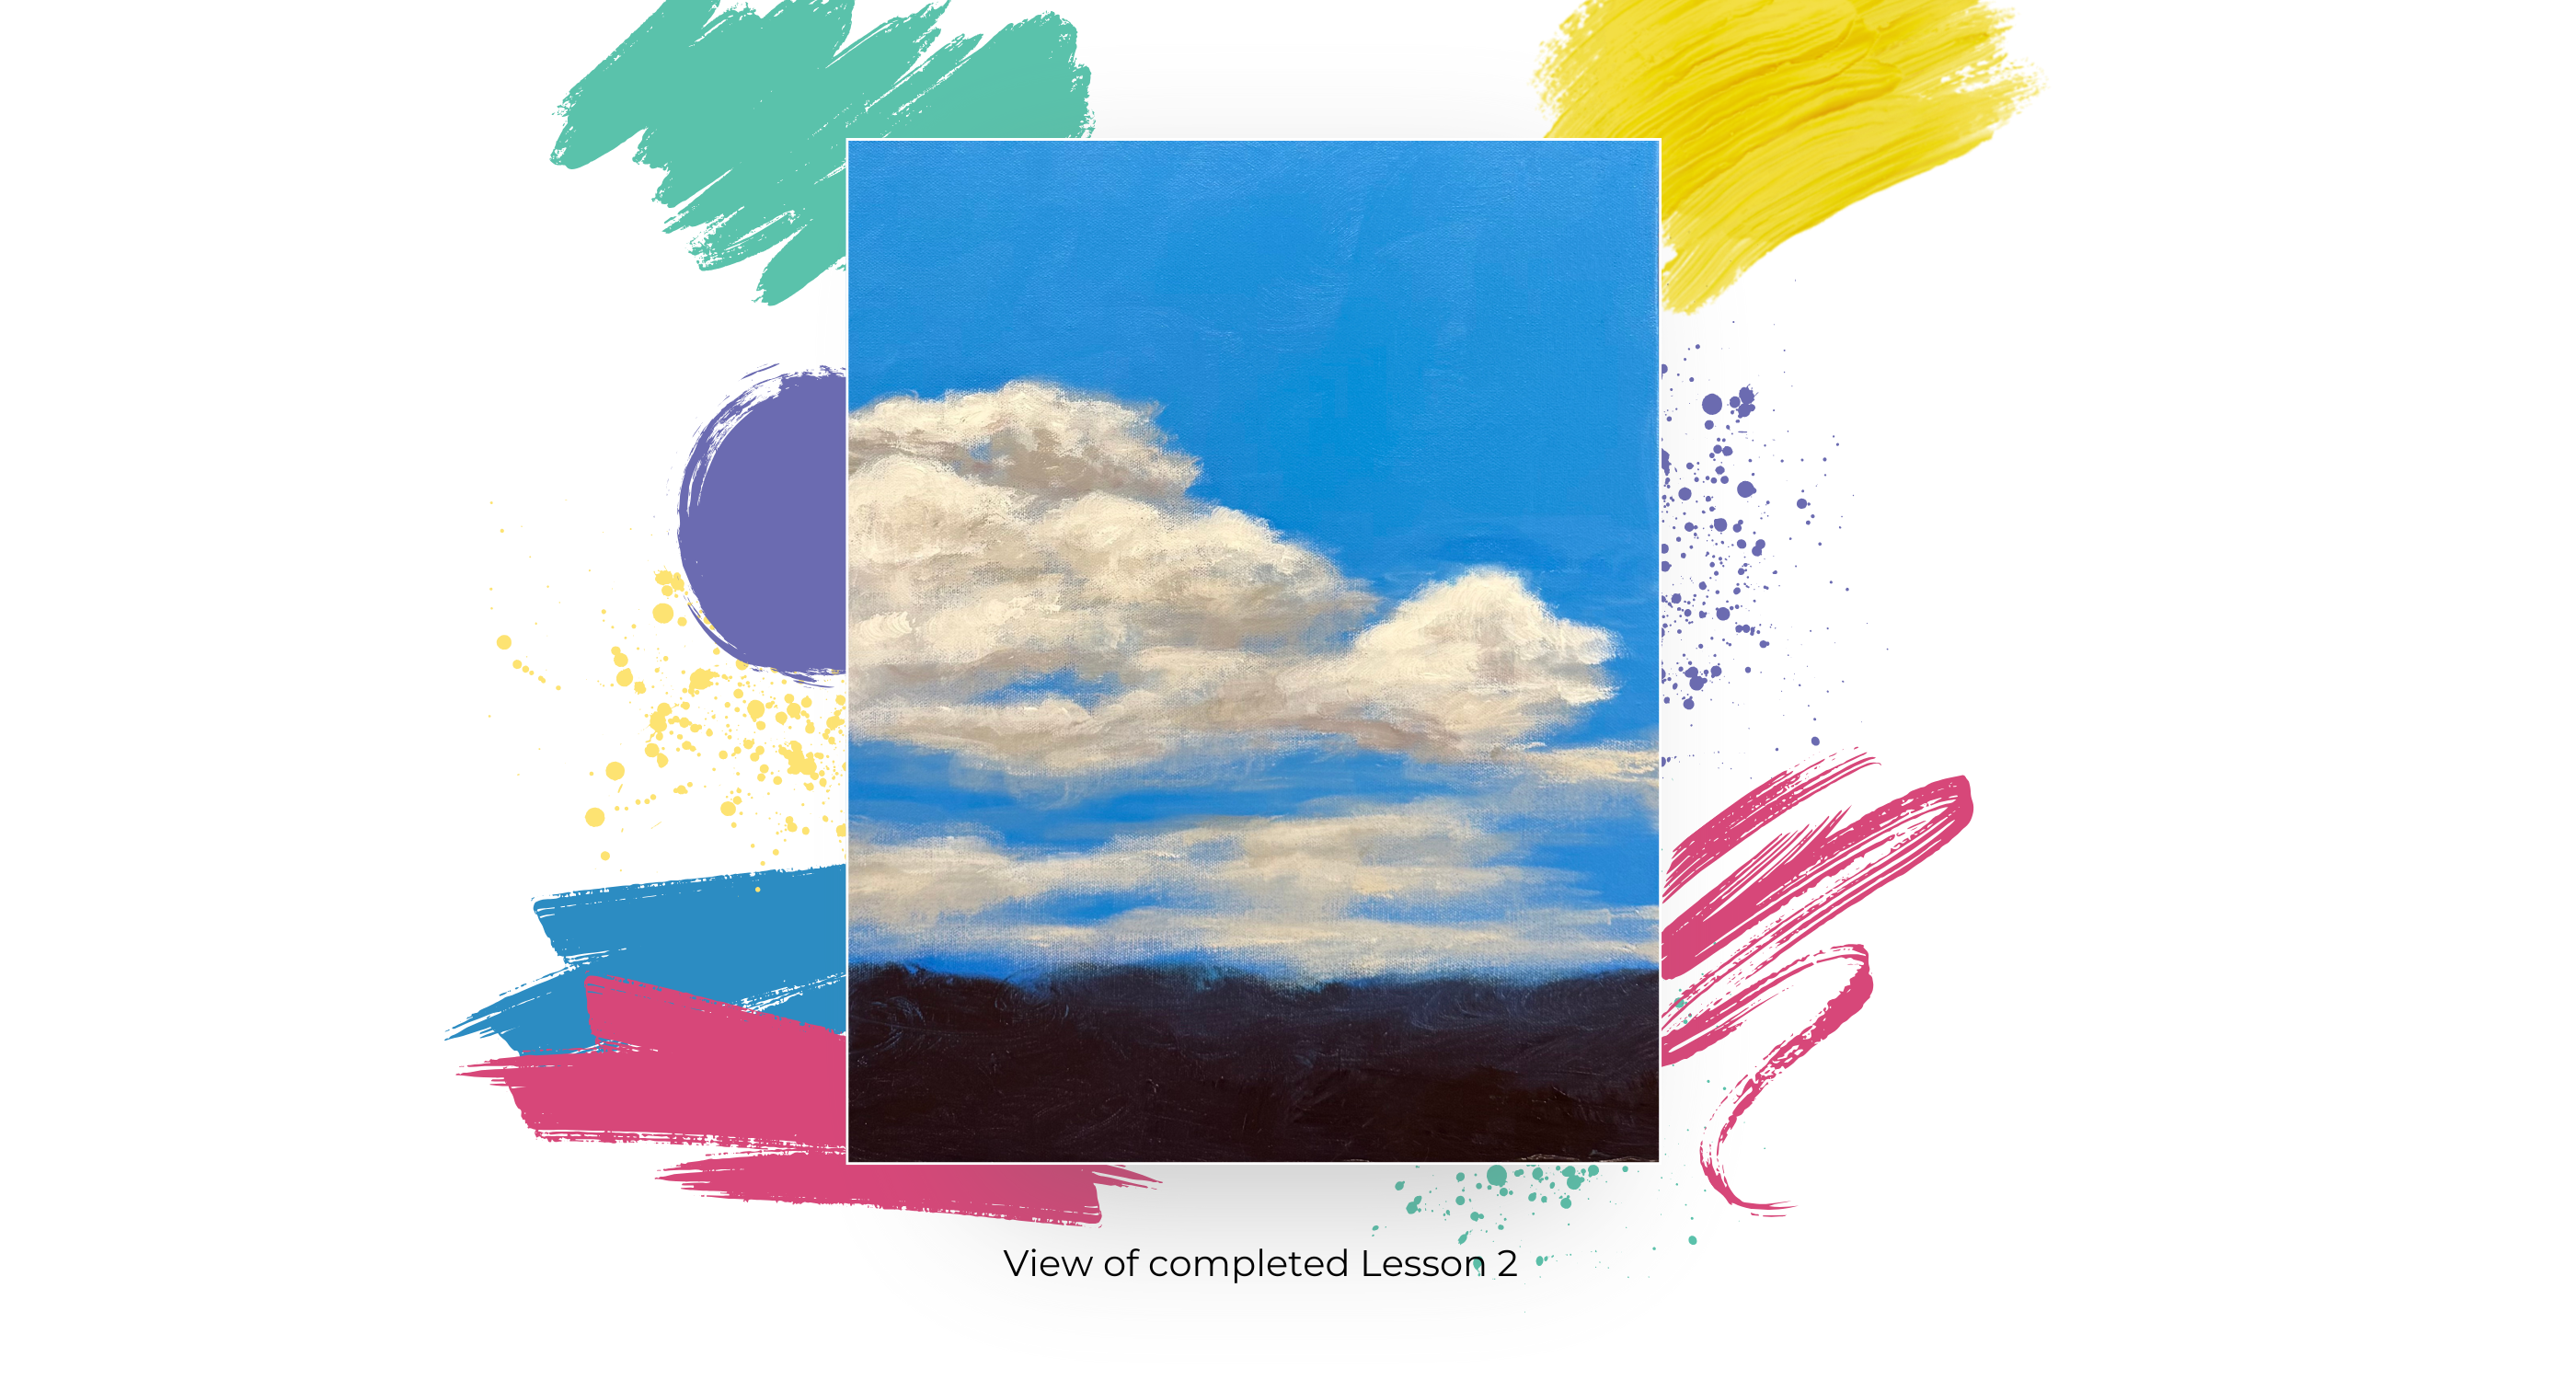
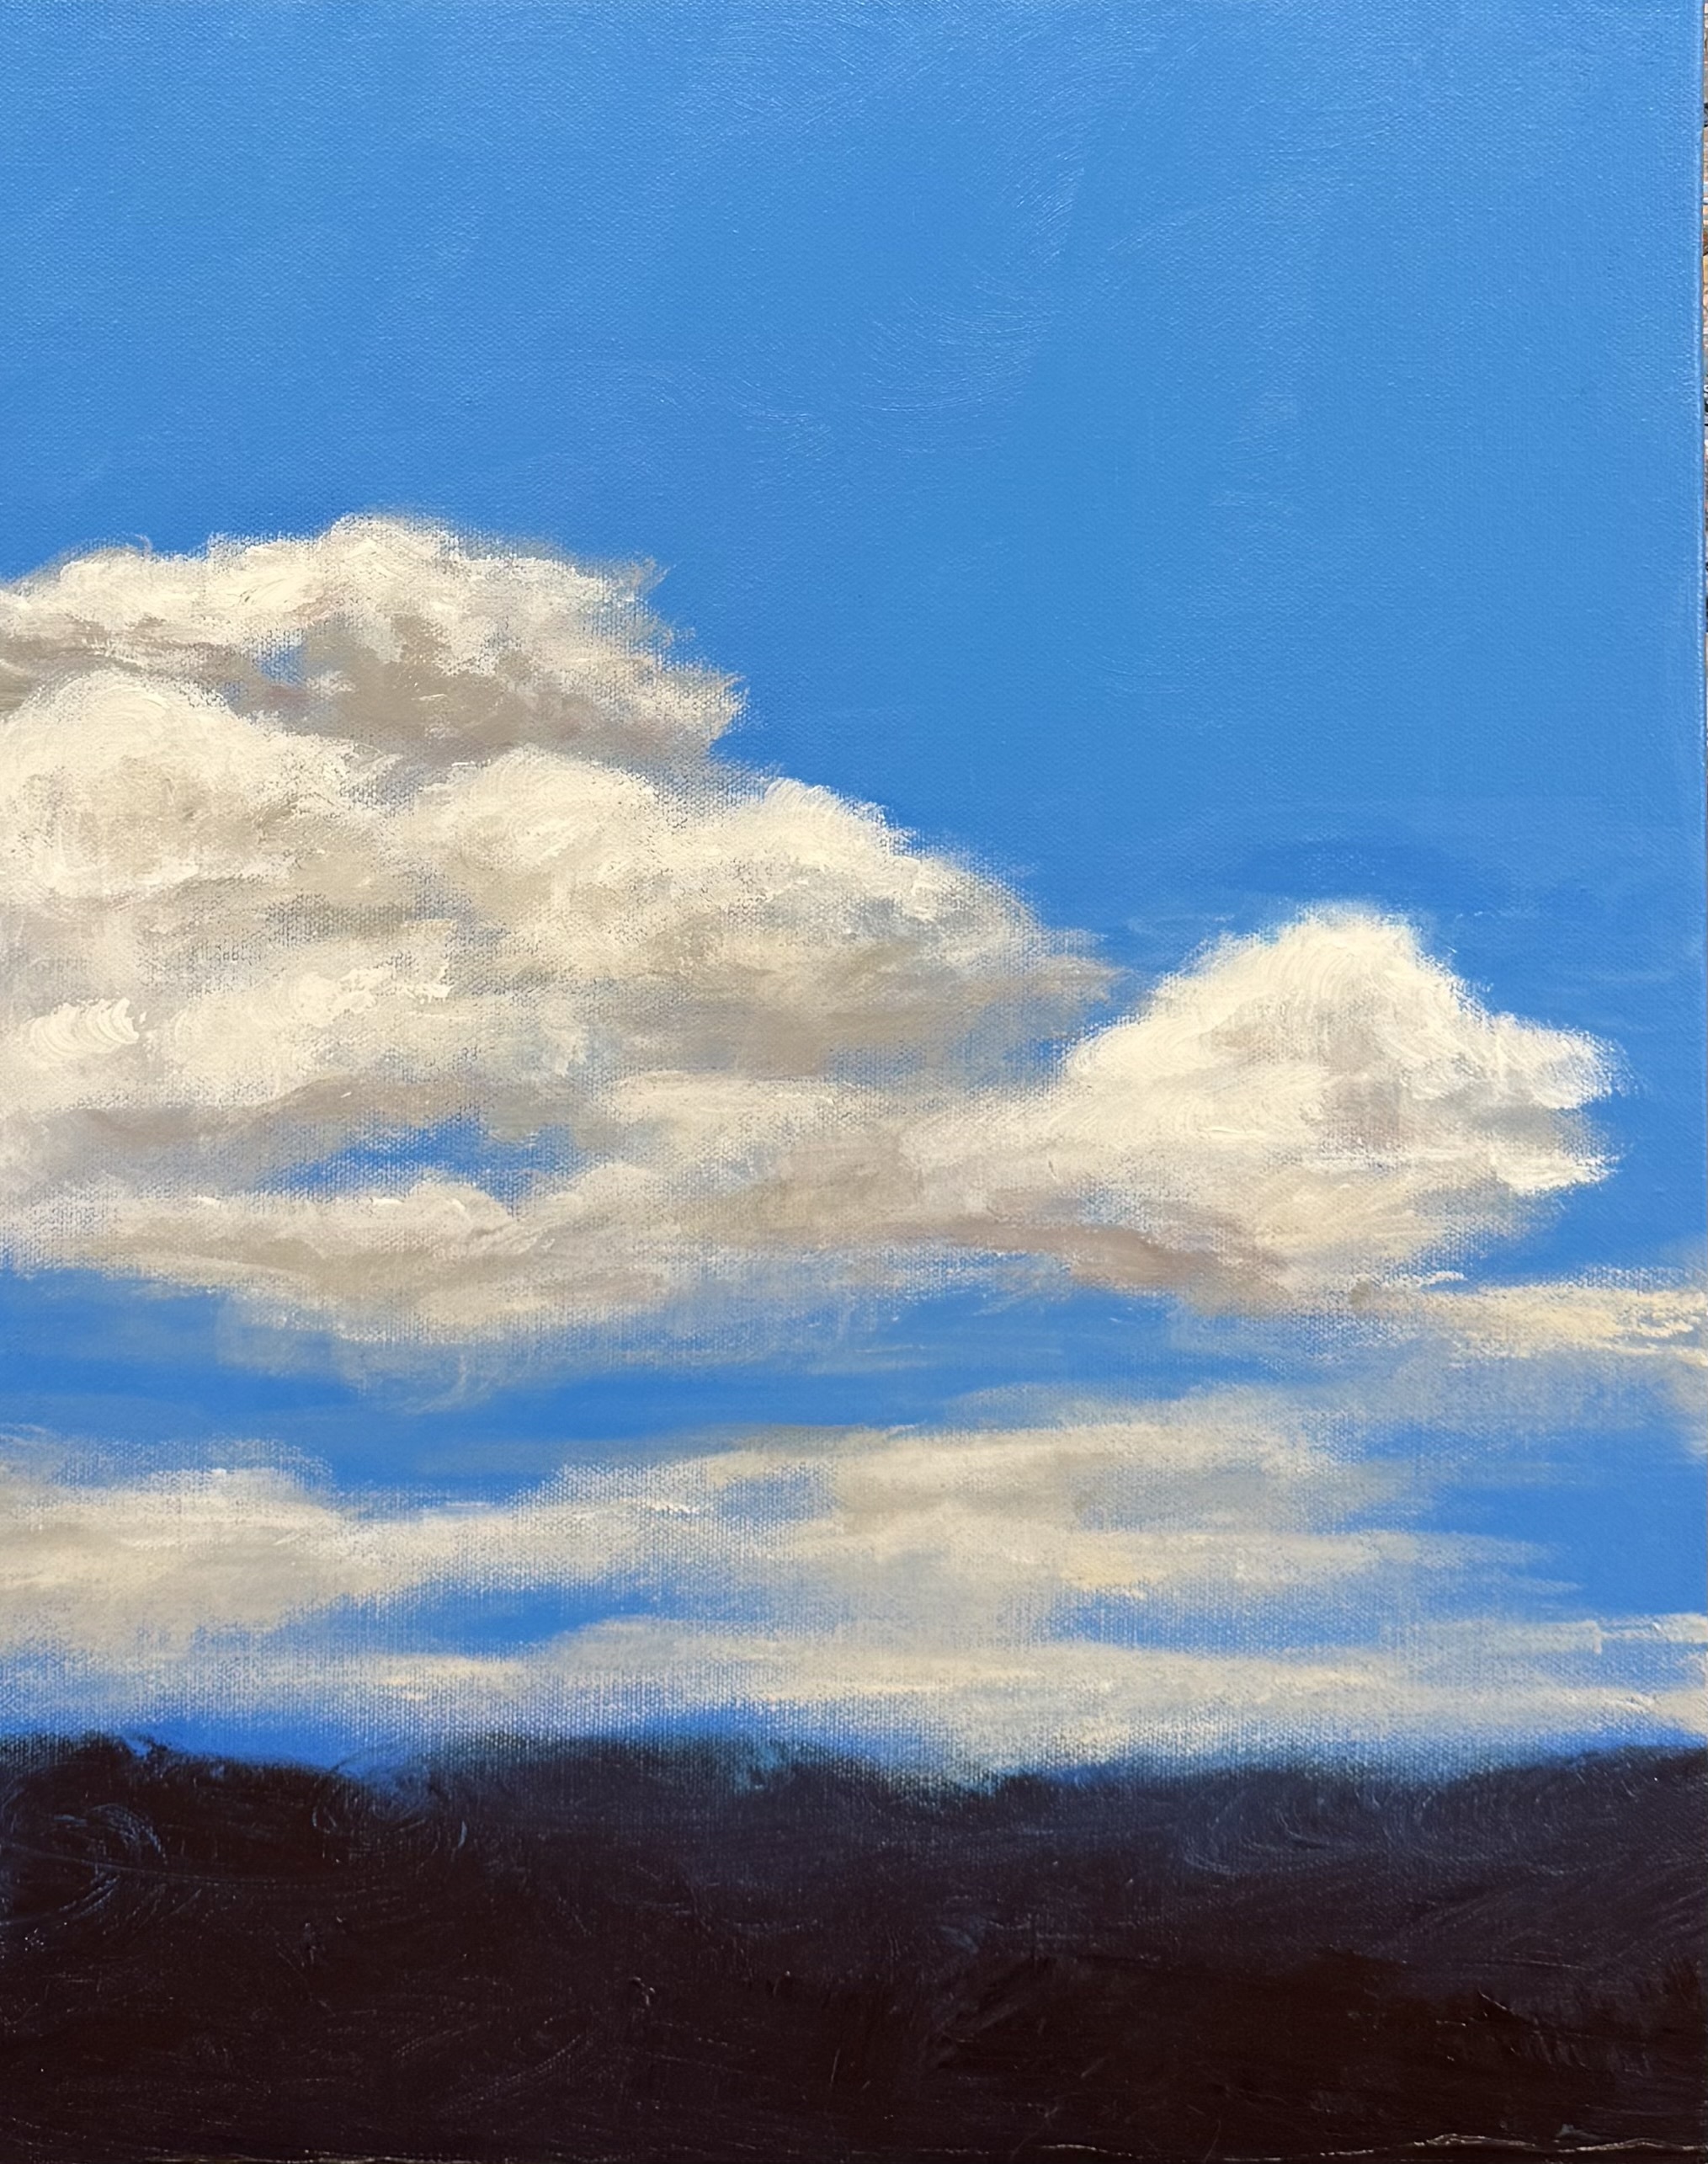
Lesson 2: The Clouds
Sponge, Baby wipe
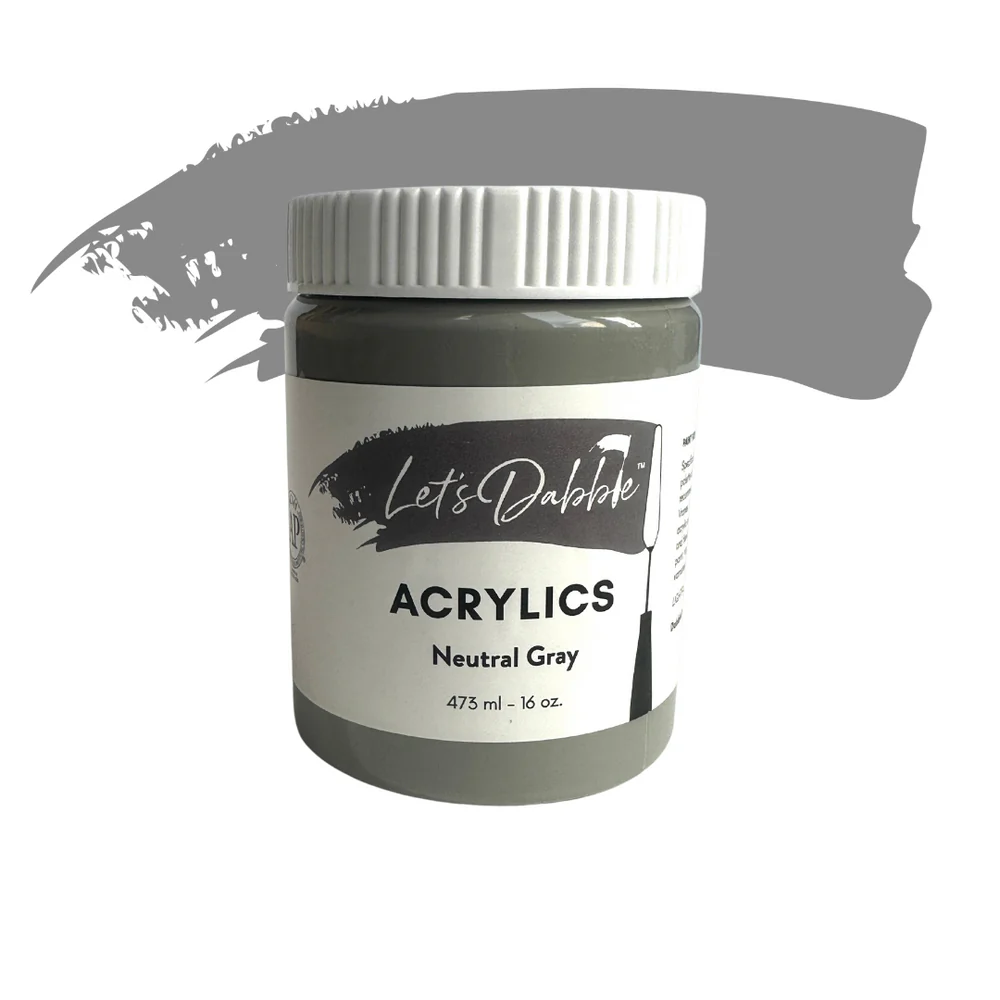
Neutral gray
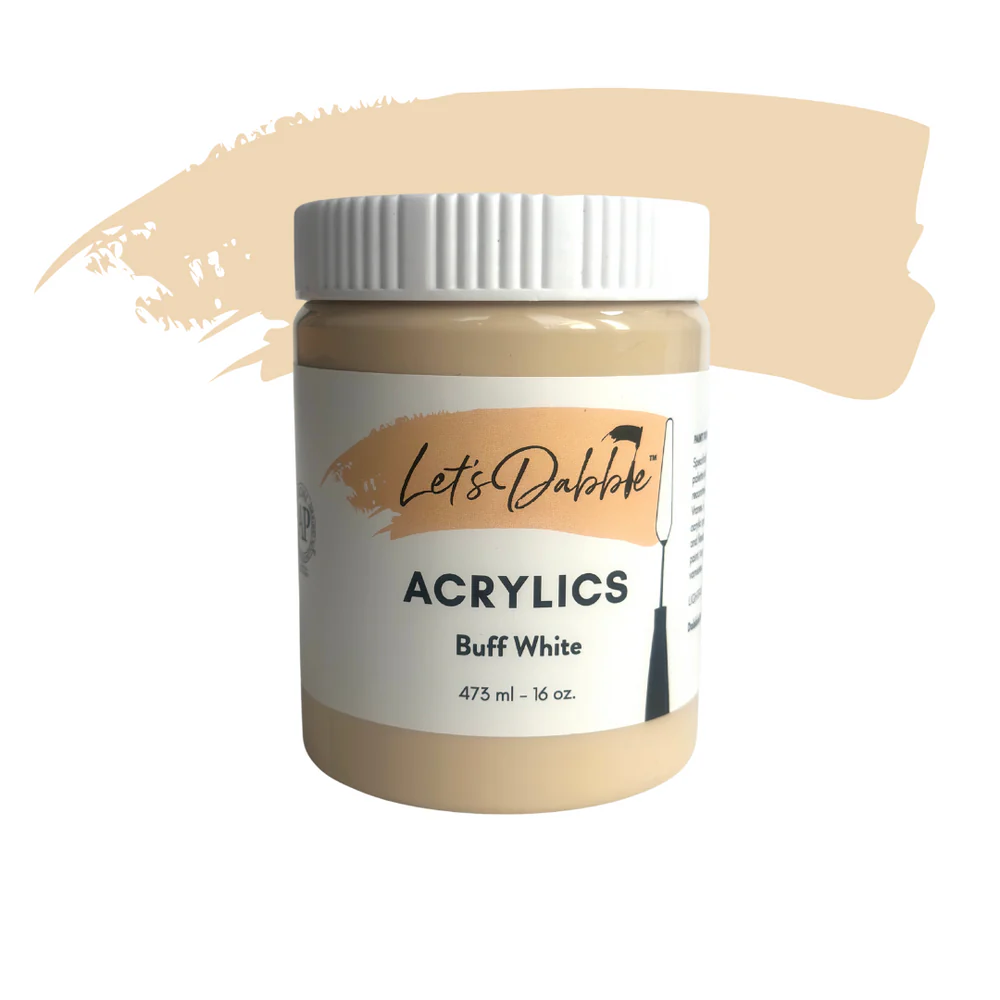
Buff white
Titanium white
Using your sponge, combine neutral gray, buff white and titanium white to create a warm gray tone. Decide cloud placement—typically above the middle of the canvas then lightly shape the clouds. Create soft, rounded shapes rather than sharp edges. Extend the cloud edges slightly downward to allow for blending with later elements.
Add a little bit more titanium white to the same mixture. Apply lightly over the initial cloud shapes. Leave some darker areas for contrast.
Use a baby wipe to blur the edges. Blend areas where colors transition. Add just titanium white to the top of clouds where sunlight hits.
You are ready for the next lesson.
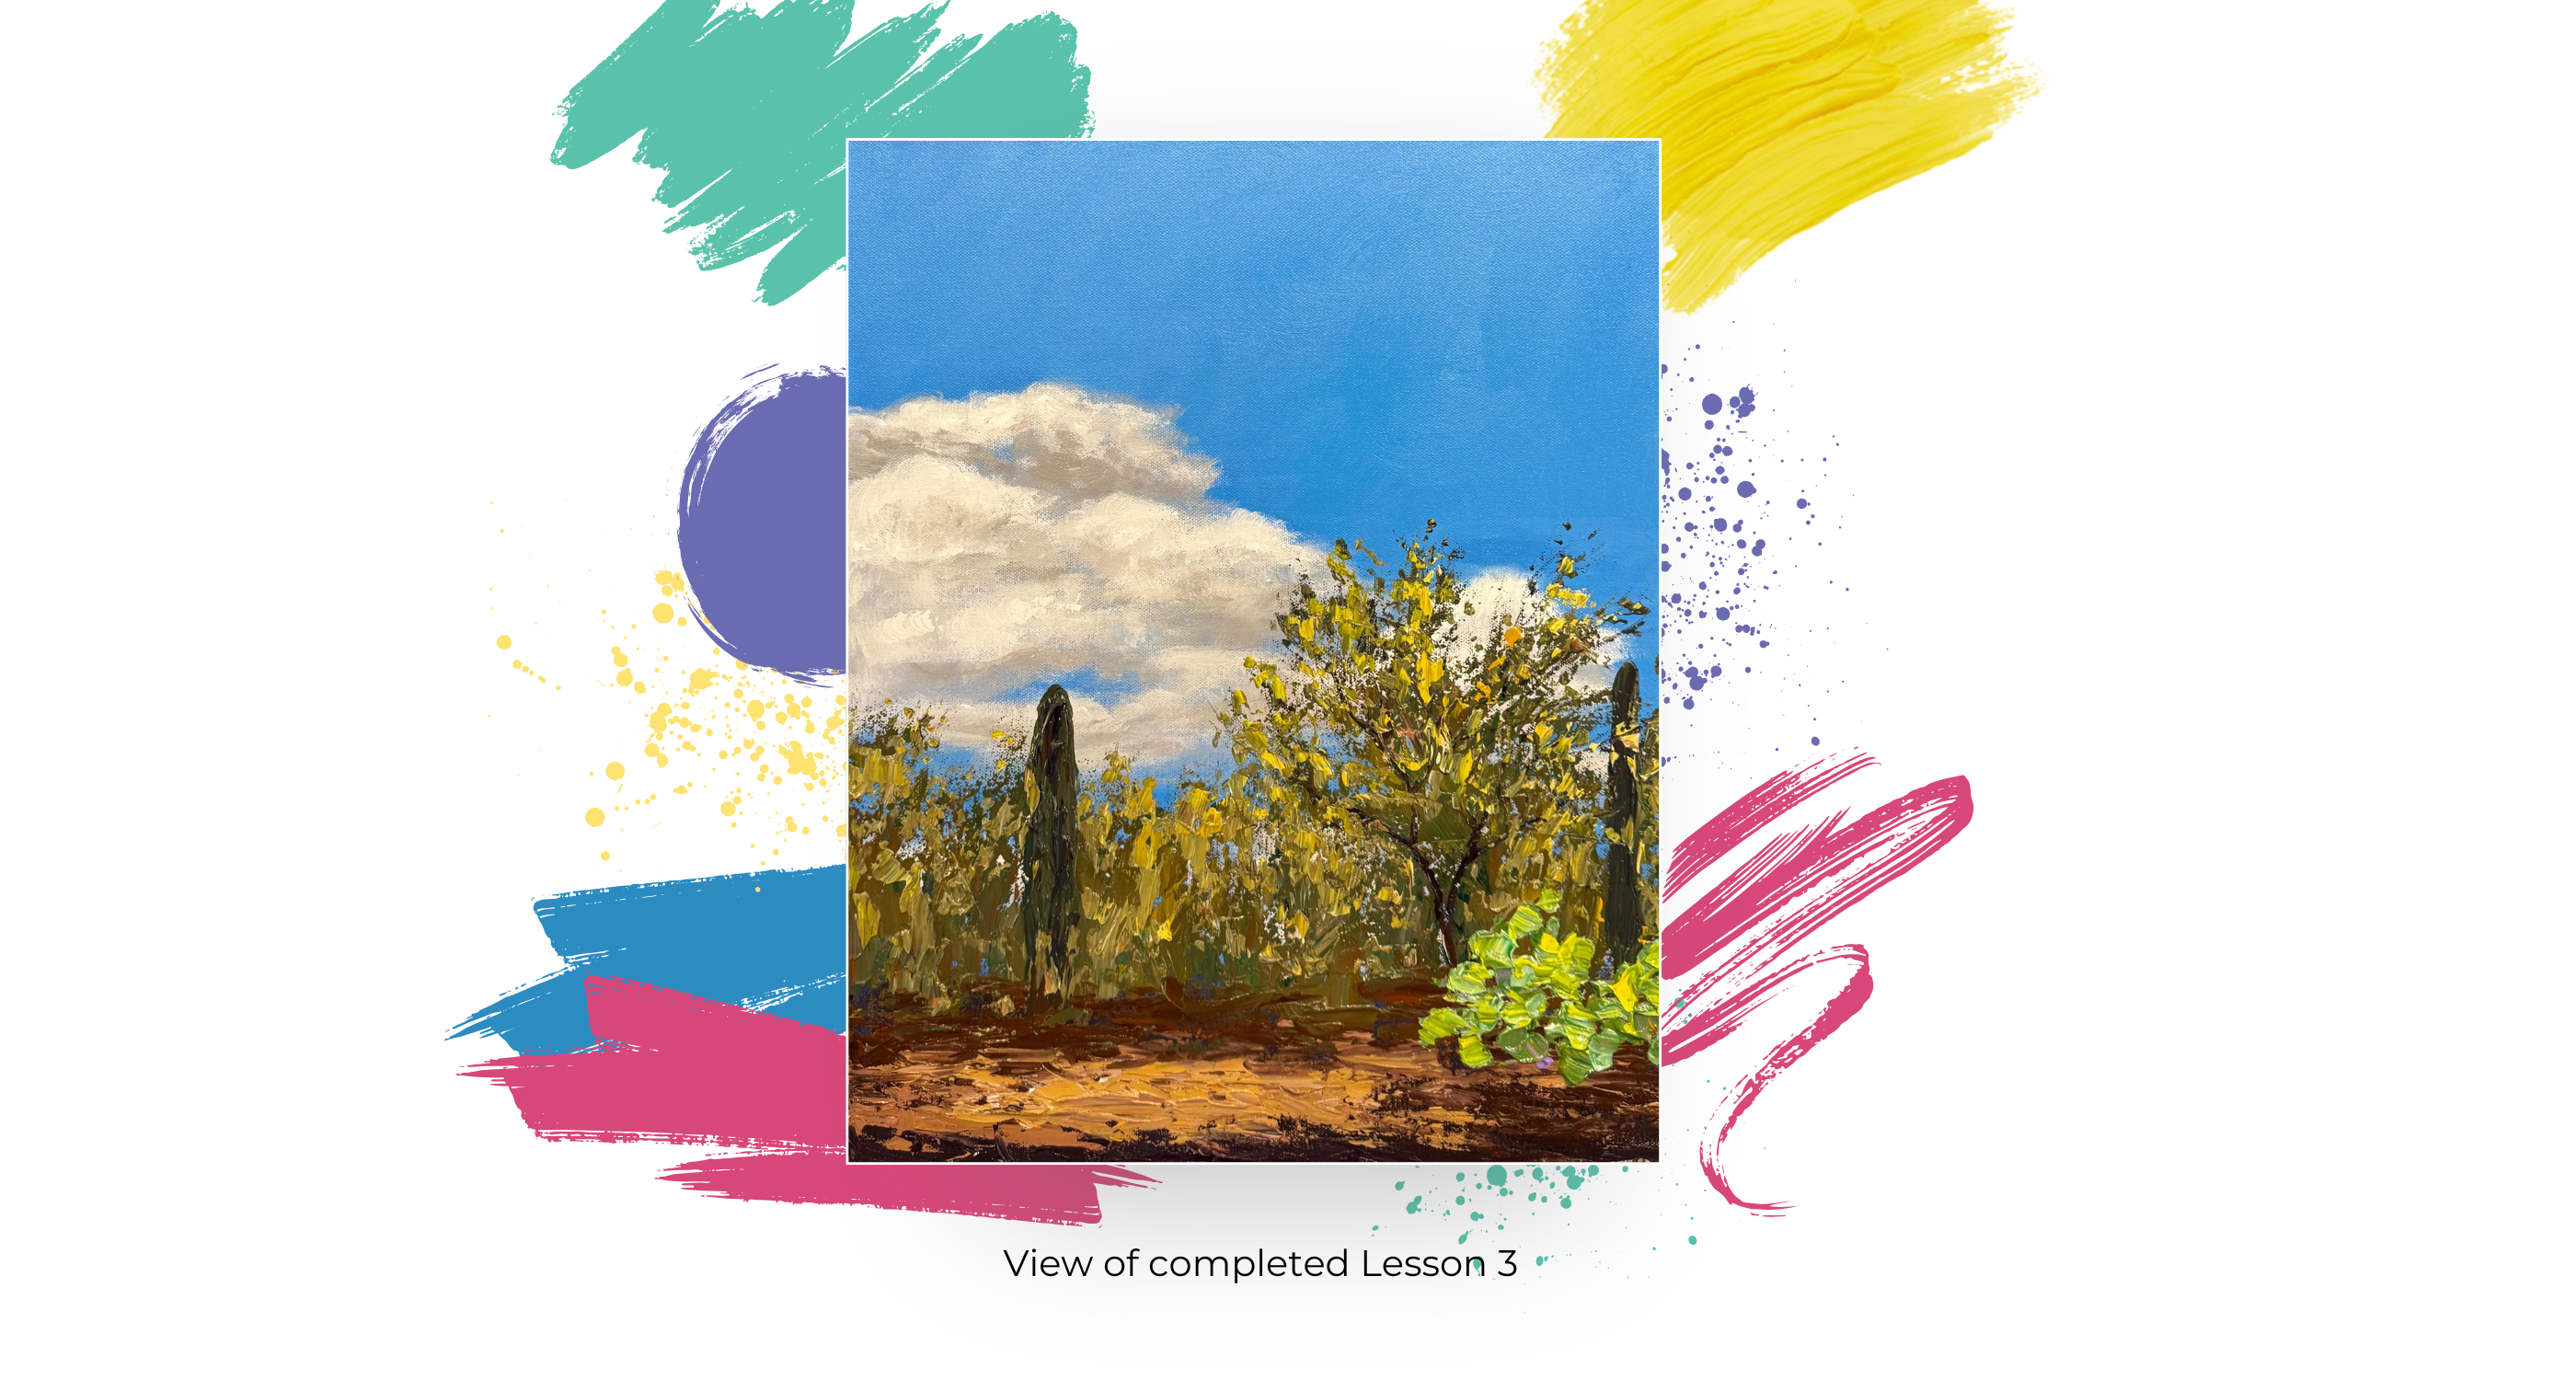
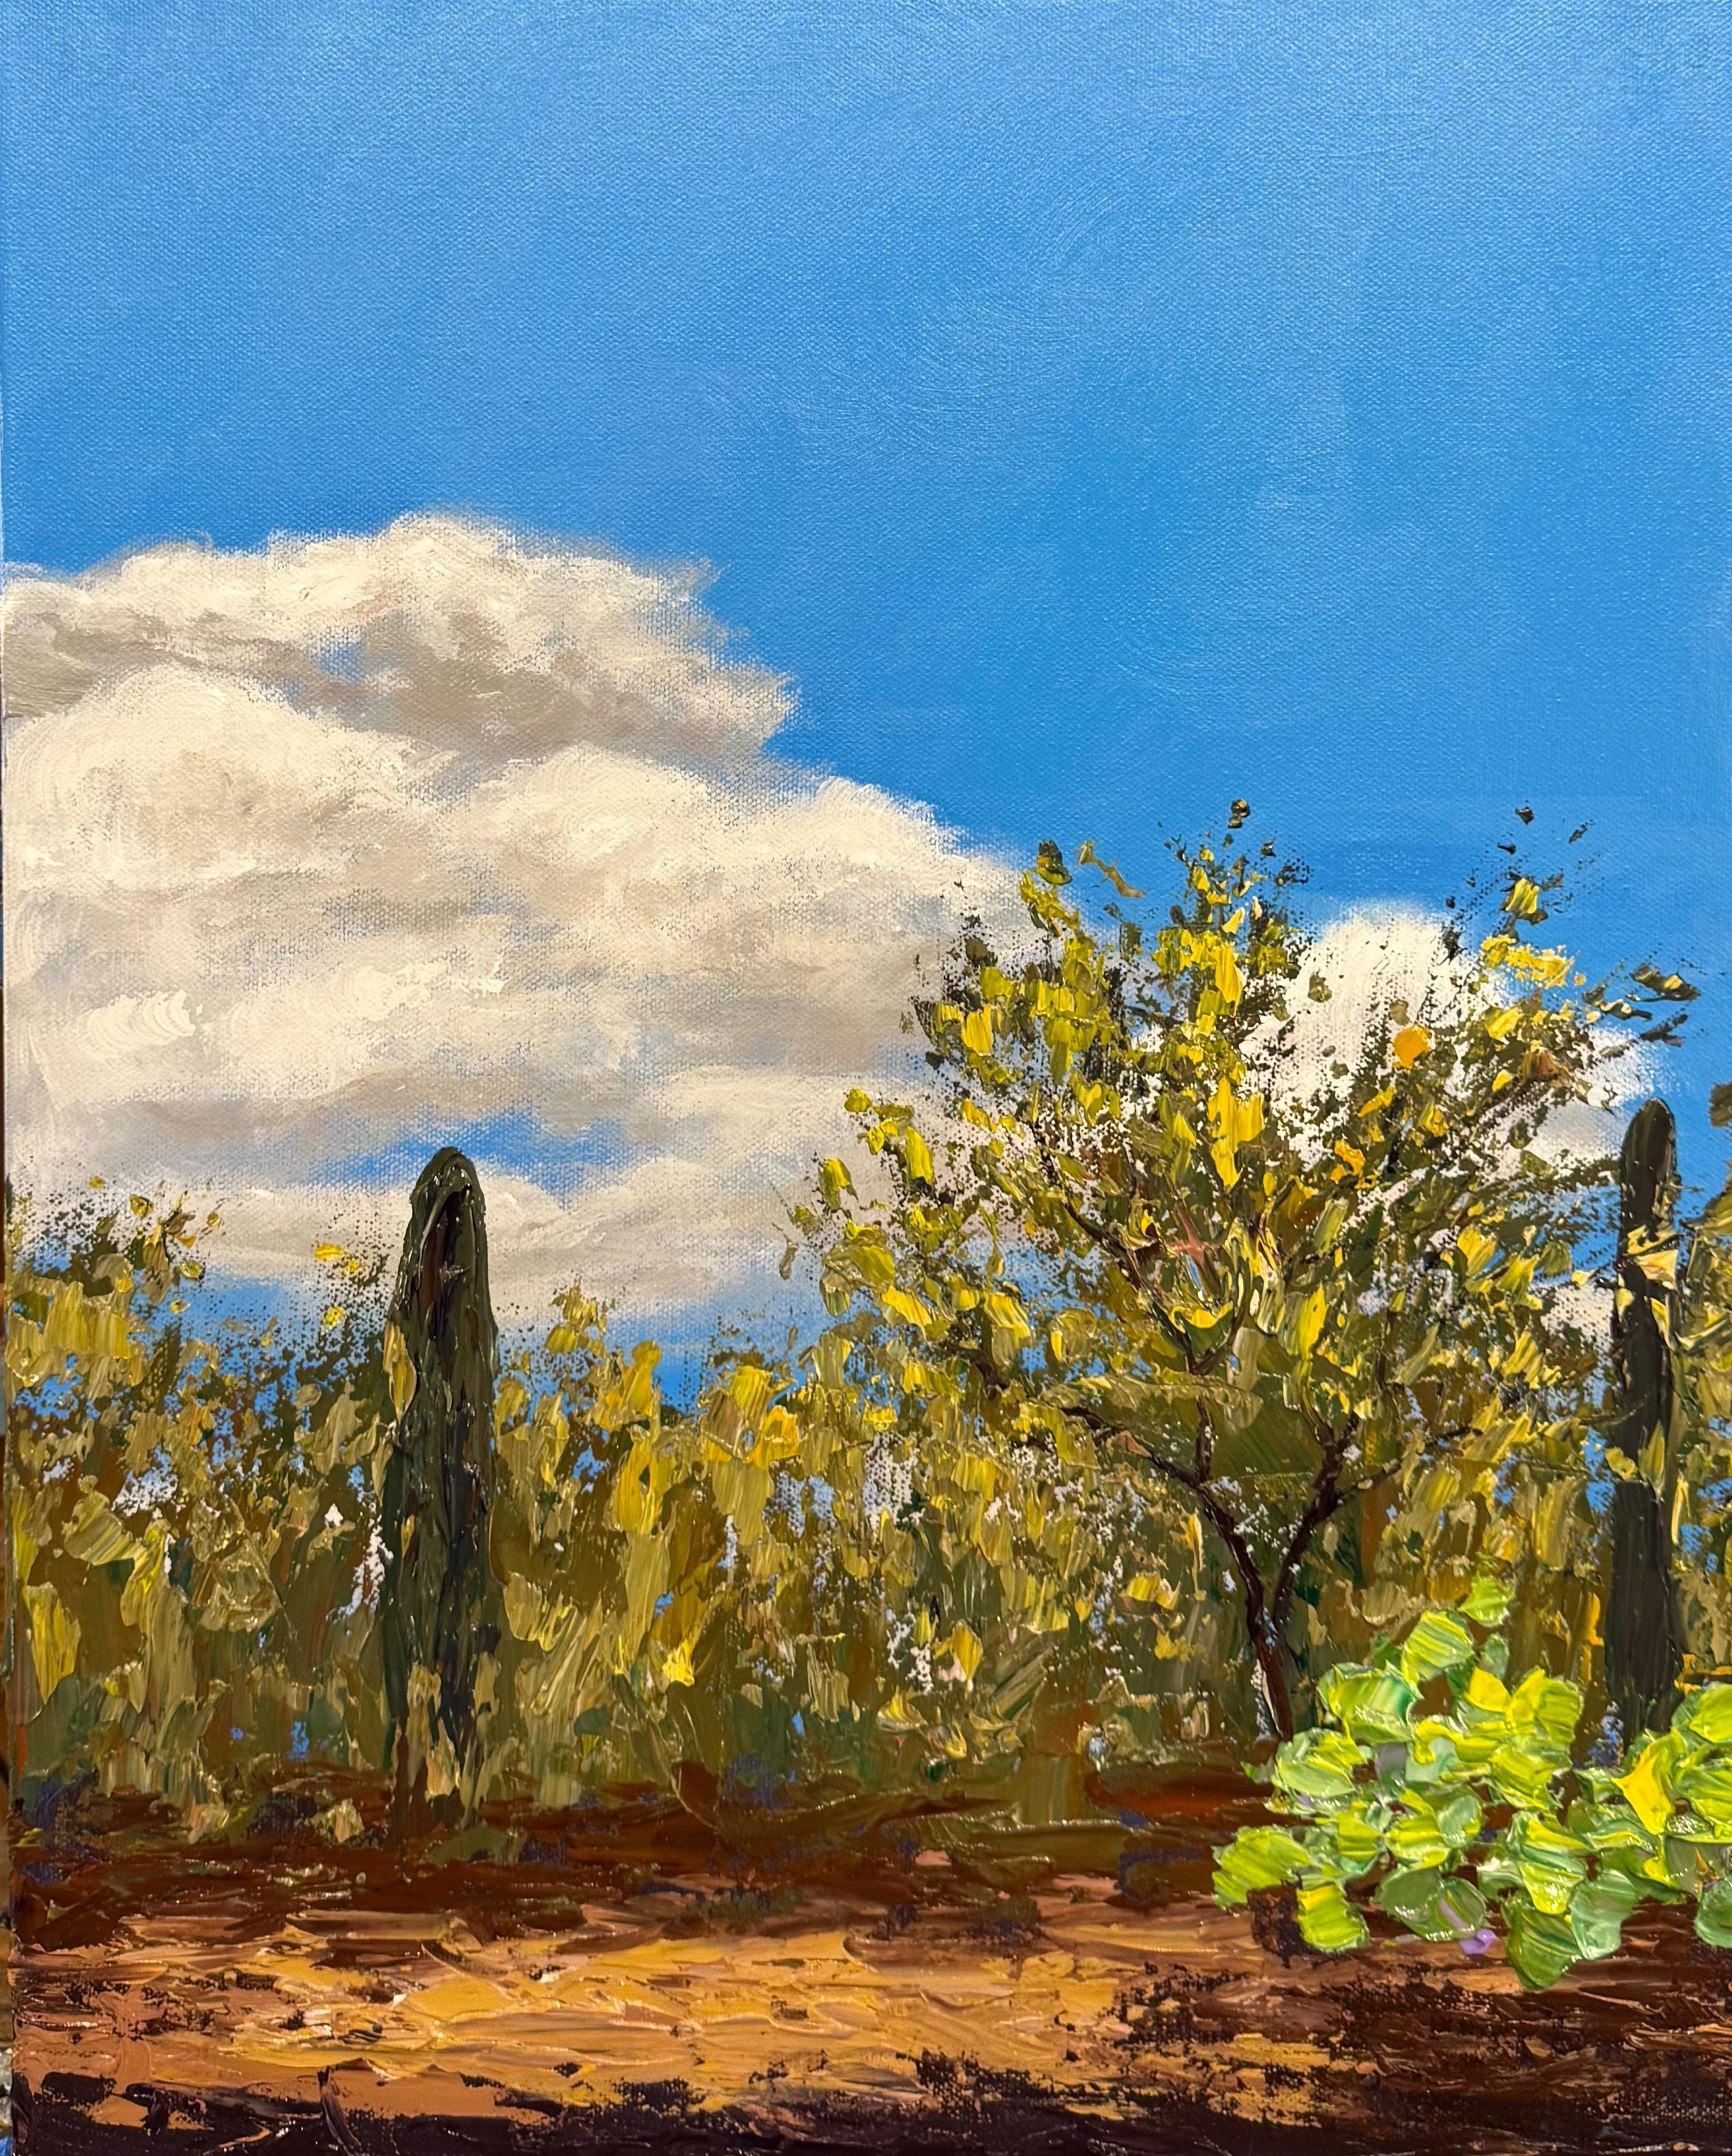
Lesson 3: Distant Cacti
#7 and #8 or #9, #1, #2 or #3 Let’s Dabble Art palette knives, #1 Let’s Dabble Art brush
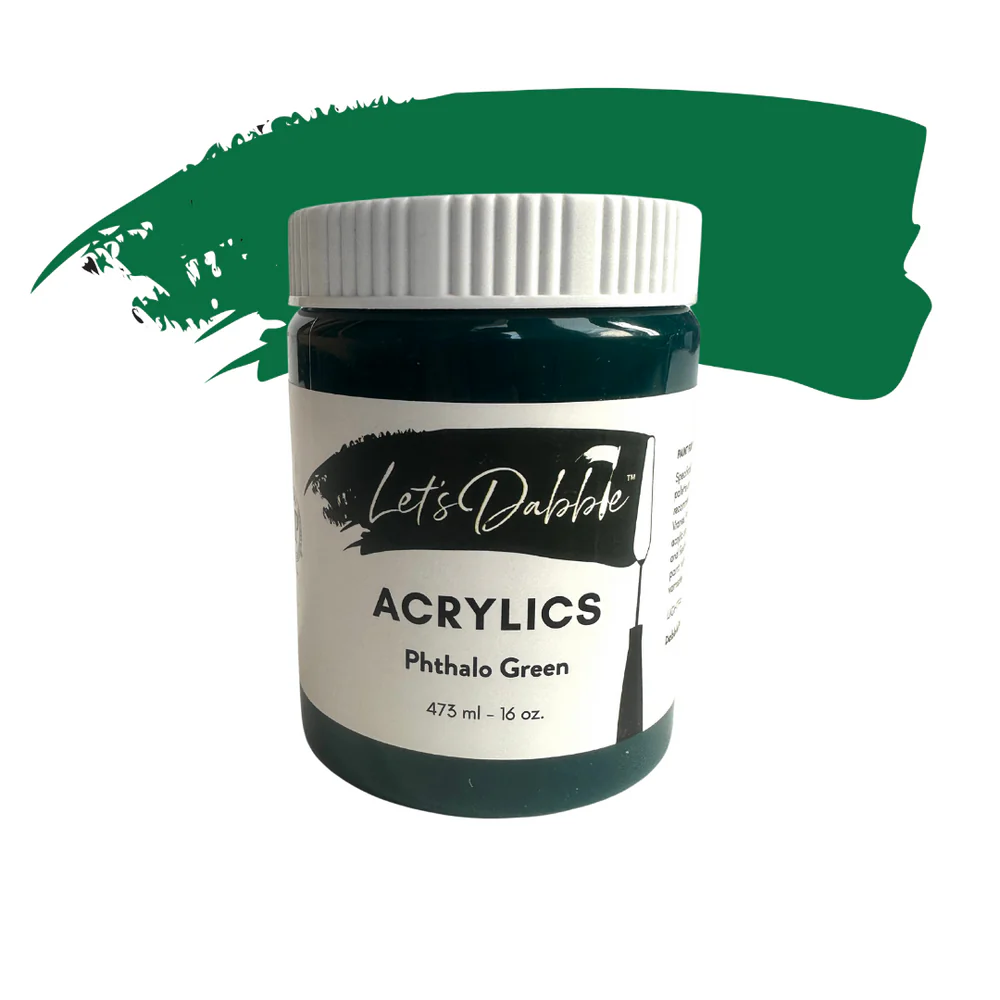
Phthalo green
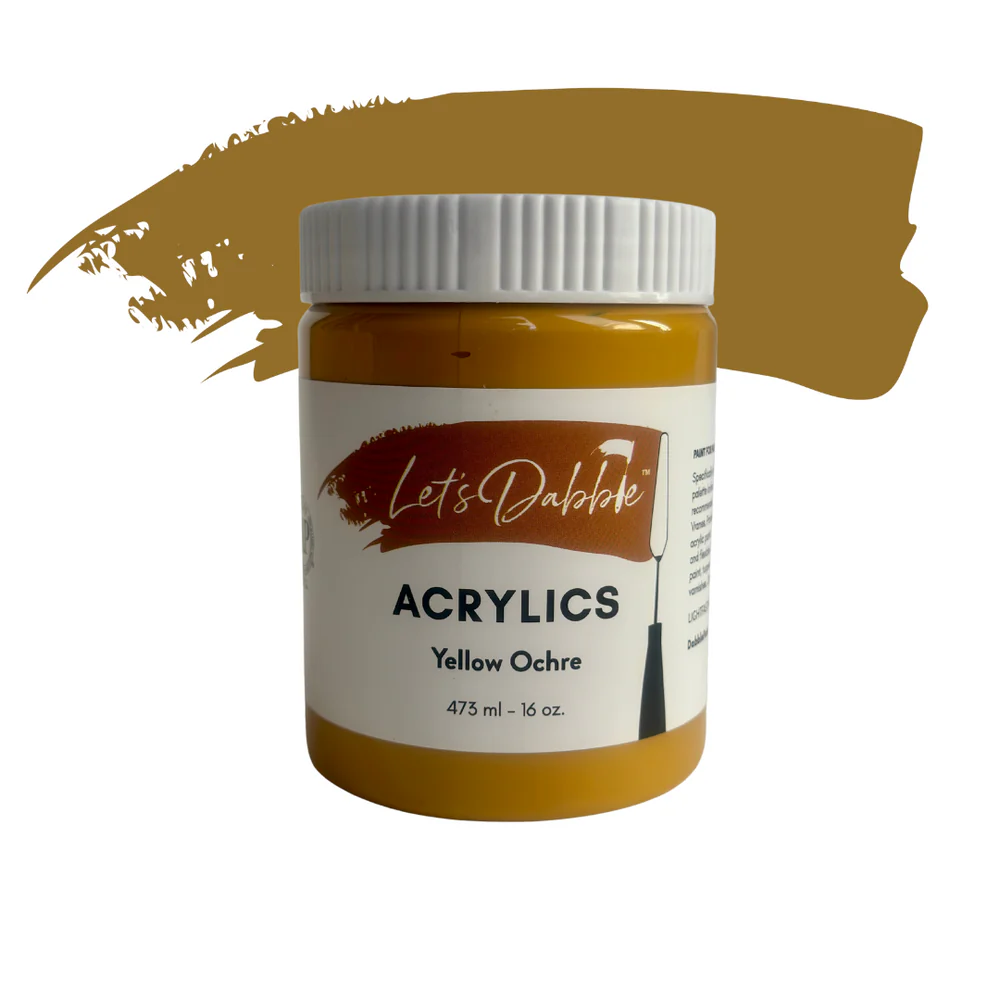
Yellow ochre
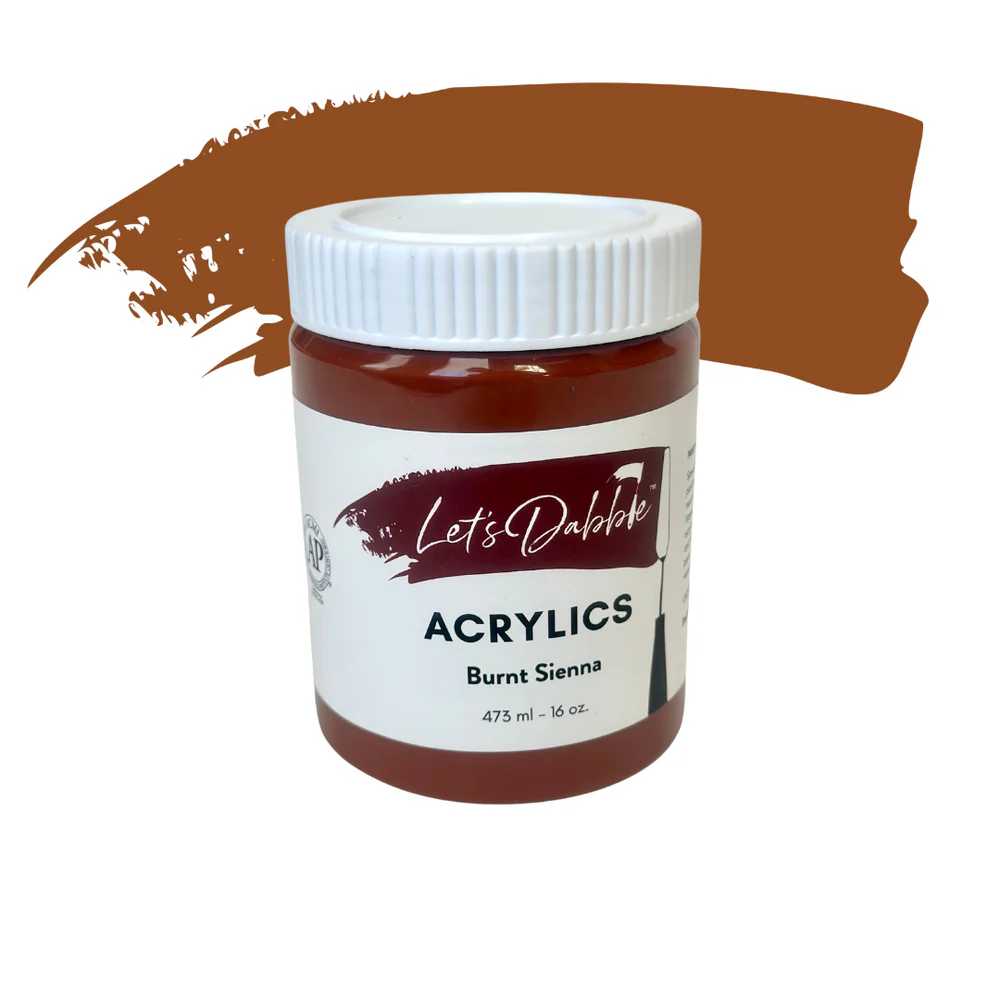
Burnt sienna
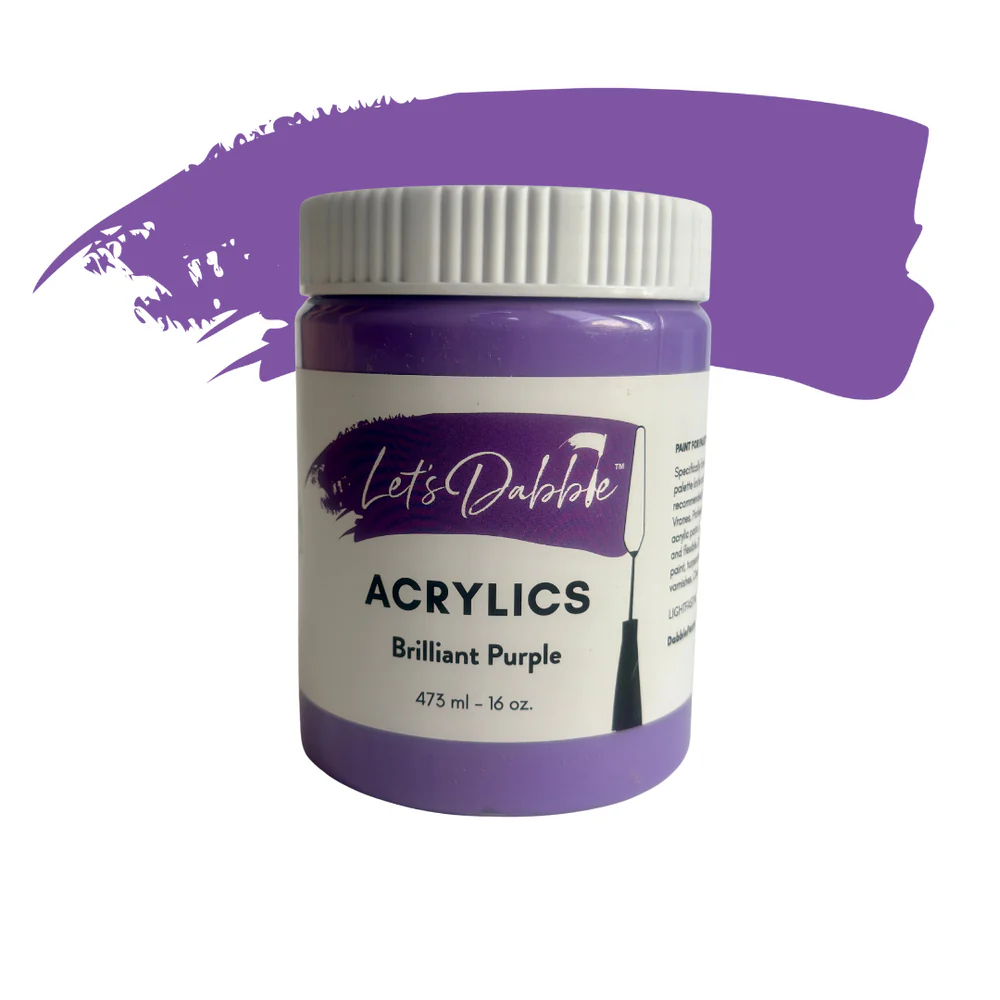
Brilliant purple
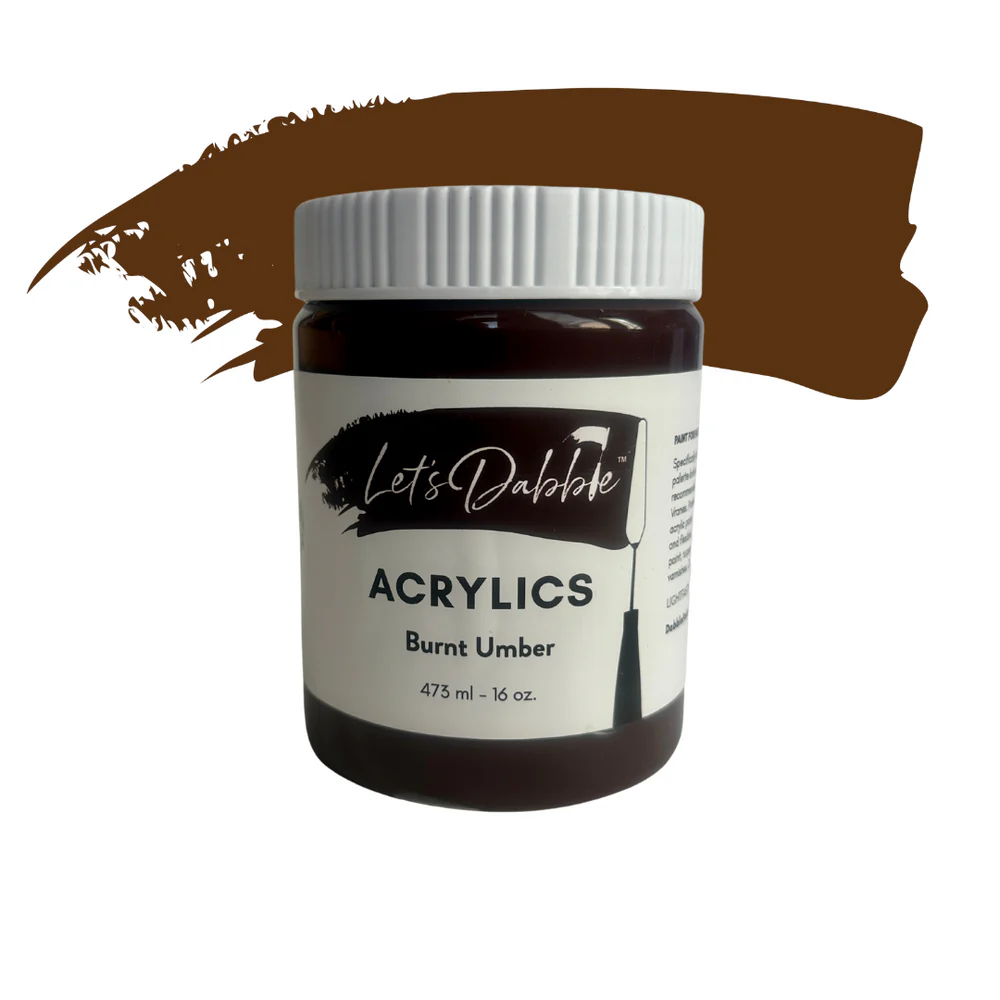
Burnt umber
Ultramarine blue
Buff white
Lemon yellow
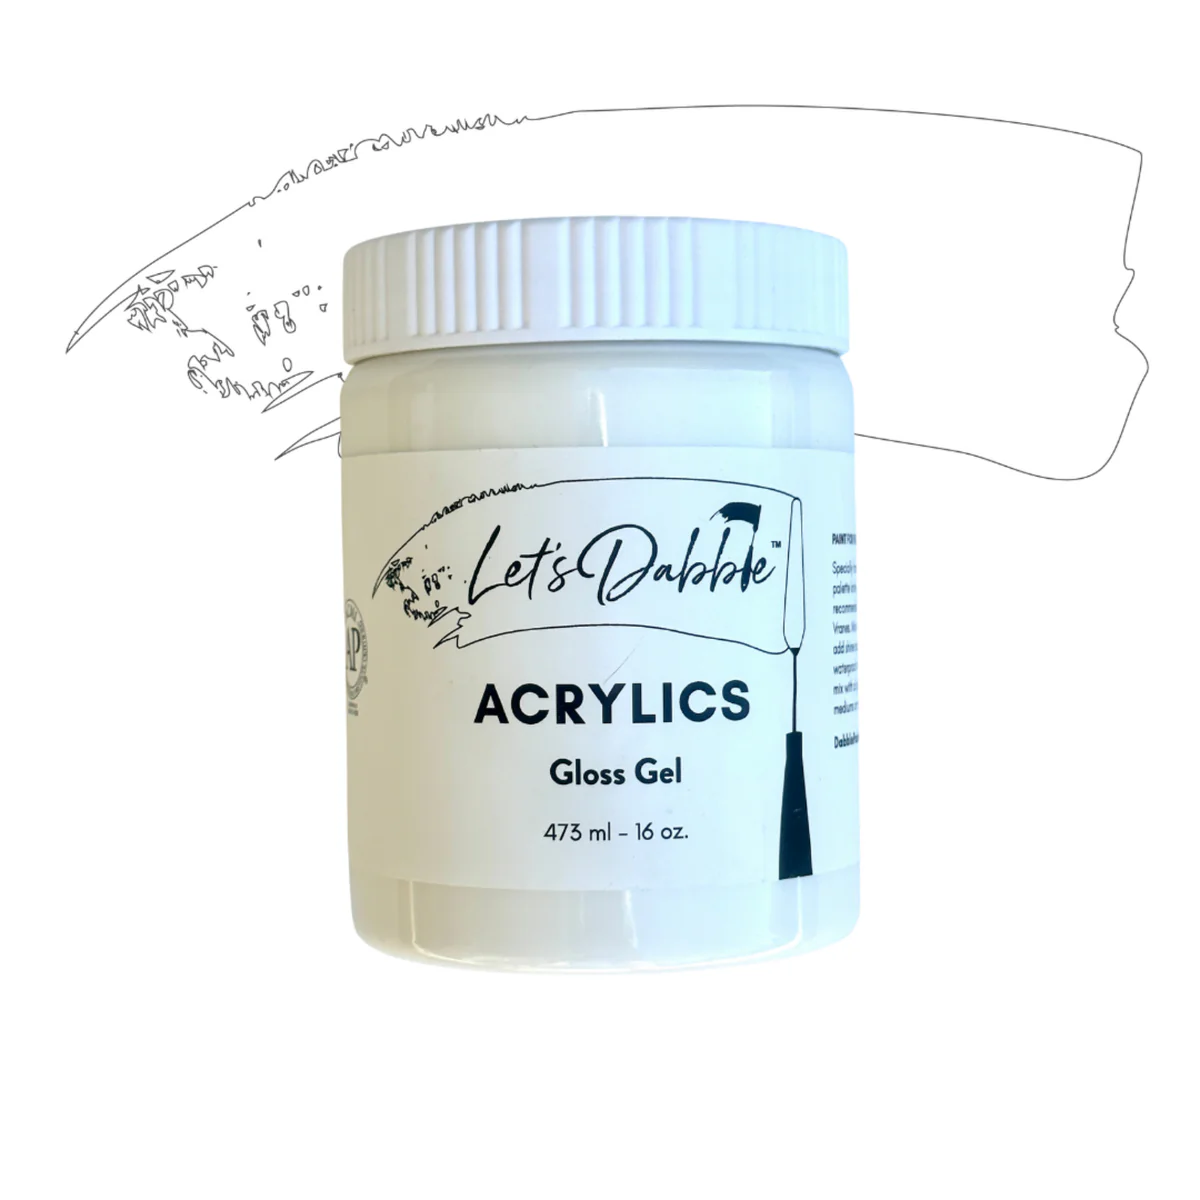
Gloss gel
Pro Tip: Gloss gel dries clear, so it takes on the color of your paint. It is a way to extend your paint. This is more economical than using all paint. Gloss gel also adds a bit of shine to your paint much like the look of oil paints. I mix it anywhere from about 30/50 gel/paint ratio to about 50/50.
Painting the Background Ironwood Tree
Using your #7 palette knife, mix phthalo green, yellow ochre and burnt sienna, brilliant purple, ultramarine blue and gloss gel. Load up your palette knife and start at the base, flicking the paint upwards.
Desert Ground
Mix dark purple, burnt umber and burnt sienna and apply using horizontal strokes. Add buff white, yellow ochre and gloss gel to the mixture then lightly scrape across the surface. Add ultramarine blue to the dark purple and burnt umber mixture and apply. Pick up and flip your canvas and paint the very bottom. Keep it loose.
Painting Small Cacti & Prickly Pears
Grab your #8 or #9 palette knife, add burnt sienna, burnt umber and gloss gel to the army green mixture then create clustered oval shapes.
Continue with your #1 brush and finish up your Palo Verde Trees. Use a fan-like motion to create the wispy texture of Palo Verde branches. Switch to your #7 palette knife and layer in different shades. To add depth to the Palo Verde trees, create small dots at the branch tips to break up dense areas, for straggler leaves. Then, apply a lighter layer by mixing yellow ochre, buff white, and titanium white. Lightly drag this mixture across the canvas to build soft texture while keeping the underlying layers visible. Since Palo Verde trees can appear more yellow in spring, add a mix of lemon yellow and yellow ochre for extra vibrancy. This technique creates a three-layered effect: a deep base, a mid-tone layer, and bright highlights.
Prickly Pears
A prickly pear cactus is made up of rounded pads that cluster together in a unique formation. If you're unfamiliar with its shape, looking up a reference can be helpful.
Grab your #1, 2 or #3 palette knife (whichever you’re comfortable with), mix phthalo green, lemon yellow, yellow ochre, brilliant purple and gloss gel. Start clustering small circular shapes together, layering them to build the form. Once the base is in place, add titanium white to the mixture.
You are ready for the next lesson.
Clean your palette knives and brush.
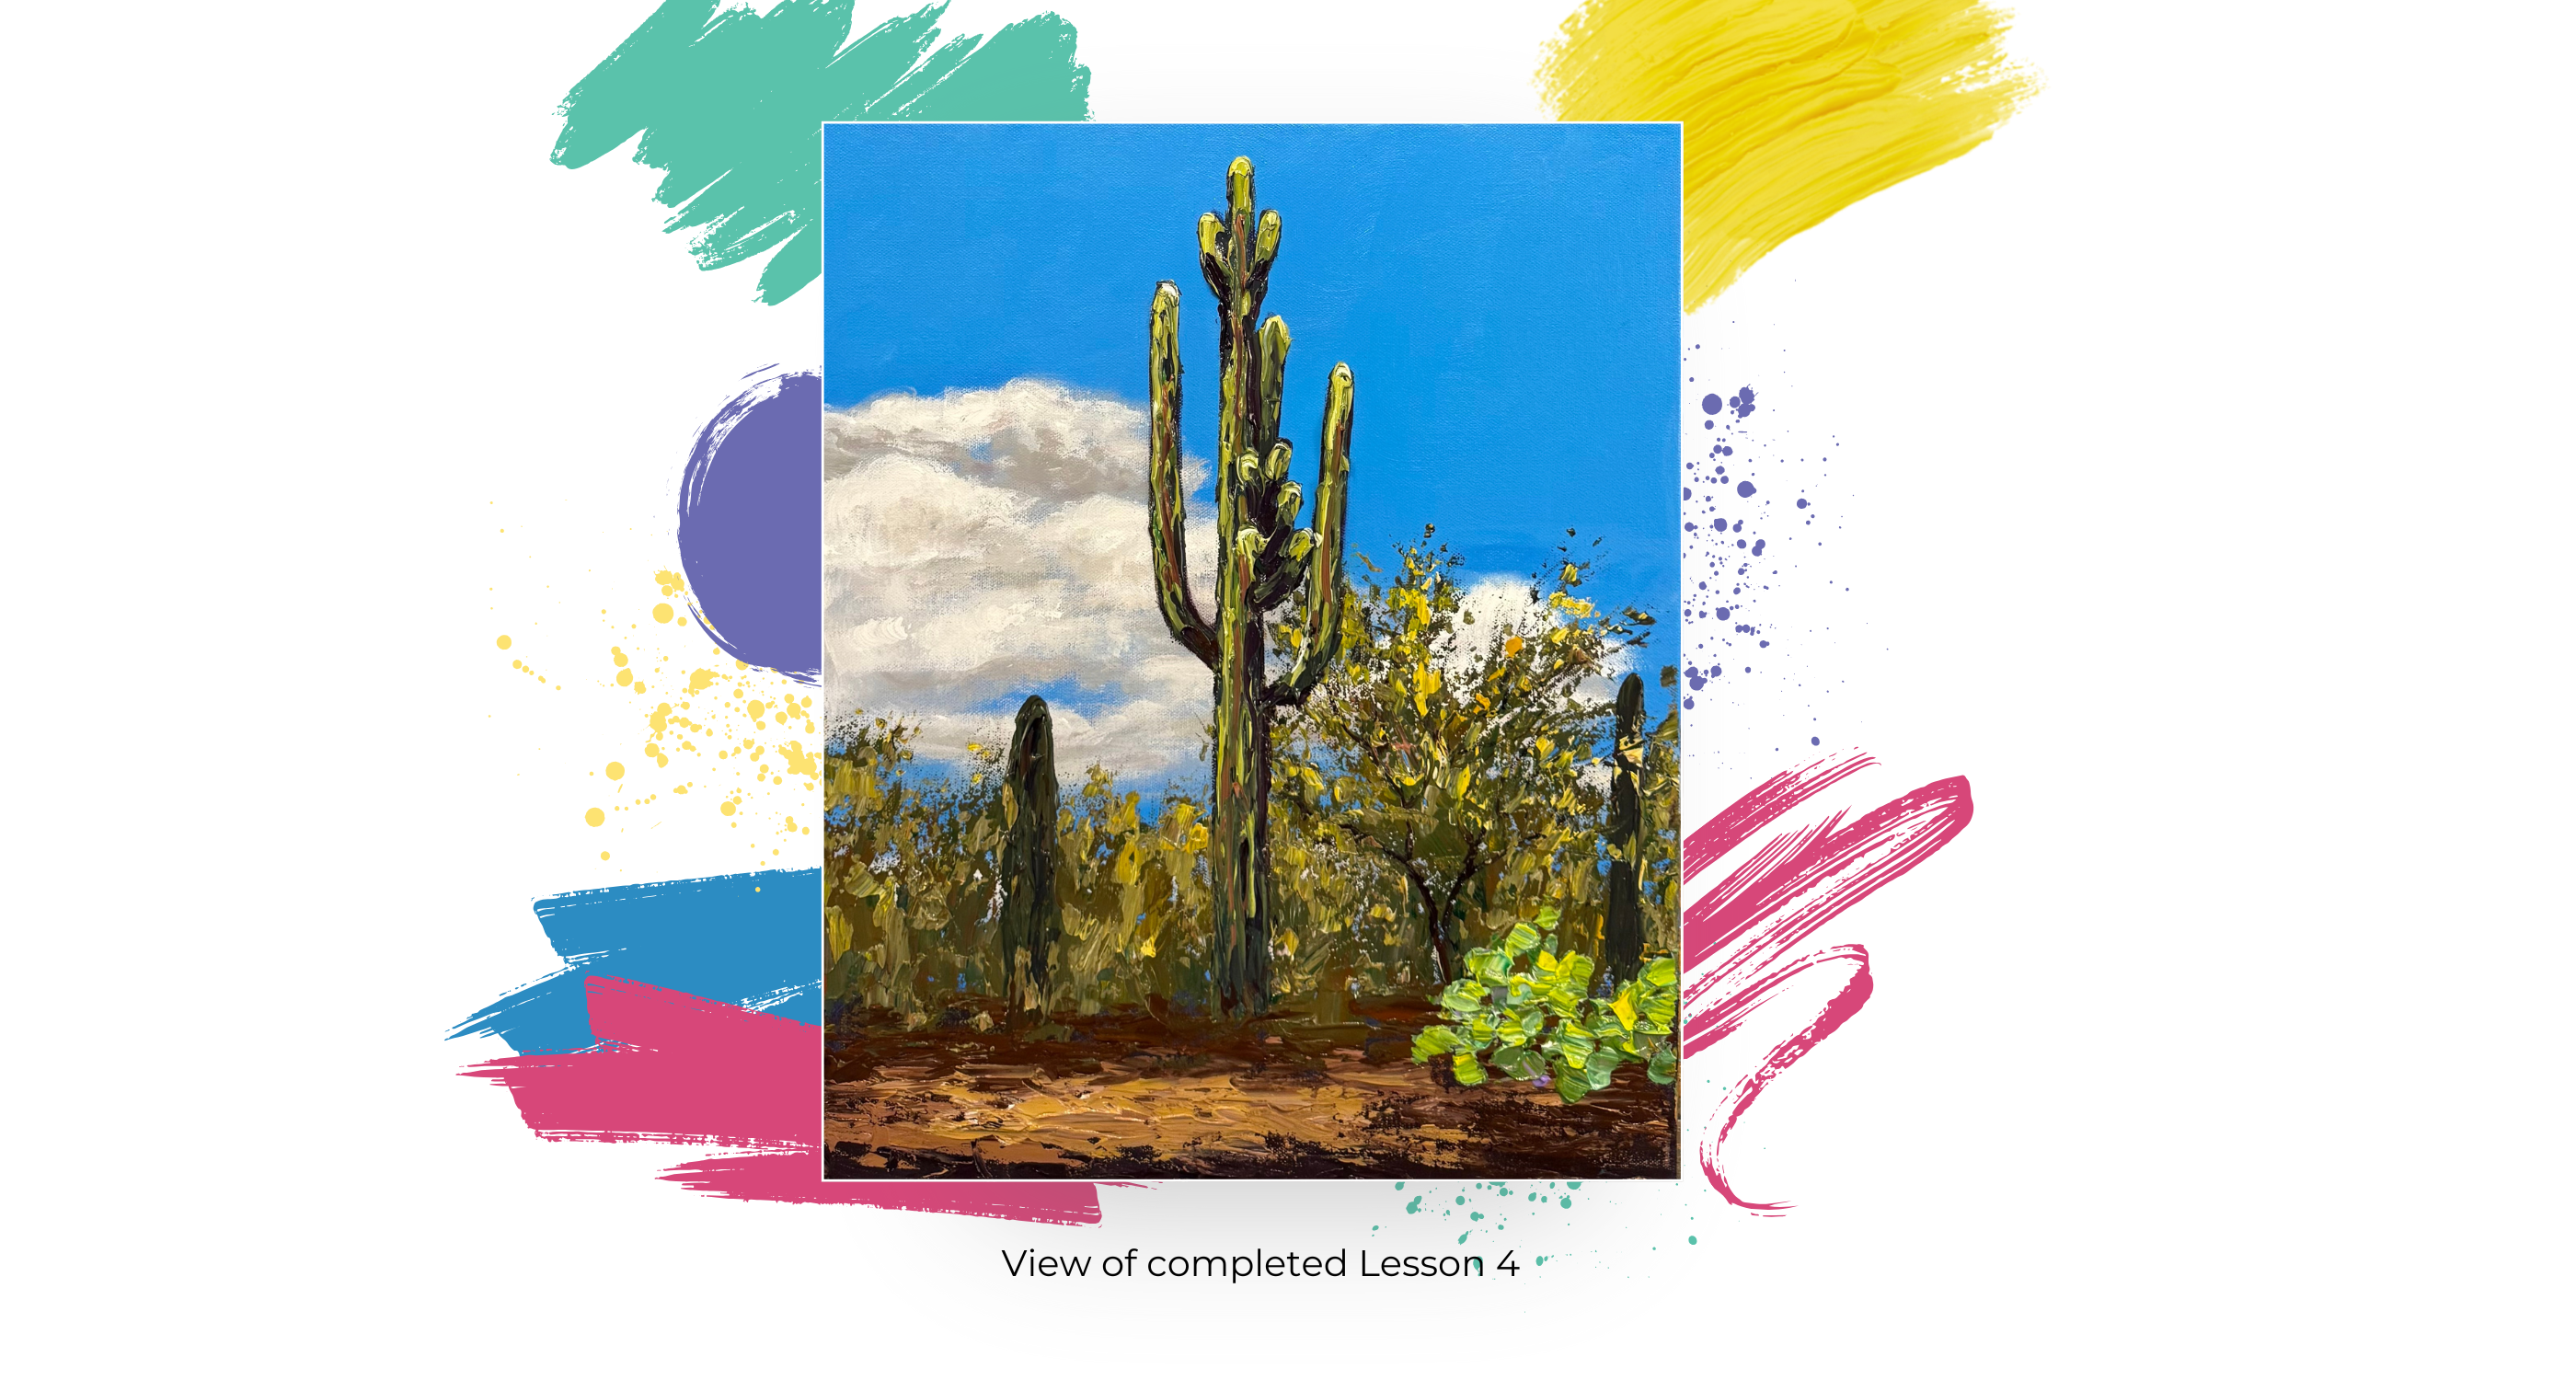
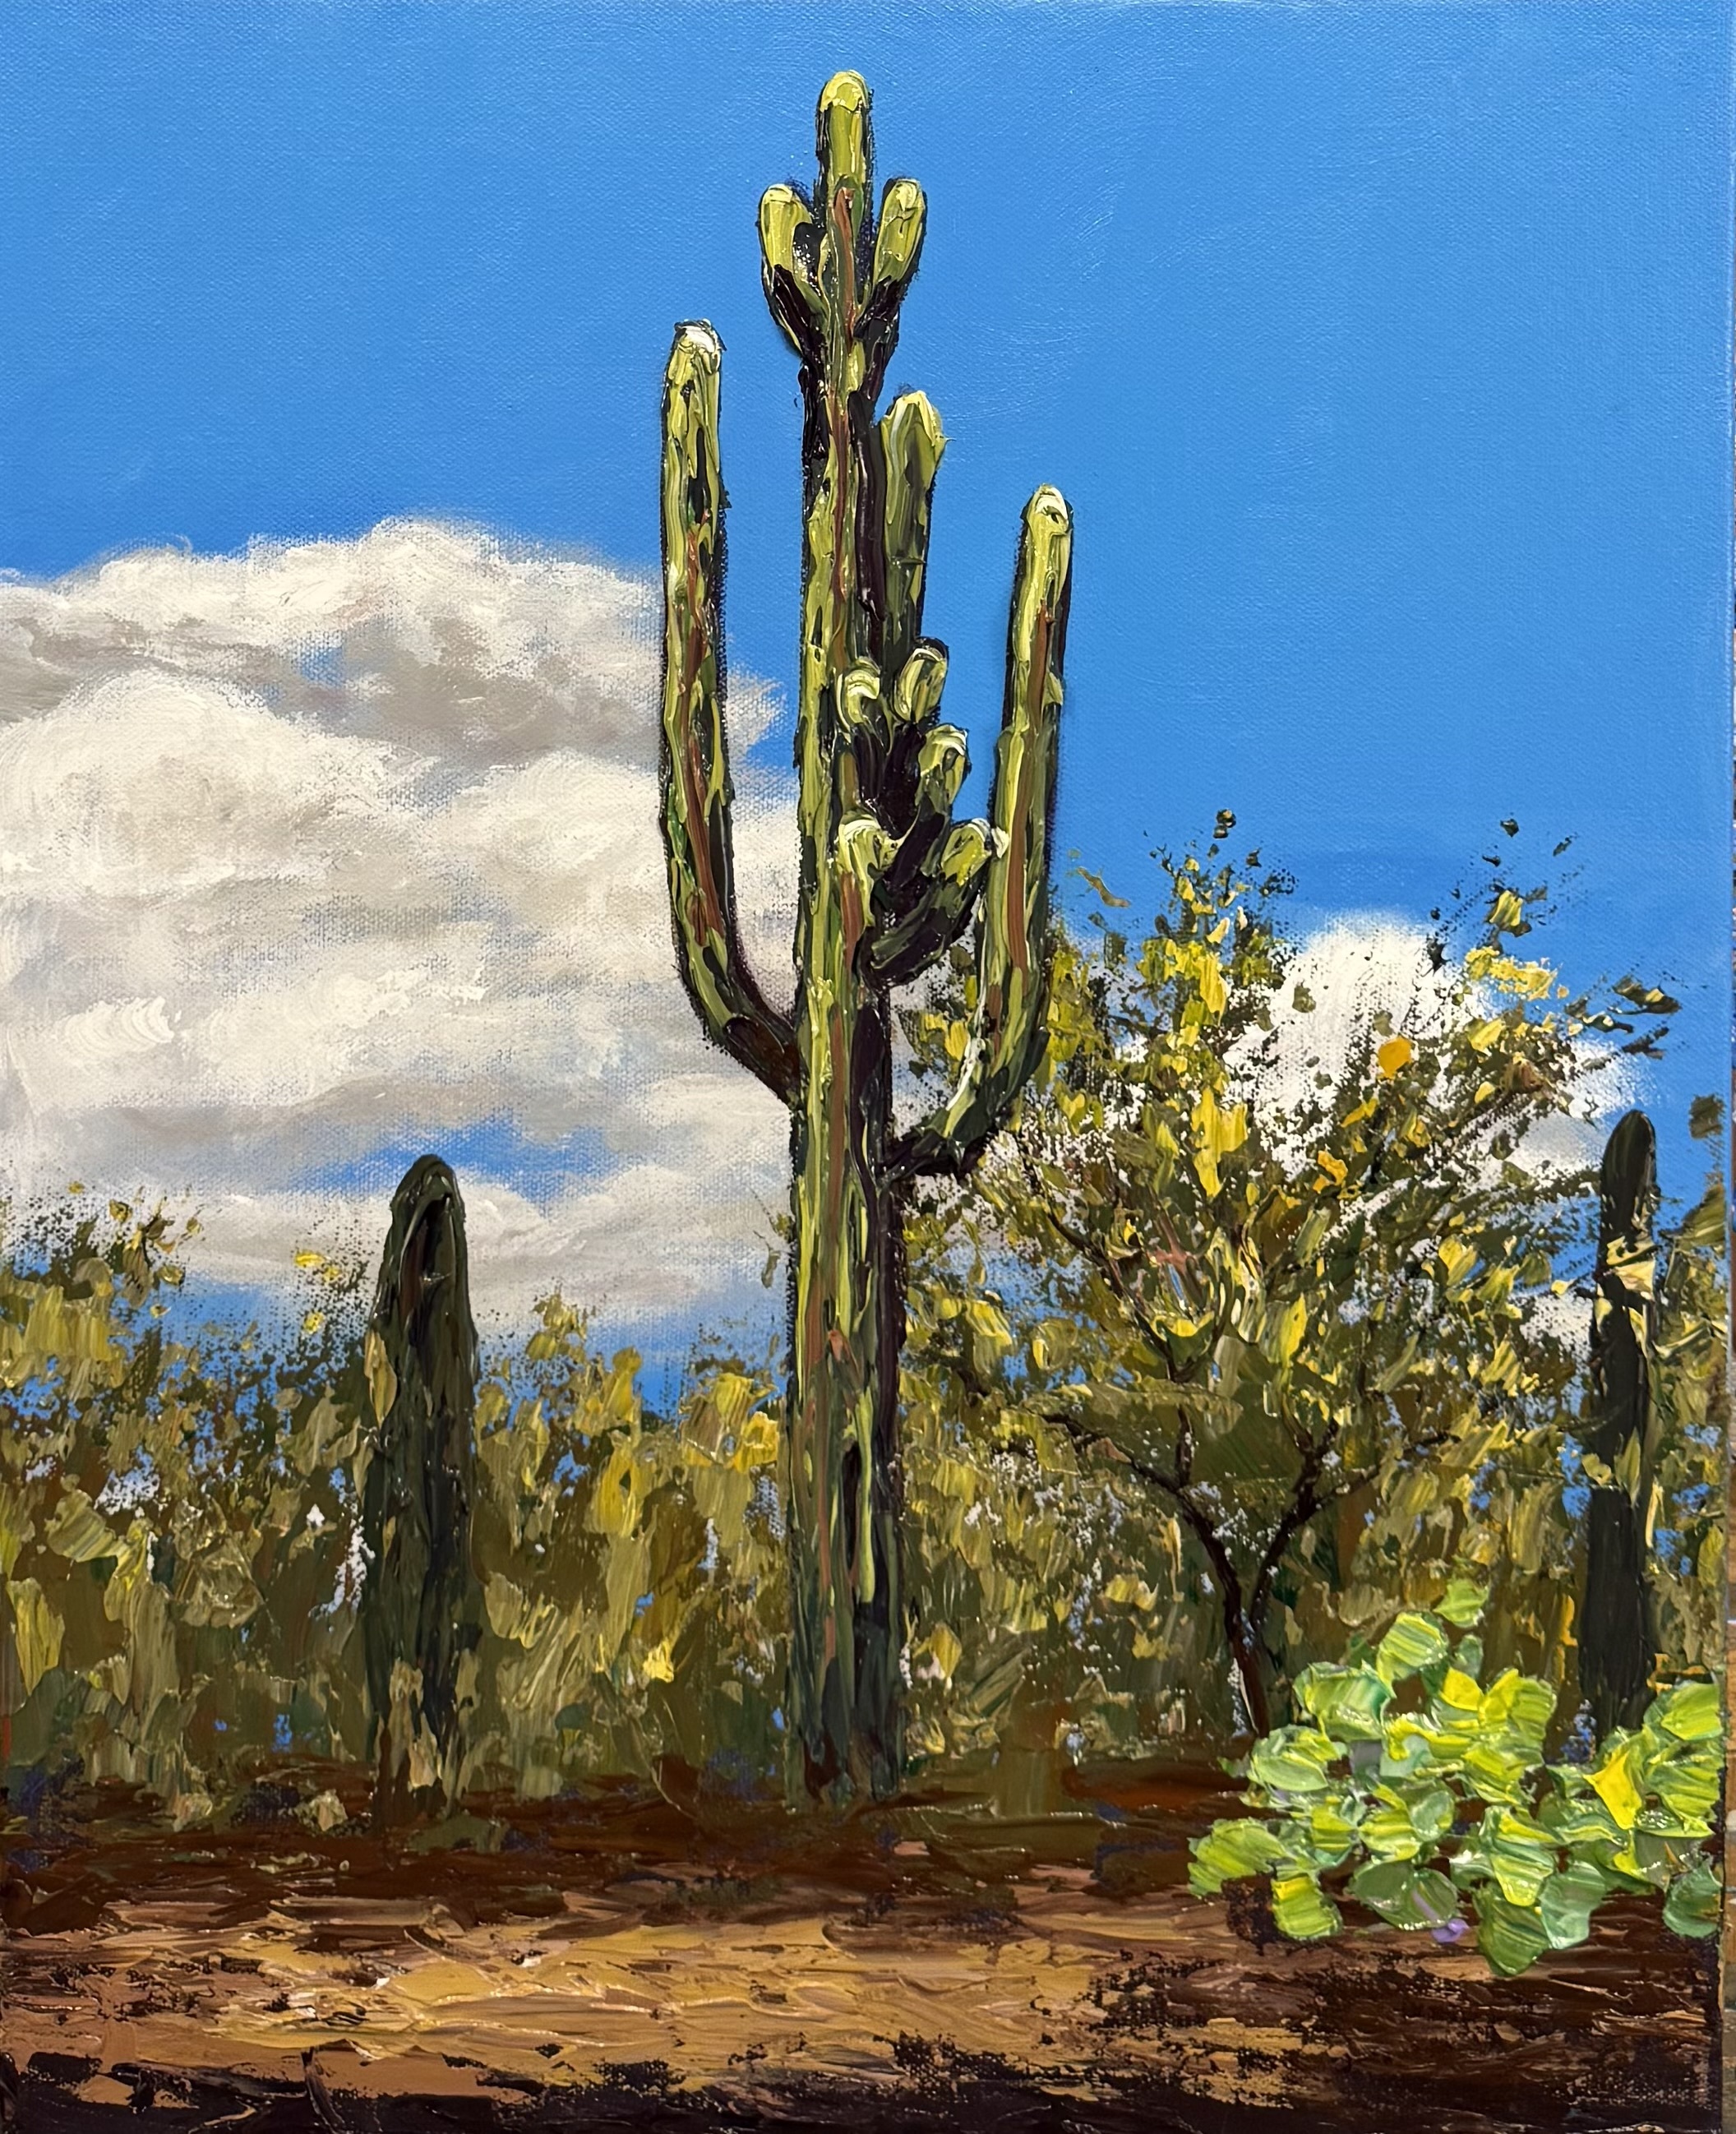
Lesson 4: The Saguaro
#12 and #00 Let’s Dabble Art brushes, 8 or #9 Let’s Dabble Art palette knife
Burnt umber
Burnt sienna
Ultramarine blue
Dark purple
Yellow ochre
Buff white
Lemon yellow
Titanium white
Army green mixture
Mapping the Cactus Shape
Grab your #12 brush, combine burnt umber, ultramarine blue and dark purple. Decide where to place the cactus. Avoid centering it perfectly—shift slightly left or right for balance. Paint a vertical line to establish the main trunk, then add curved arms extending outward. Keep the base wider and the arms thinner at the tips. Use a baby wipe to erase and adjust the shape if needed.
Adding Texture
Using your #8 or #9 palette knife, combine the army green mixture, add burnt sienna and burnt umber. Scoop up thickly using the back of your palette knife and apply by dragging it down the cactus, following the natural ribbing. Begin filling in the cactus shape with a dark base color. Add dark purple to the mixture.
Layer on lighter tones by adding a mix of yellow ochre, buff white, and lemon yellow on top. Define the ribs by dragging your palette knife vertically and leaving some dark spaces in between. Add burnt sienna to the mixture.
Shadows & Highlights
Use the dark purple and burnt umber mixture to emphasize shadows at the base and beneath arms. Add a mix of titanium white and buff white to the tops where sunlight hits.
Grab your #00 brush, mix lemon yellow, titanium white, phthalo green and yellow ochre then apply it to the tippy tops of the arms and gently drag downward. Lightly glaze over the ridges to emphasize the natural structure of the cactus.
Optional: Add fun details like birds, owl nests, or small holes where woodpeckers may have pecked.
You are ready for the next lesson.
Clean your brushes and palette knife.
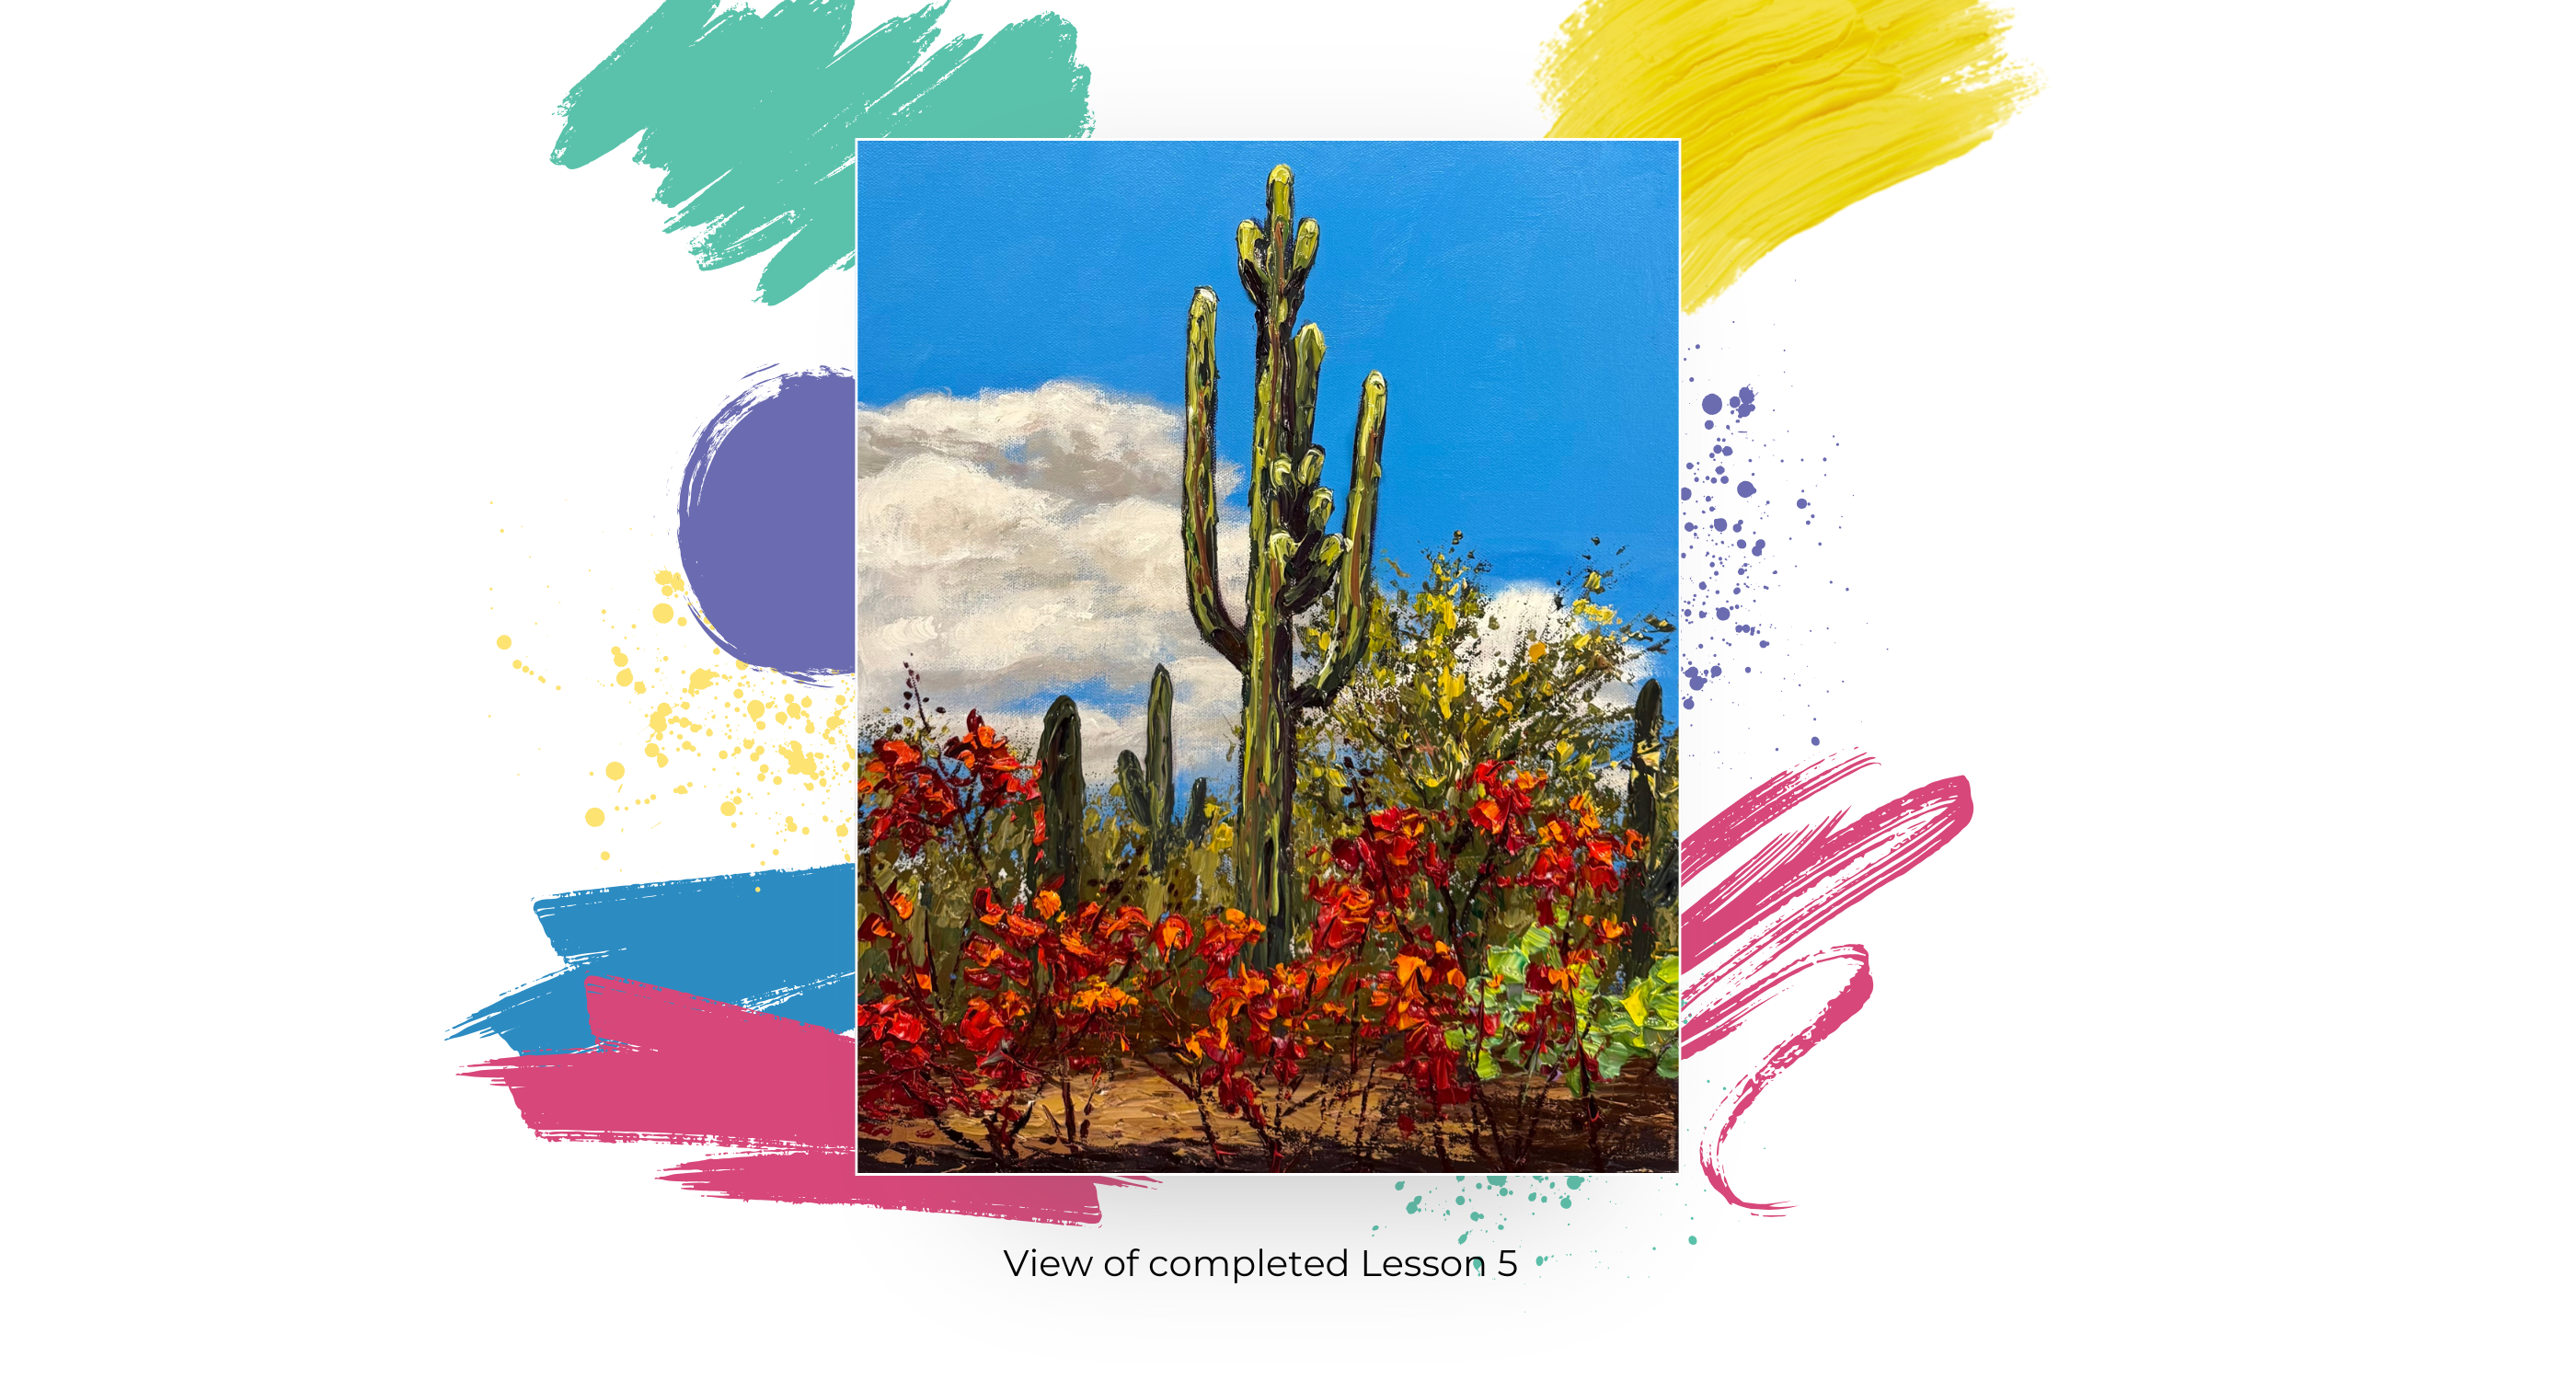
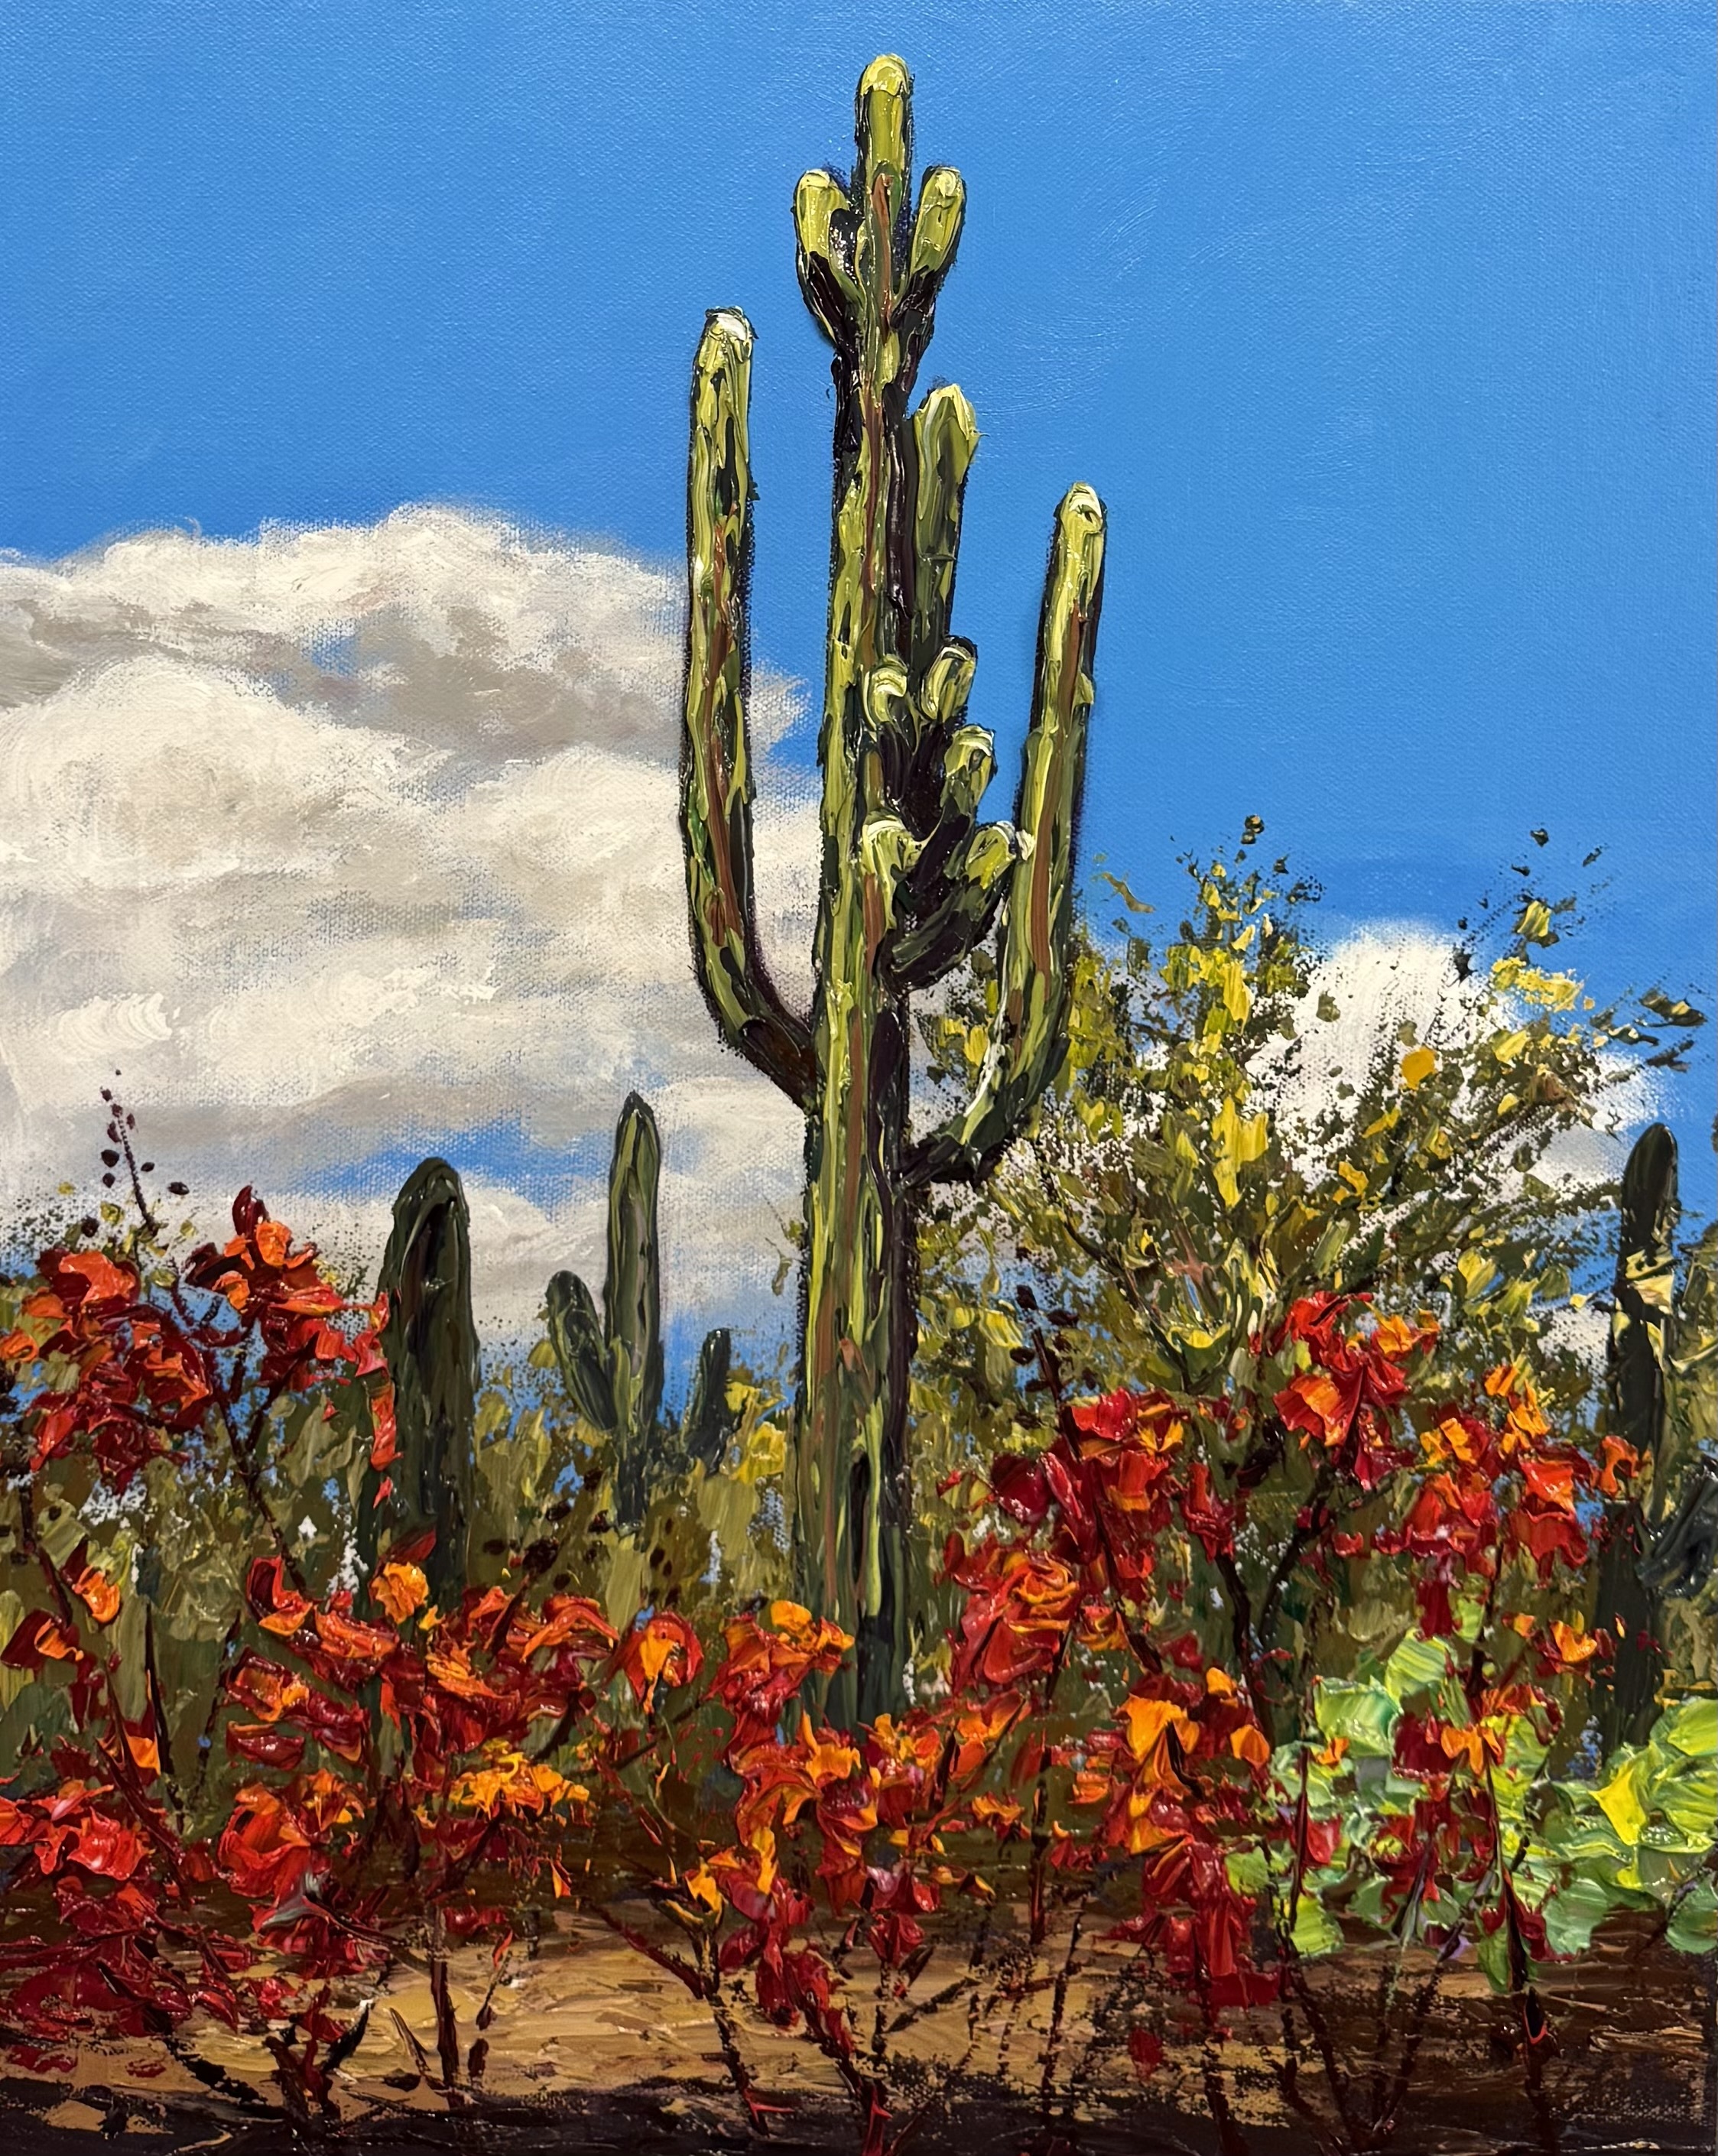
Lesson 5: Red Flowers
#7 Let’s Dabble Art palette knife and #00 Let’s Dabble Art brush
Crimson
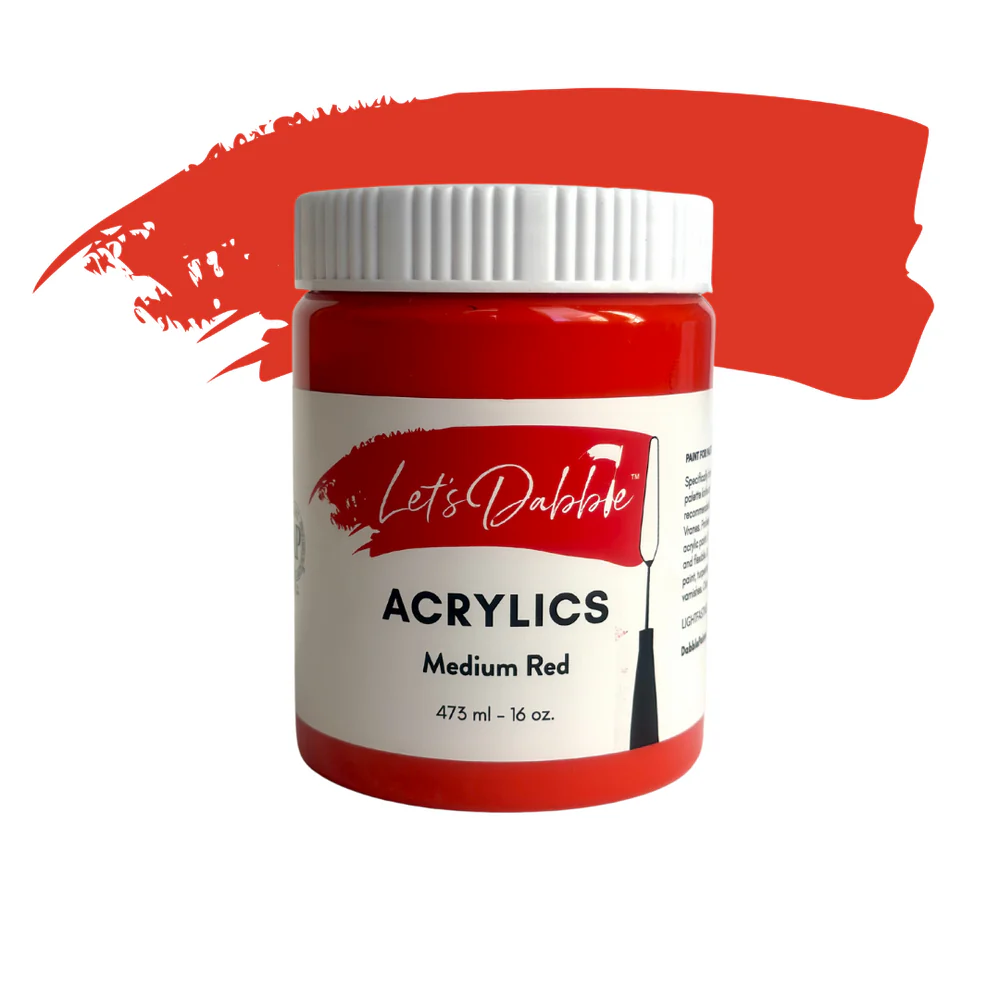
Medium red
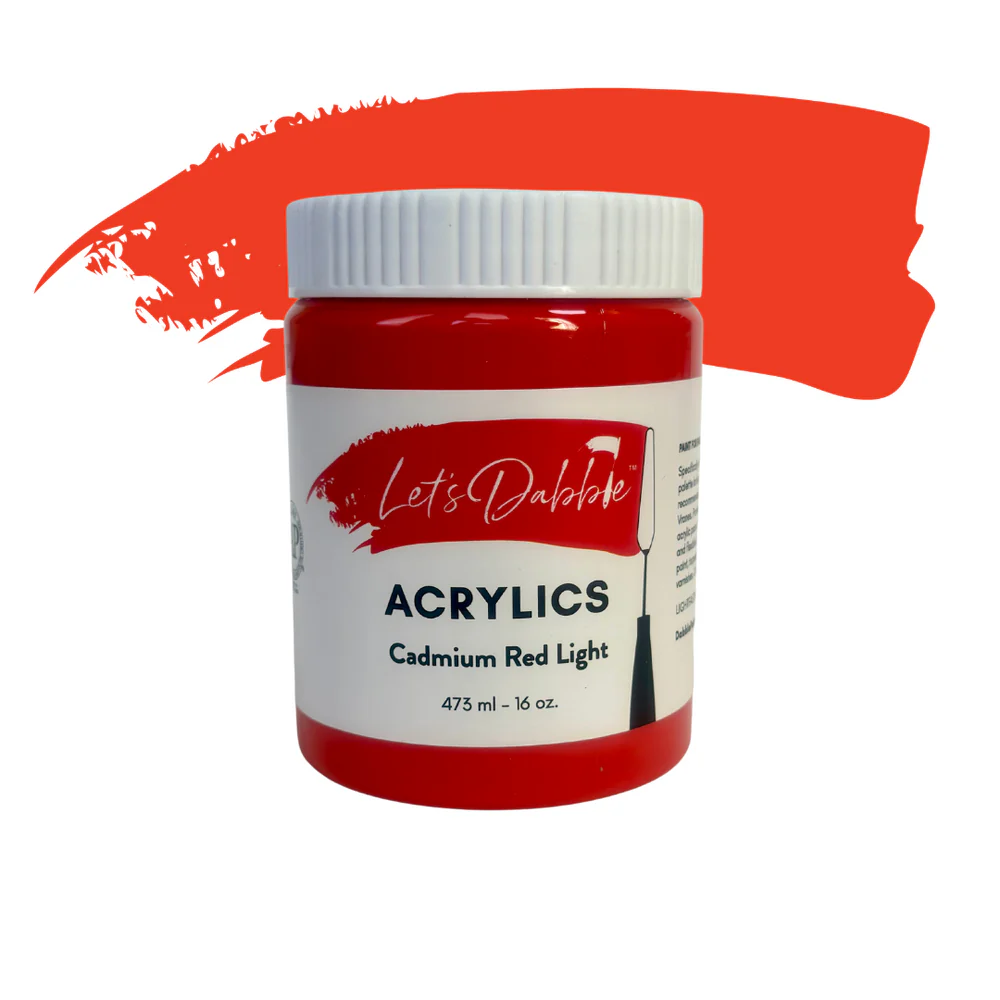
Cadmium red light
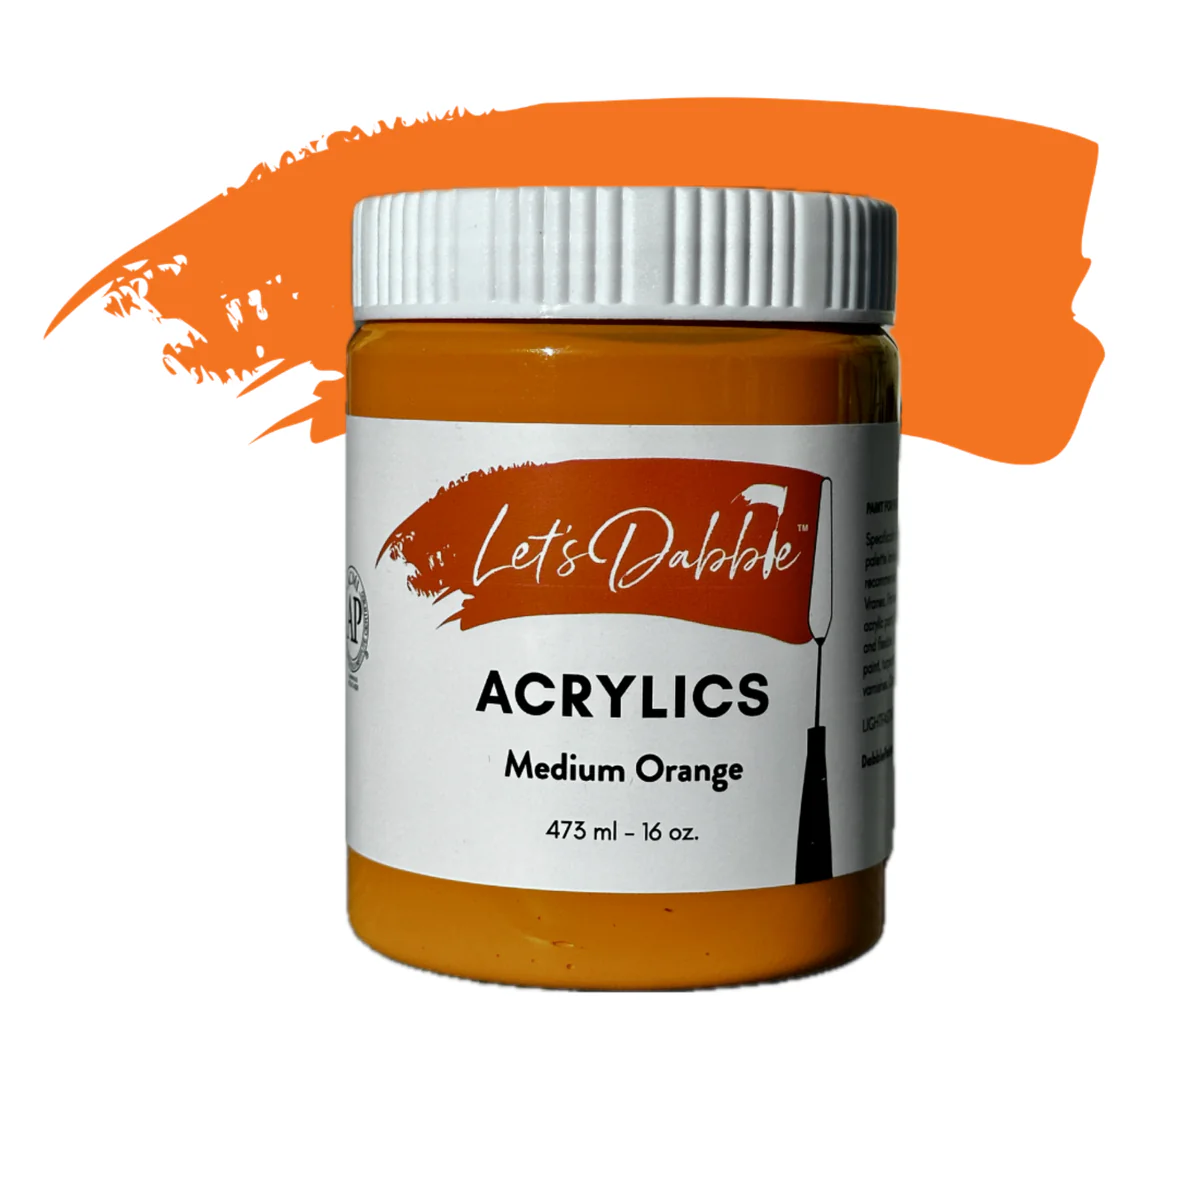
Medium orange
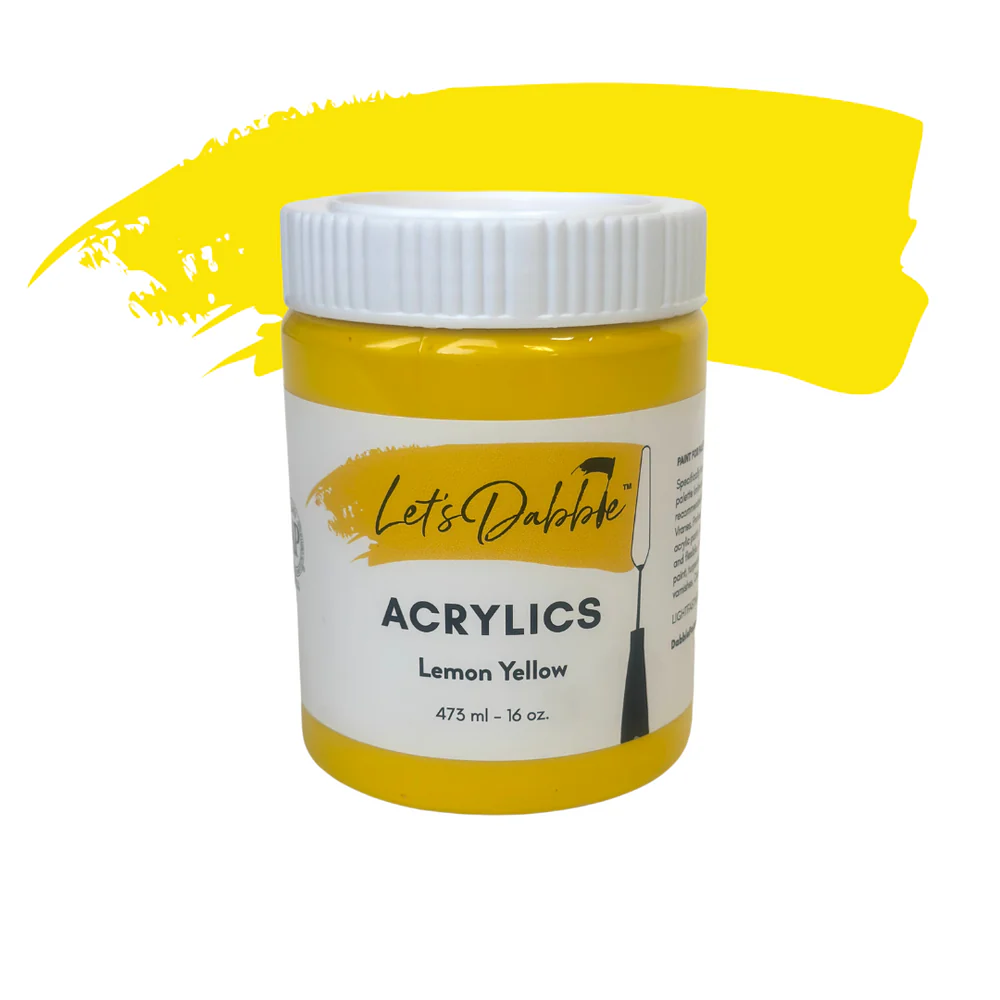
Lemon yellow
Dark purple
Burnt umber
Gloss gel
Red Tones
Grab your #7, #6 or #5 palette knife, combine crimson, medium red, dark purple, burnt umber and gloss gel. Decide on flower placement: Clusters of flowers with a main stem in the center. Blob the colors on, rather than painting precise petals.
Orange Tones
Mix medium orange, cadmium red light and lemon yellow. Dab it at the tips of blossoms. Keep layering, ensuring depth by contrasting dark and light colors. Work in different directions to create movement. Don’t forget the sides.
Stem and Flower Buds
Grab your #00 brush, dip it into crimson and dark purple then drag it across the canvas. Keep the stems thin and delicate (use a baby wipe if needed to fix thickness). Add small dots at the top of each stem to resemble flower buds.
You are ready for the final lesson.
Clean your palette knife and brush.
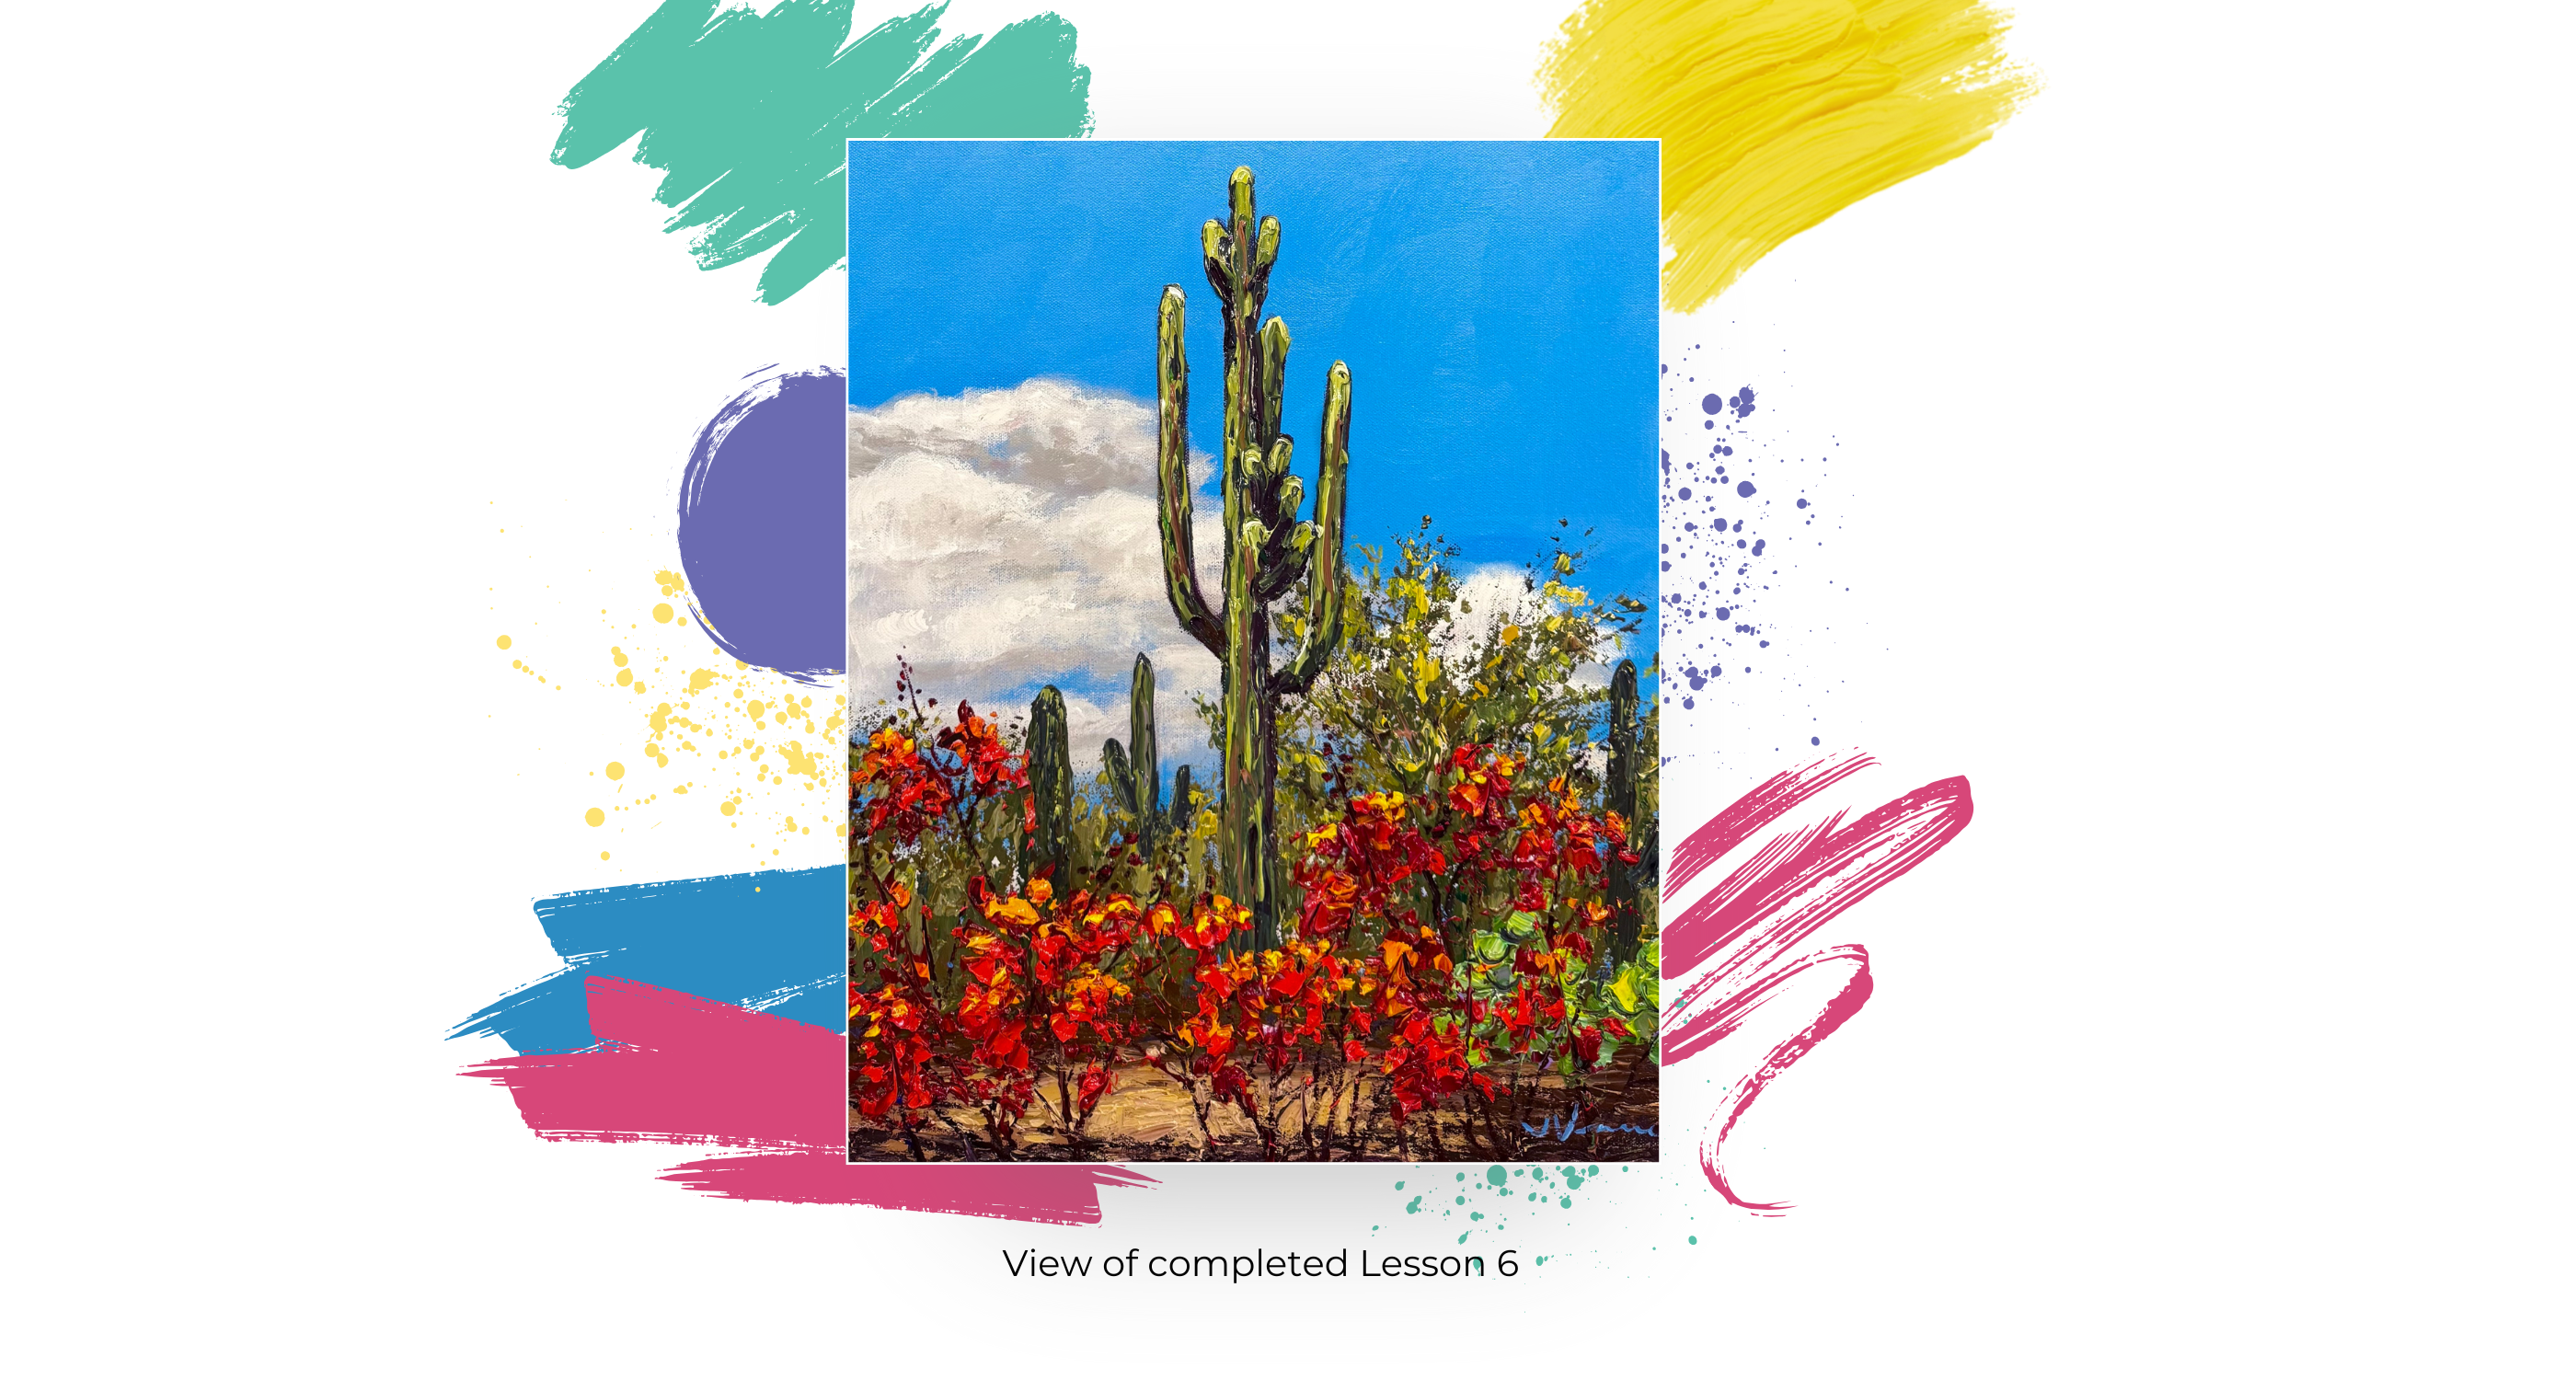
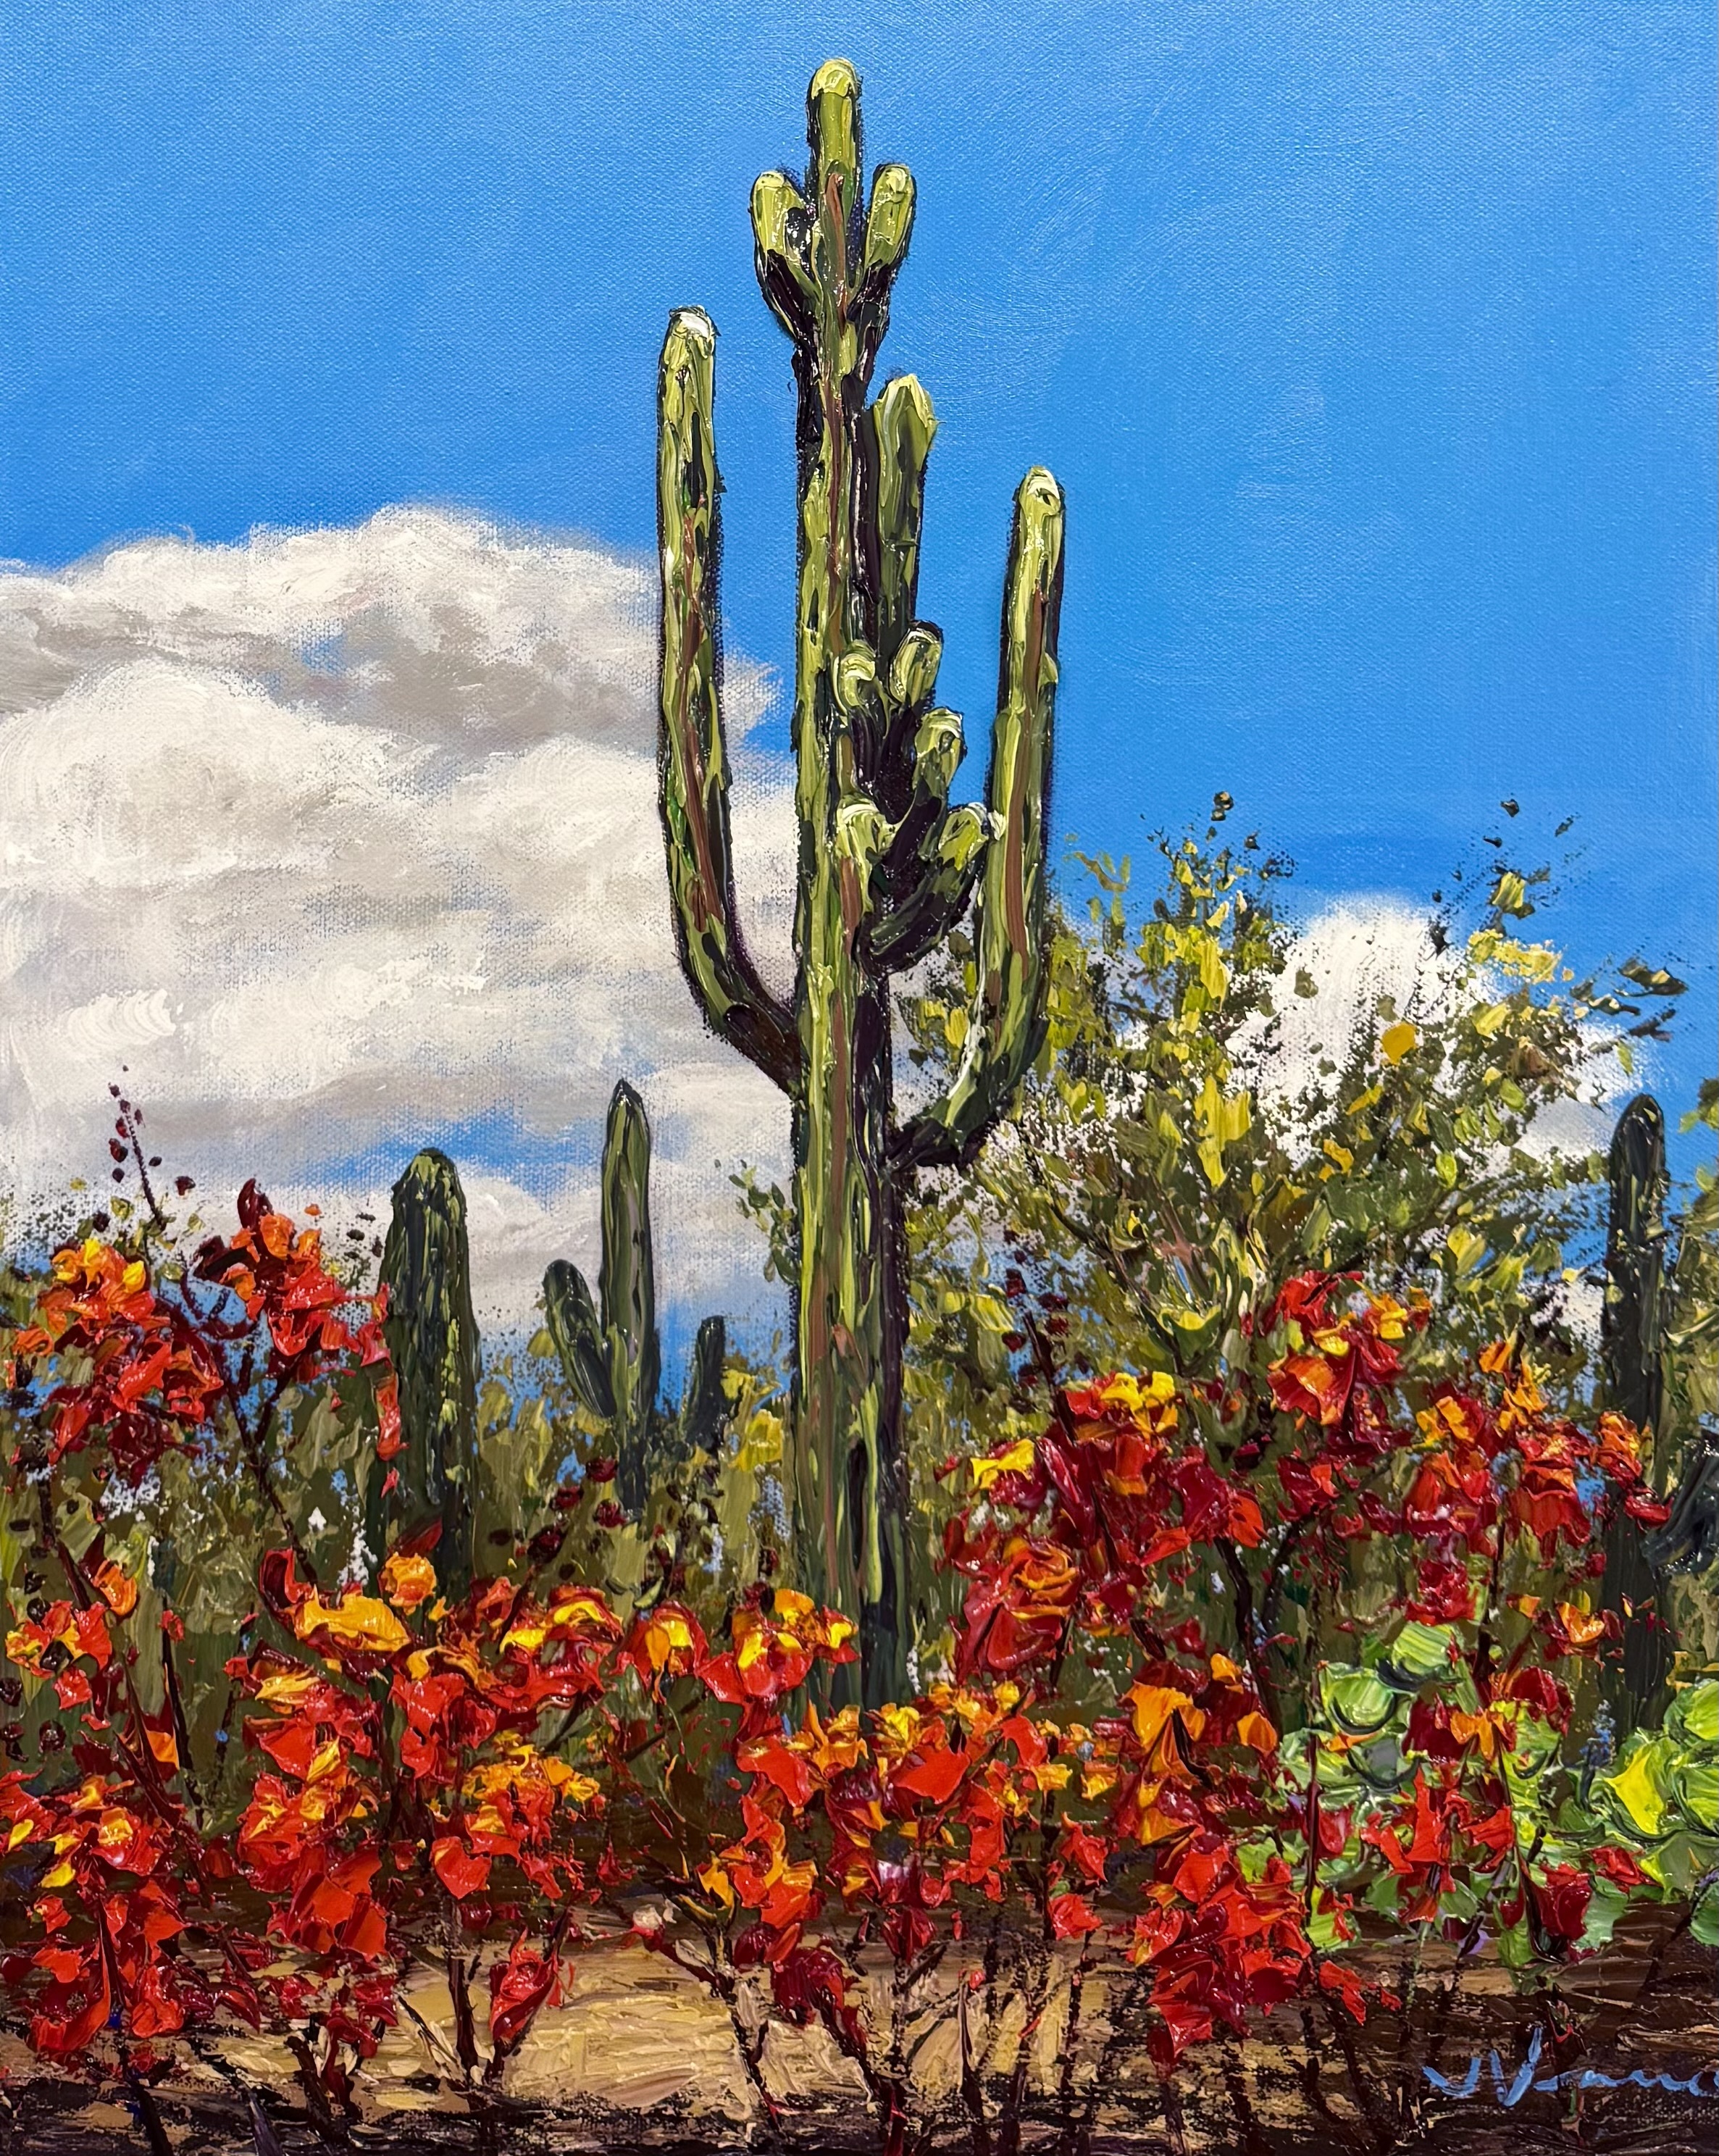
Lesson 6: Fine-Tune & Signature
Now step back, evaluate, and make tweaks if you need to. Just look for what might need to be added. Your painting will be different from mine, but hopefully, you can see the process I go through to add that something extra to make this painting all I can. Be very careful if you’re doing the wet and wet like I am, when you’re coming through, use the tip of your palette knife. Or, wait for everything to completely dry, put a fan on it in a few minutes to have it dried and then you can come in and fine tune. Let’s get started!
Fine-Tuning
Mix medium red, cadmium red light and gloss gel then layer on this brighter reds over the previous darks. Since the stems are visible now, place blossoms strategically off the stems. Use loose strokes to add more texture in the foreground. Clean your palette knife. Mix lemon yellow, medium orange, titanium white and gloss gel. Apply this sparingly to the very tips of blossoms. Small crimson dots on flower buds for detail.
Use the green mixture to lightly add highlights on the top ridges of the saguaro cactus.
For the dirt in the foreground, use the yellow ochre, burnt sienna and titanium white mixture then drag your palette knife across the surface.
Like sky holes in a tree, You take that negative space that you see with the shadows and add highlights between stems. This enhances contrast and cleans up any overly thick lines.
Keep the very edge of the foreground dark. Blend in shadow tones (deep purples and browns).
Your Signature
To make it easier to paint your signature, spritz a tiny bit of water into the paint to make it more fluid if it needs it. Twist your clean #00 brush right through light blue or whatever color you want on your palette. Then carve your name right in the wet paint in the bottom right corner. I wipe my brush with a baby wipe after each letter and then reload the brush with paint.
Name your painting with a unique name. Congratulations, you are almost done. Now it’s time to sign the back. I use a thin black permanent marker.
I put © and my name.
Then I put up my website.
Next, I put the title in all caps and in quotes.
Last, I put my full signature.
