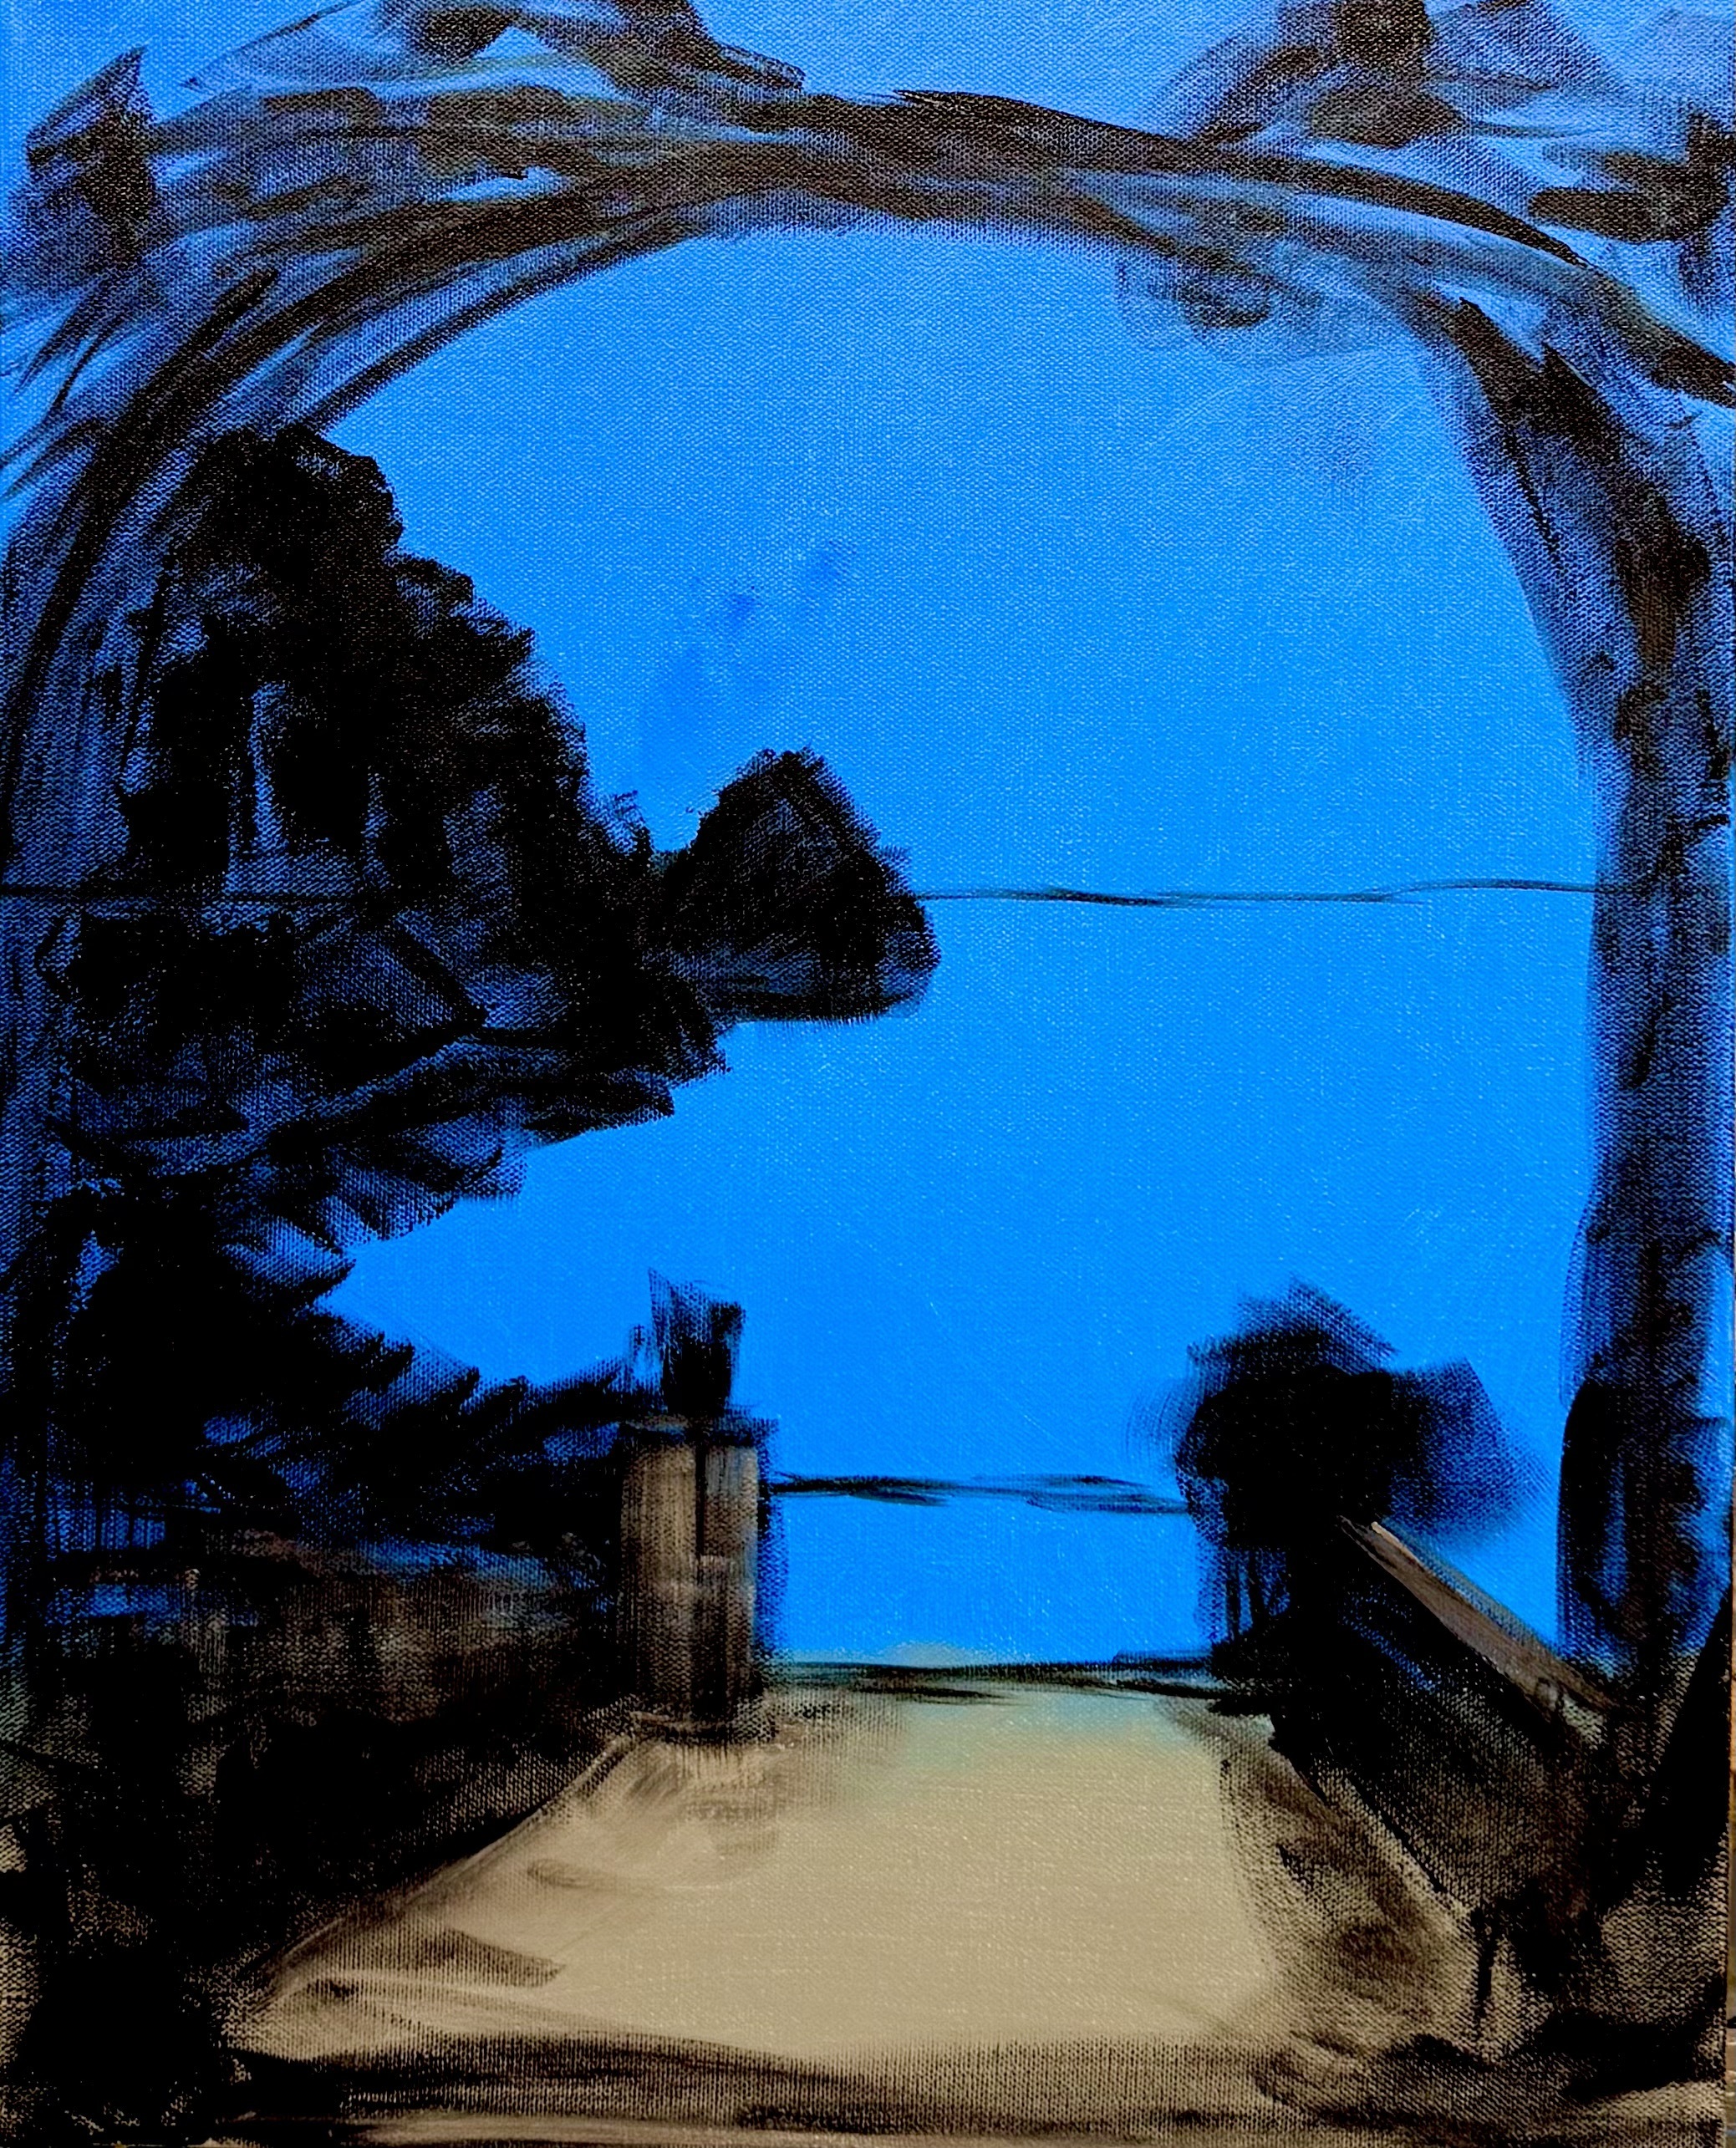
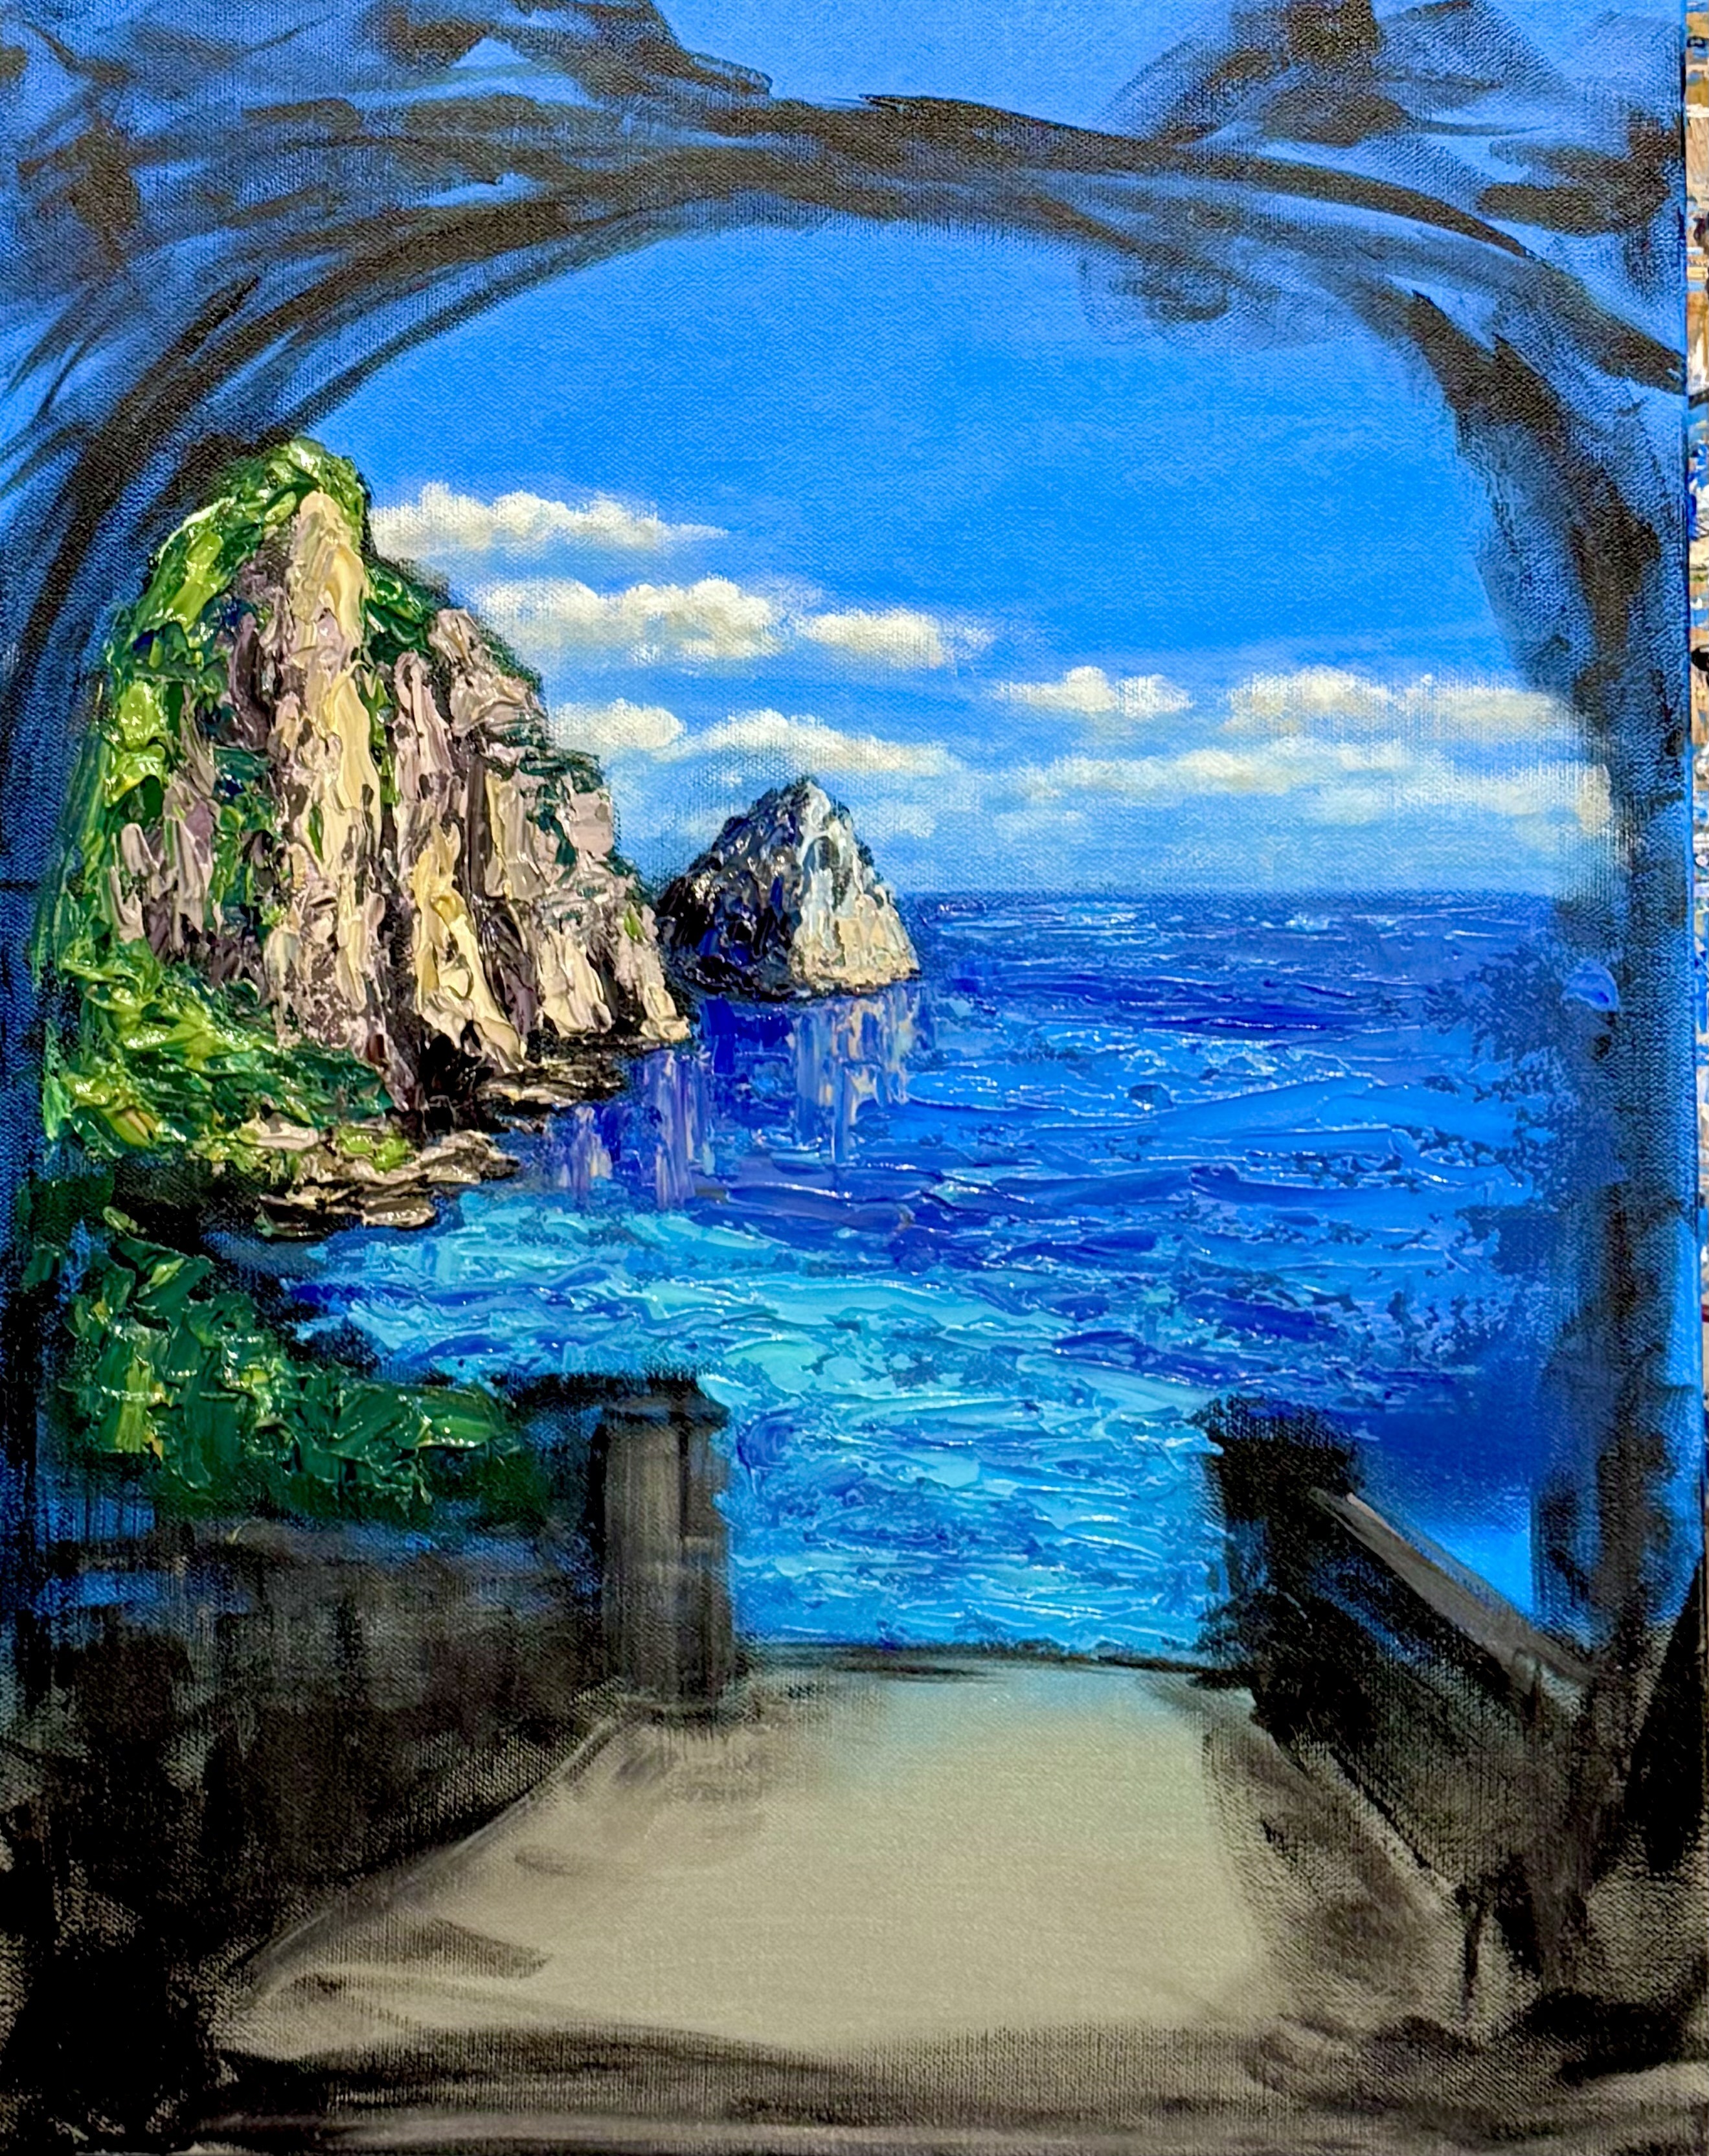
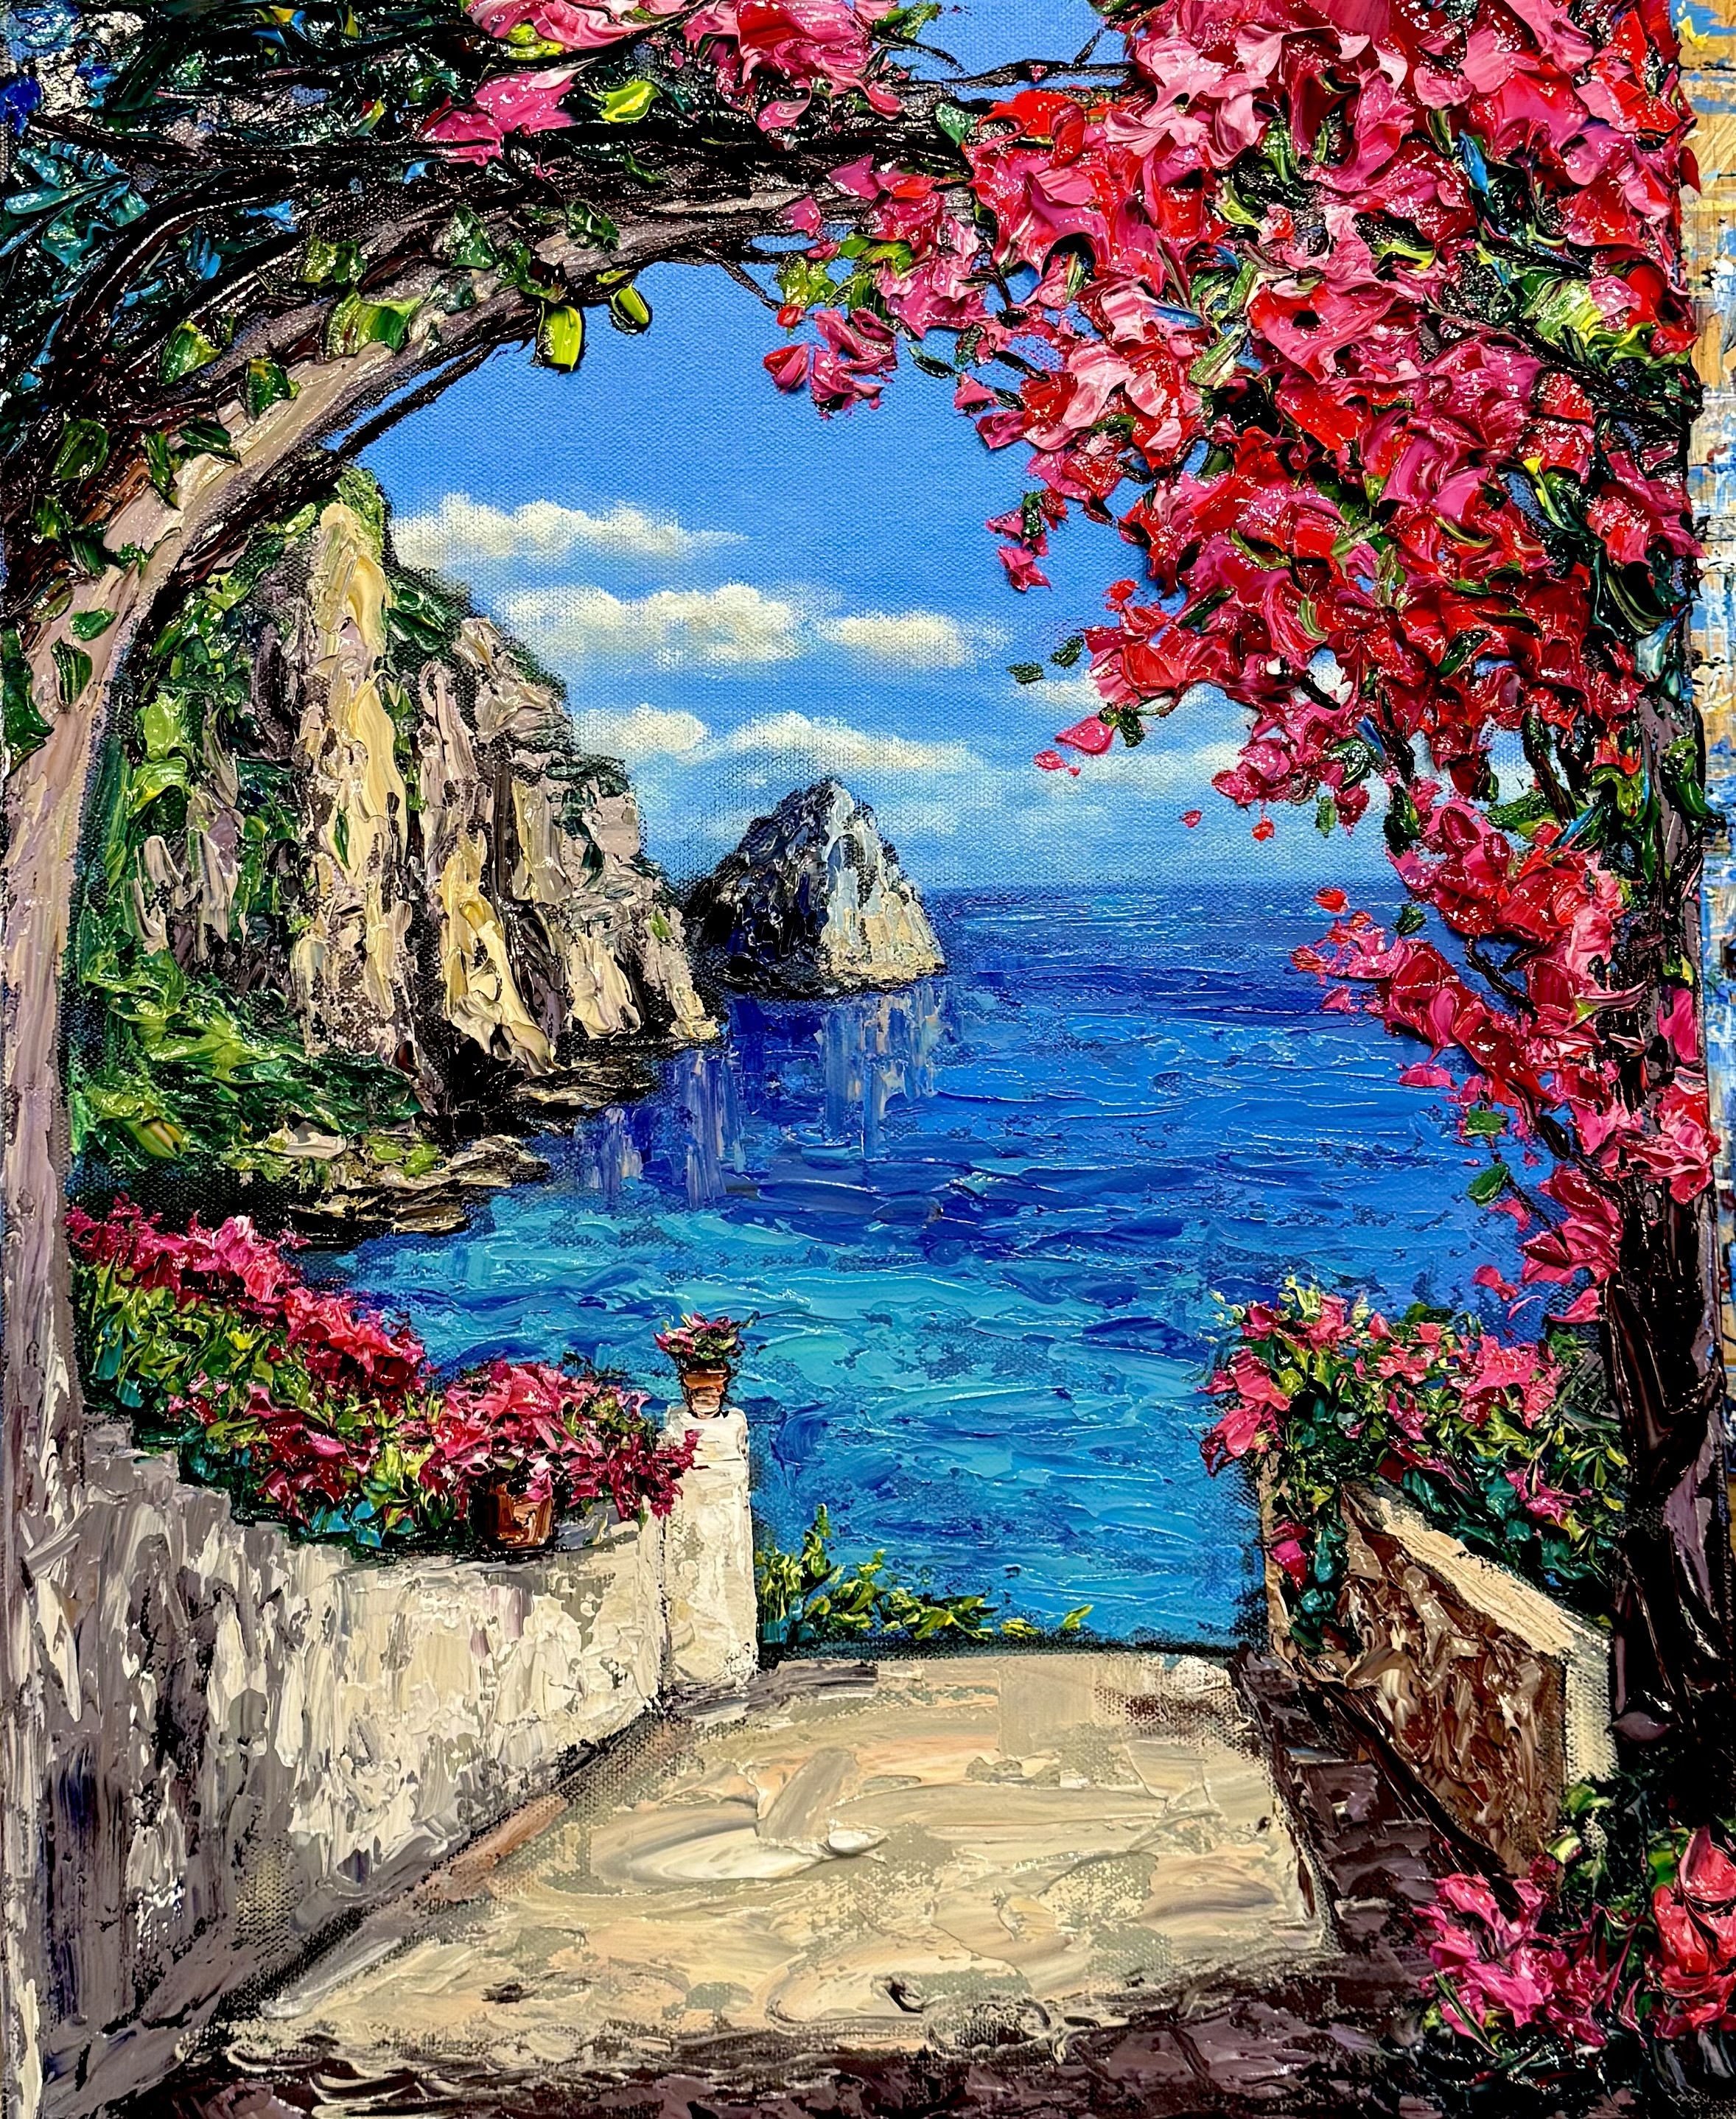
"Heaven's Cove"
by Jennifer Vranes
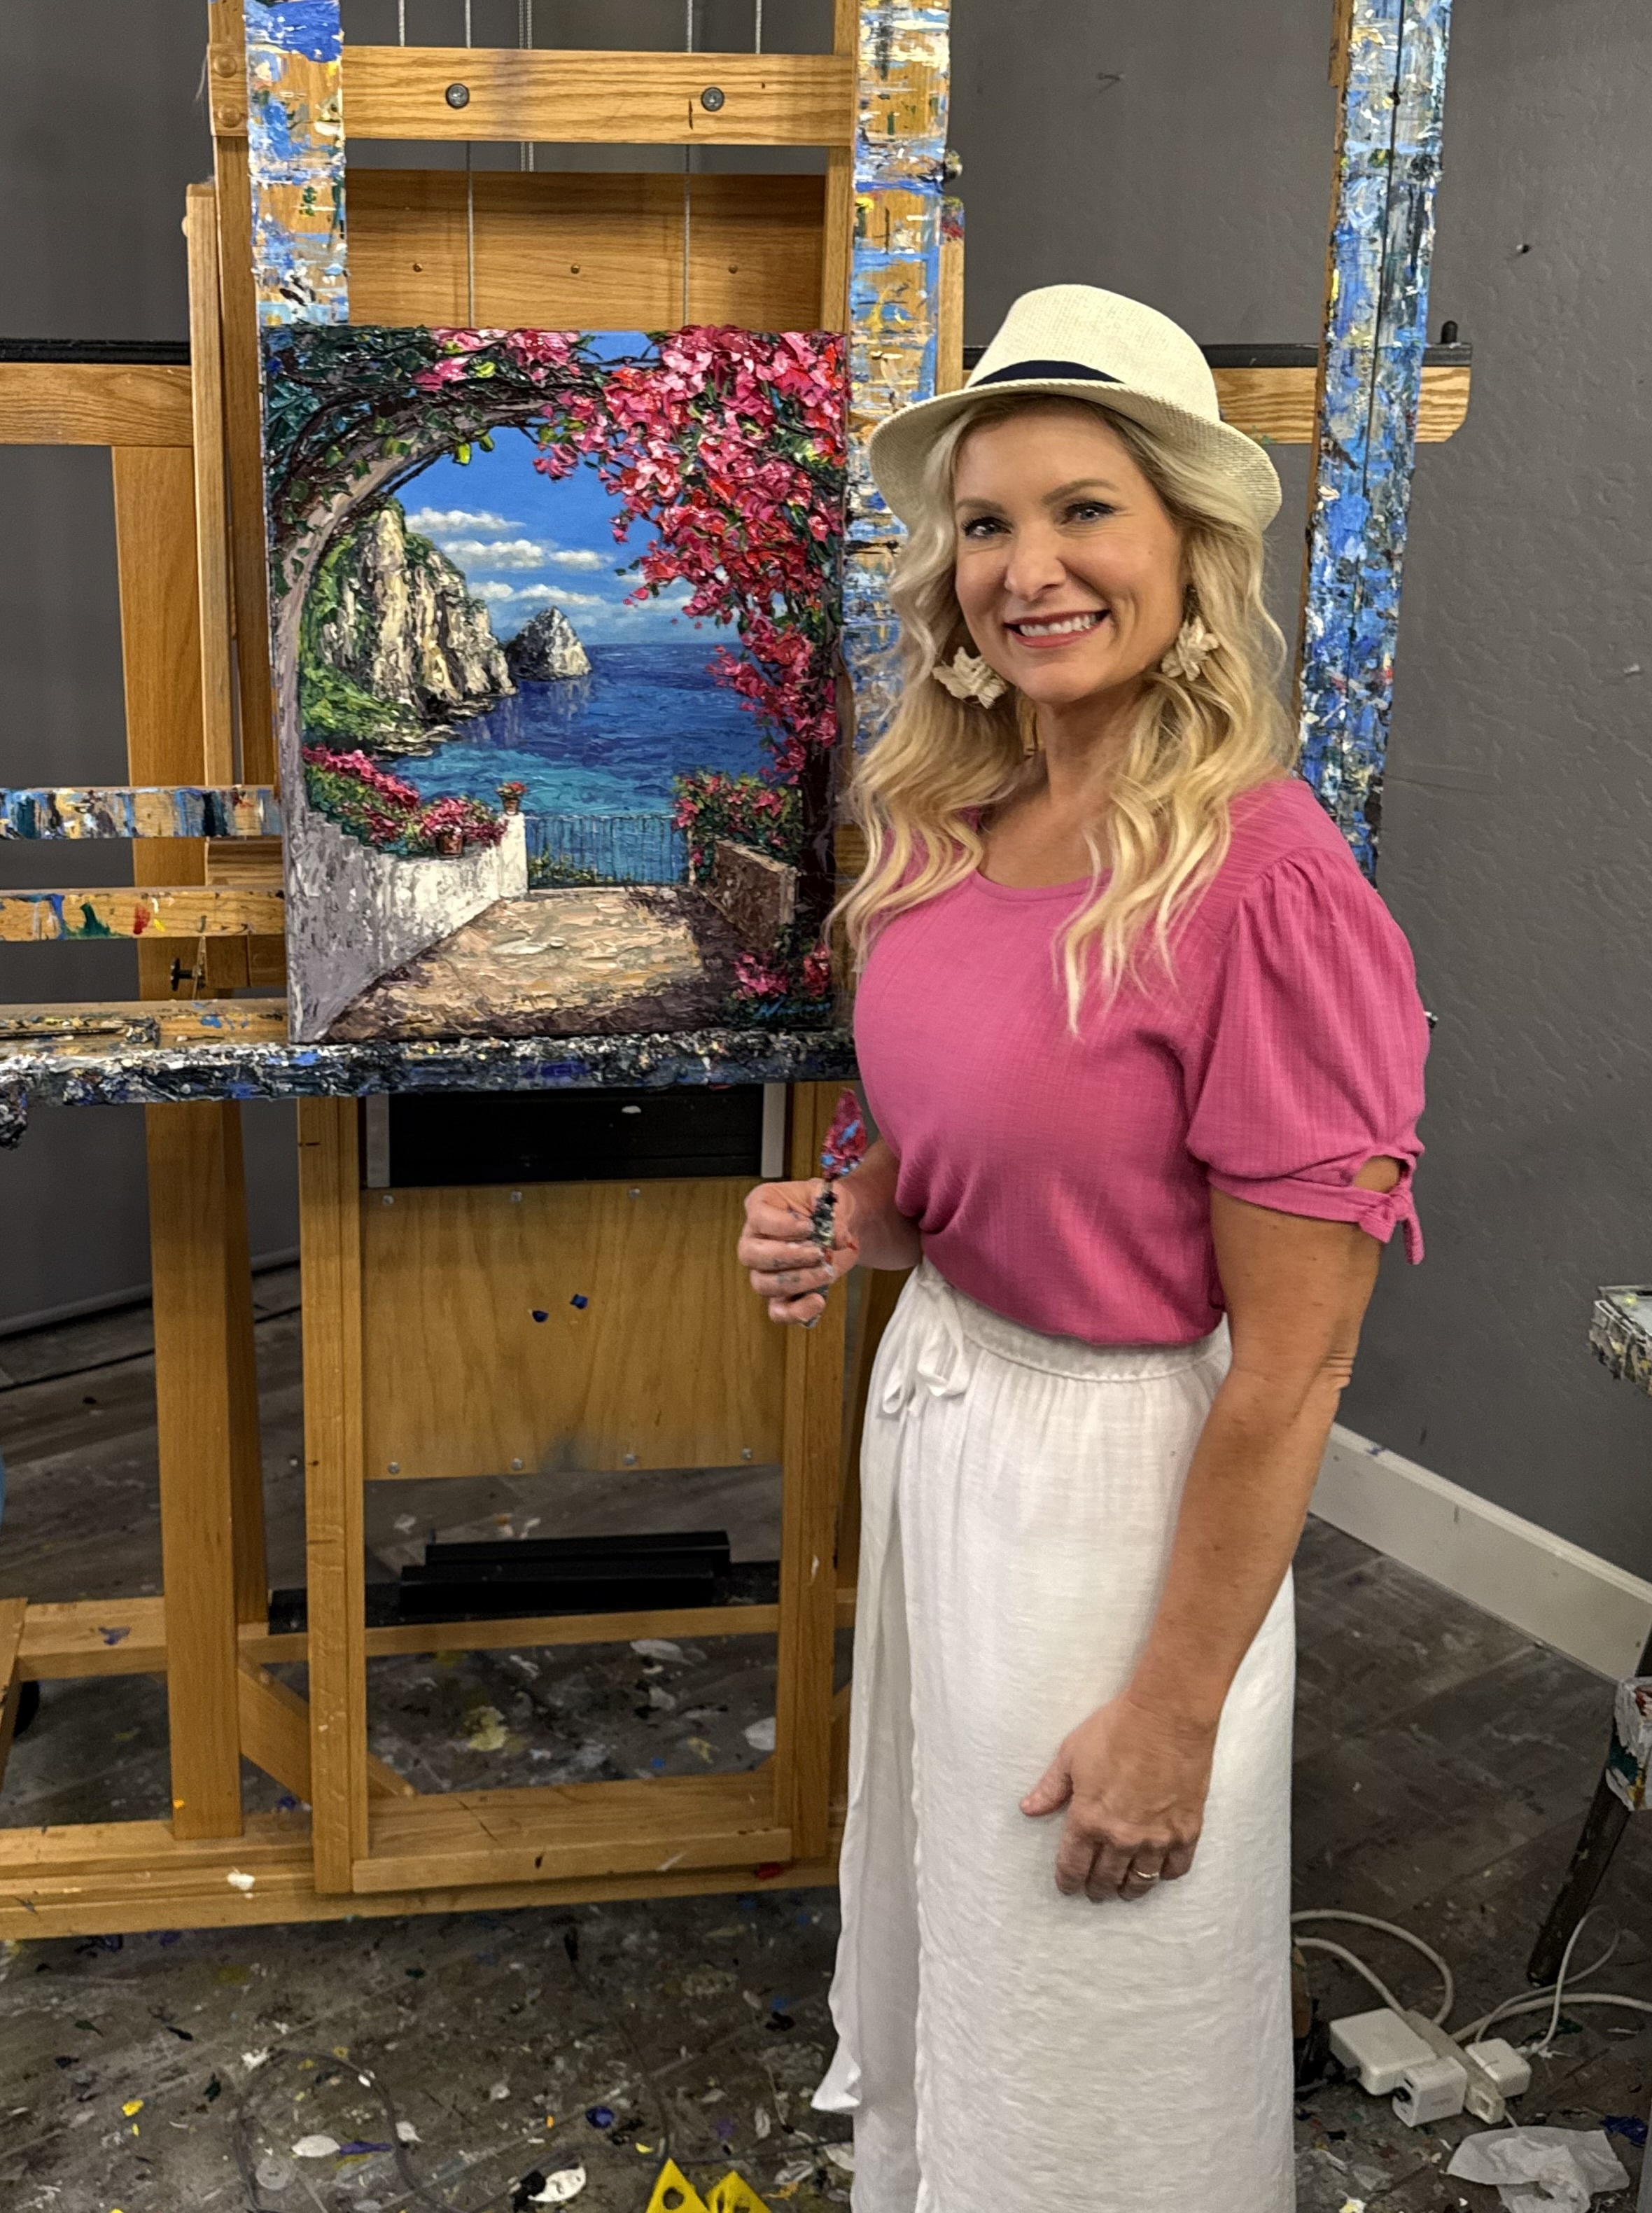
Course Notes
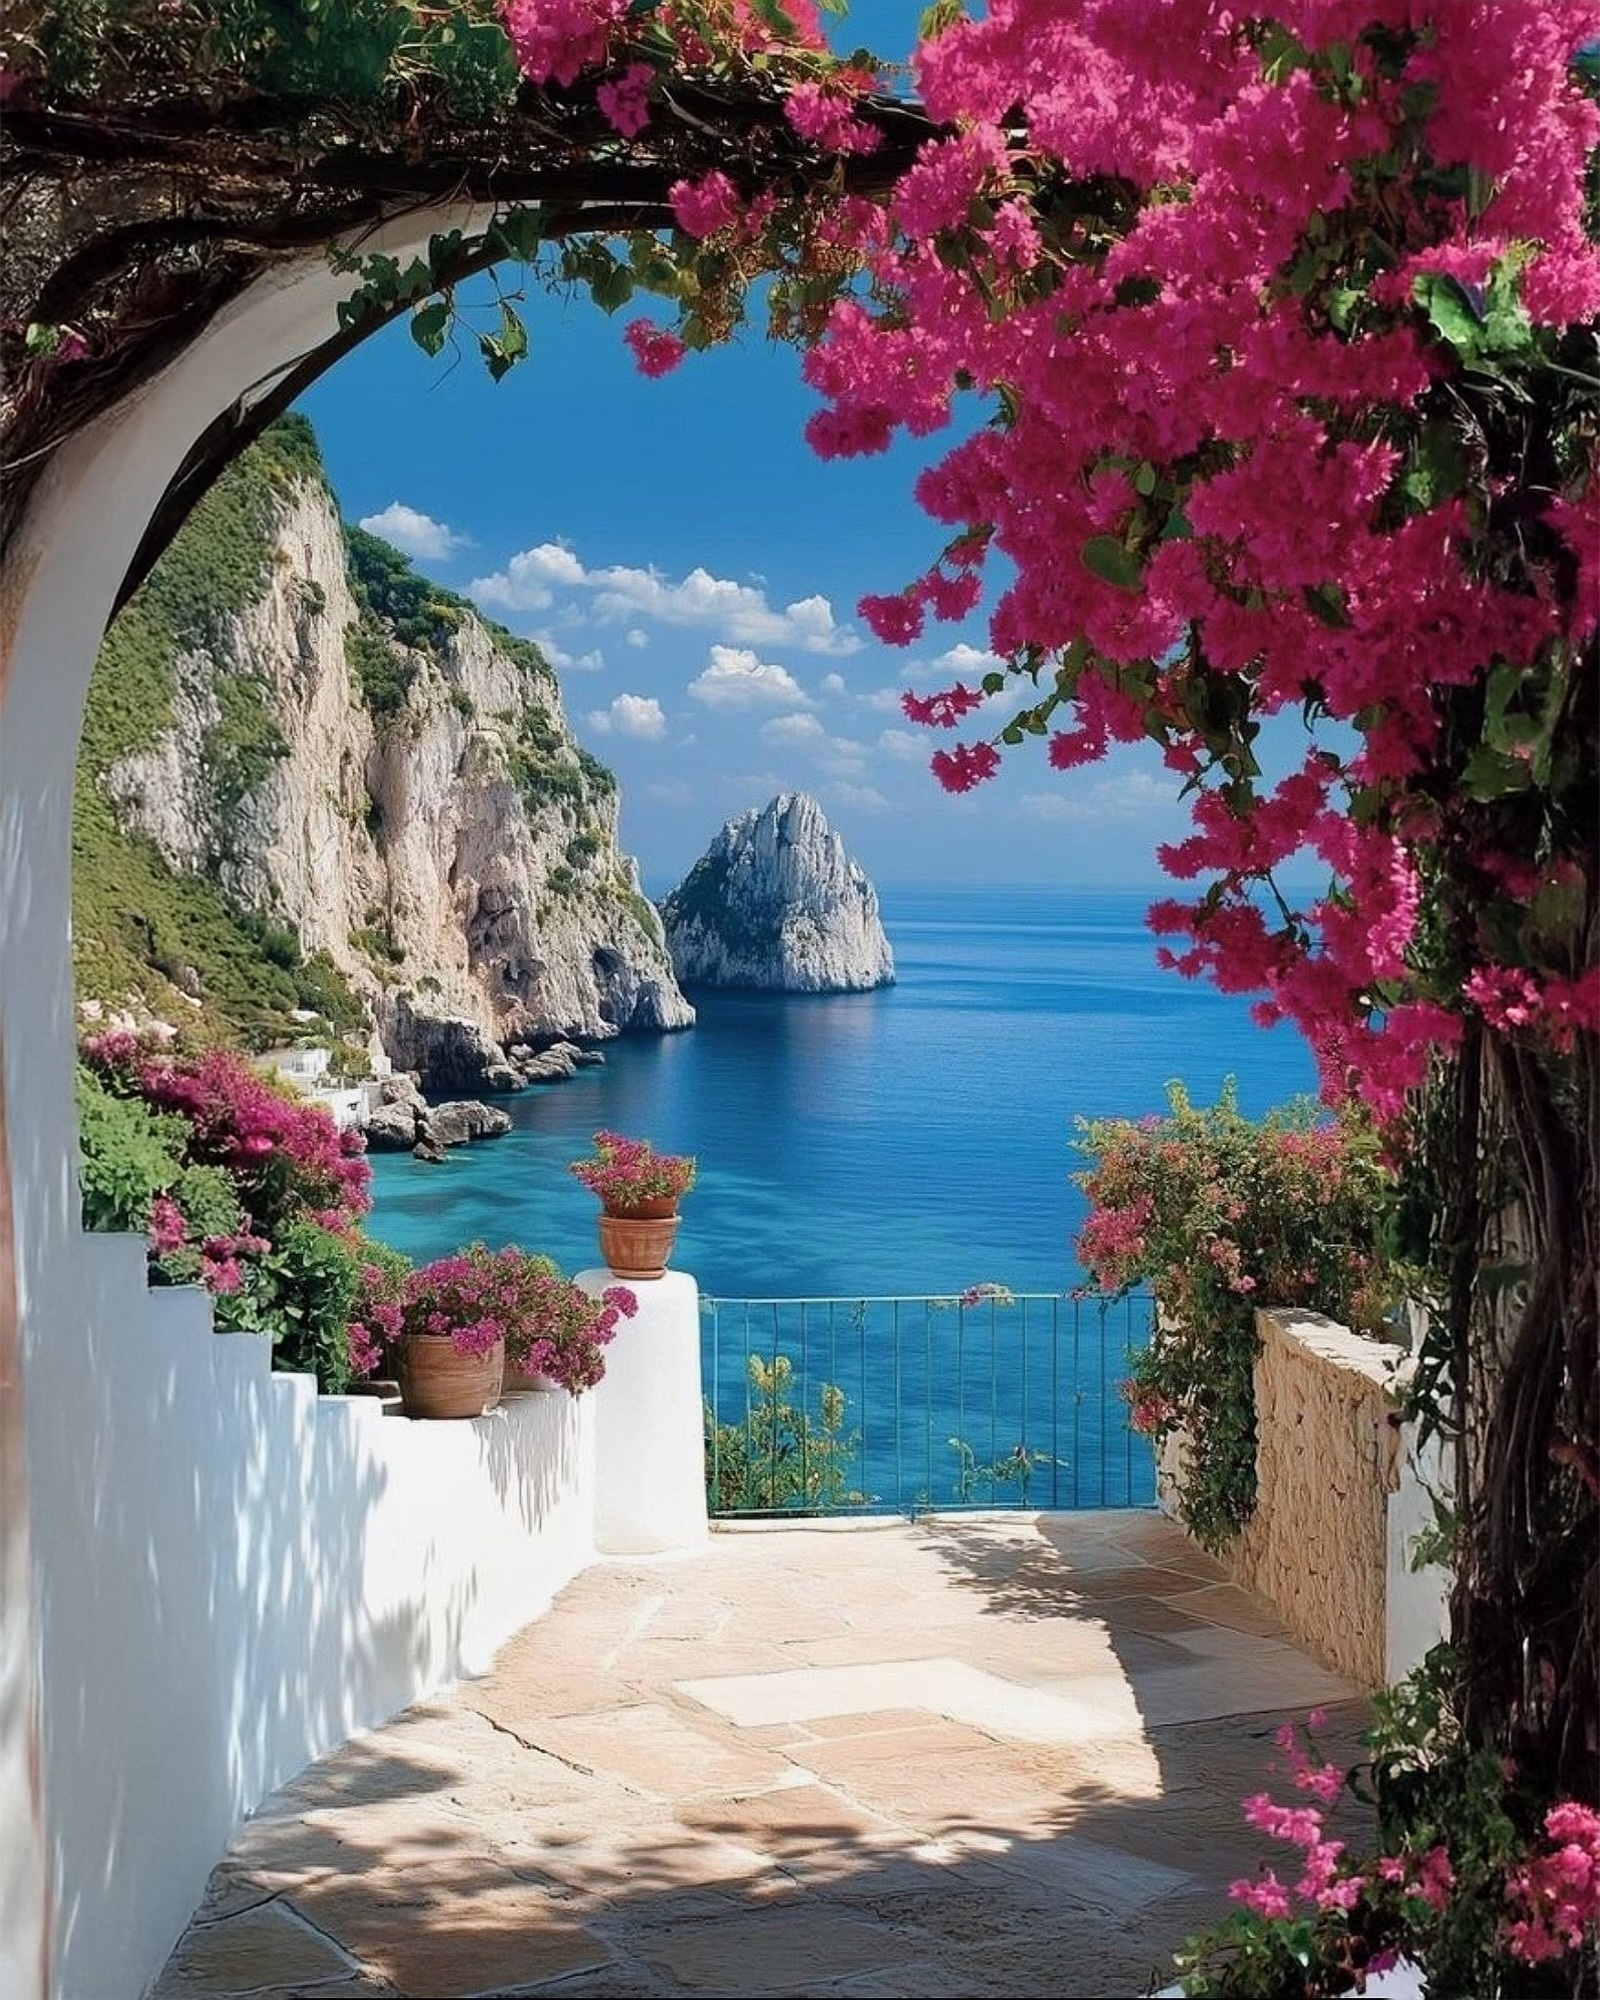
REFERENCE PHOTO
Introduction
Welcome to the “Heaven’s Cove” tutorial – a perfect afternoon with blue skies with a touch of clouds on the horizon, and the stunning crystal blue water. We'll blend in a bit of aquamarine green, absolutely beautiful. And of course, the vibrant hot pink fuchsia of the bougainvillea flowers draping over the trellis—just breathtaking. All of it set against the backdrop of those striking white cliffs in the distance.
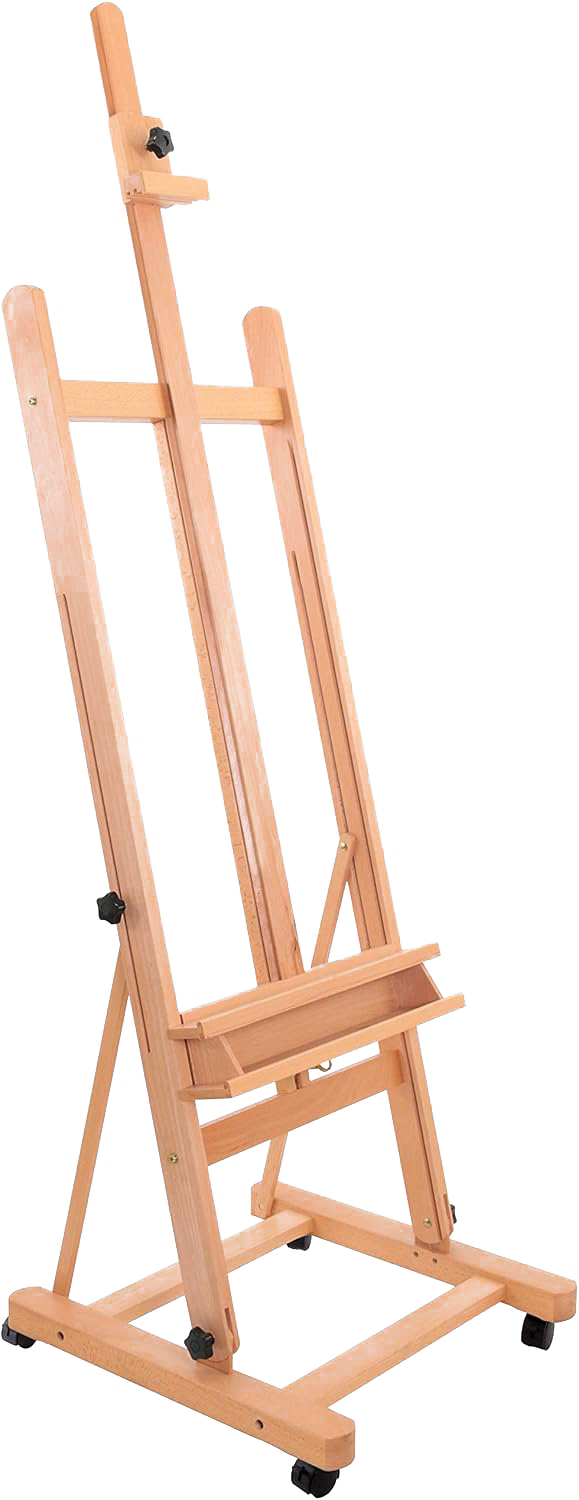
Today, I am painting on a 20” x 16” gallery wrapped canvas. This scene will look great on any size. So, use whatever size you want.
Let’s get started.
Best practice: Read through the entire lesson before you begin.
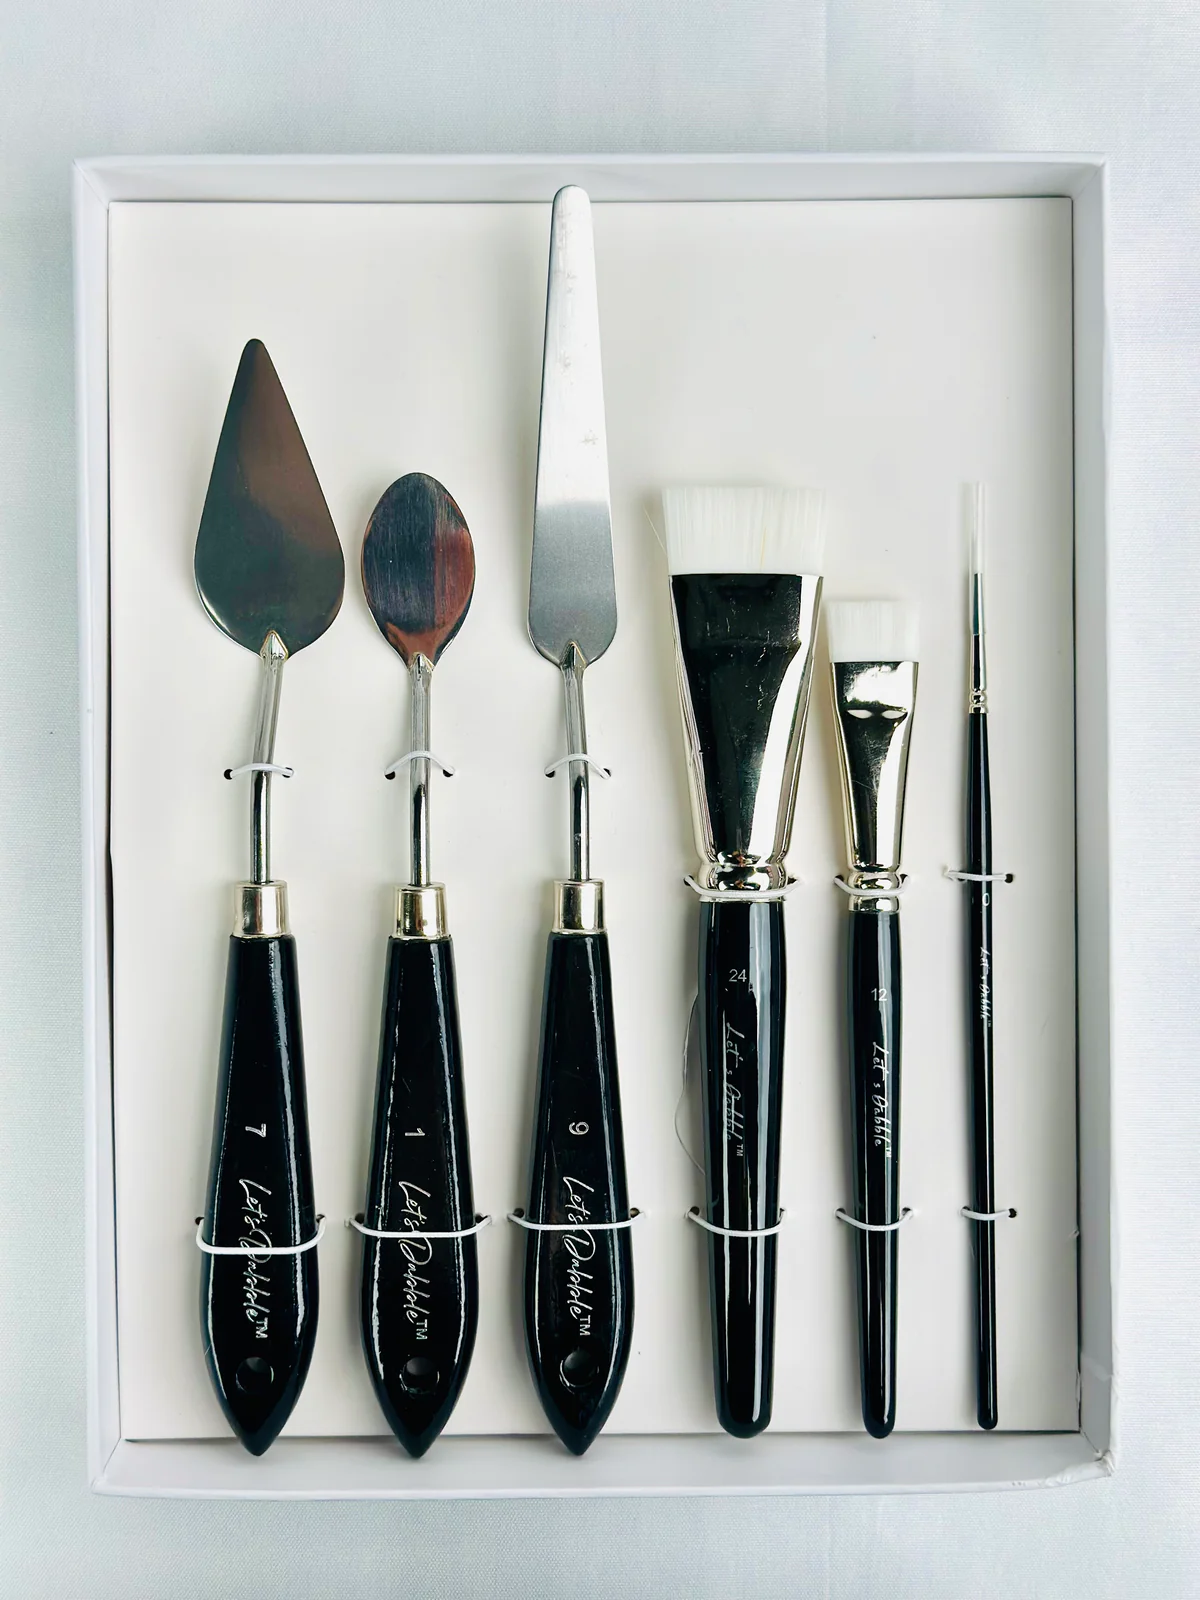
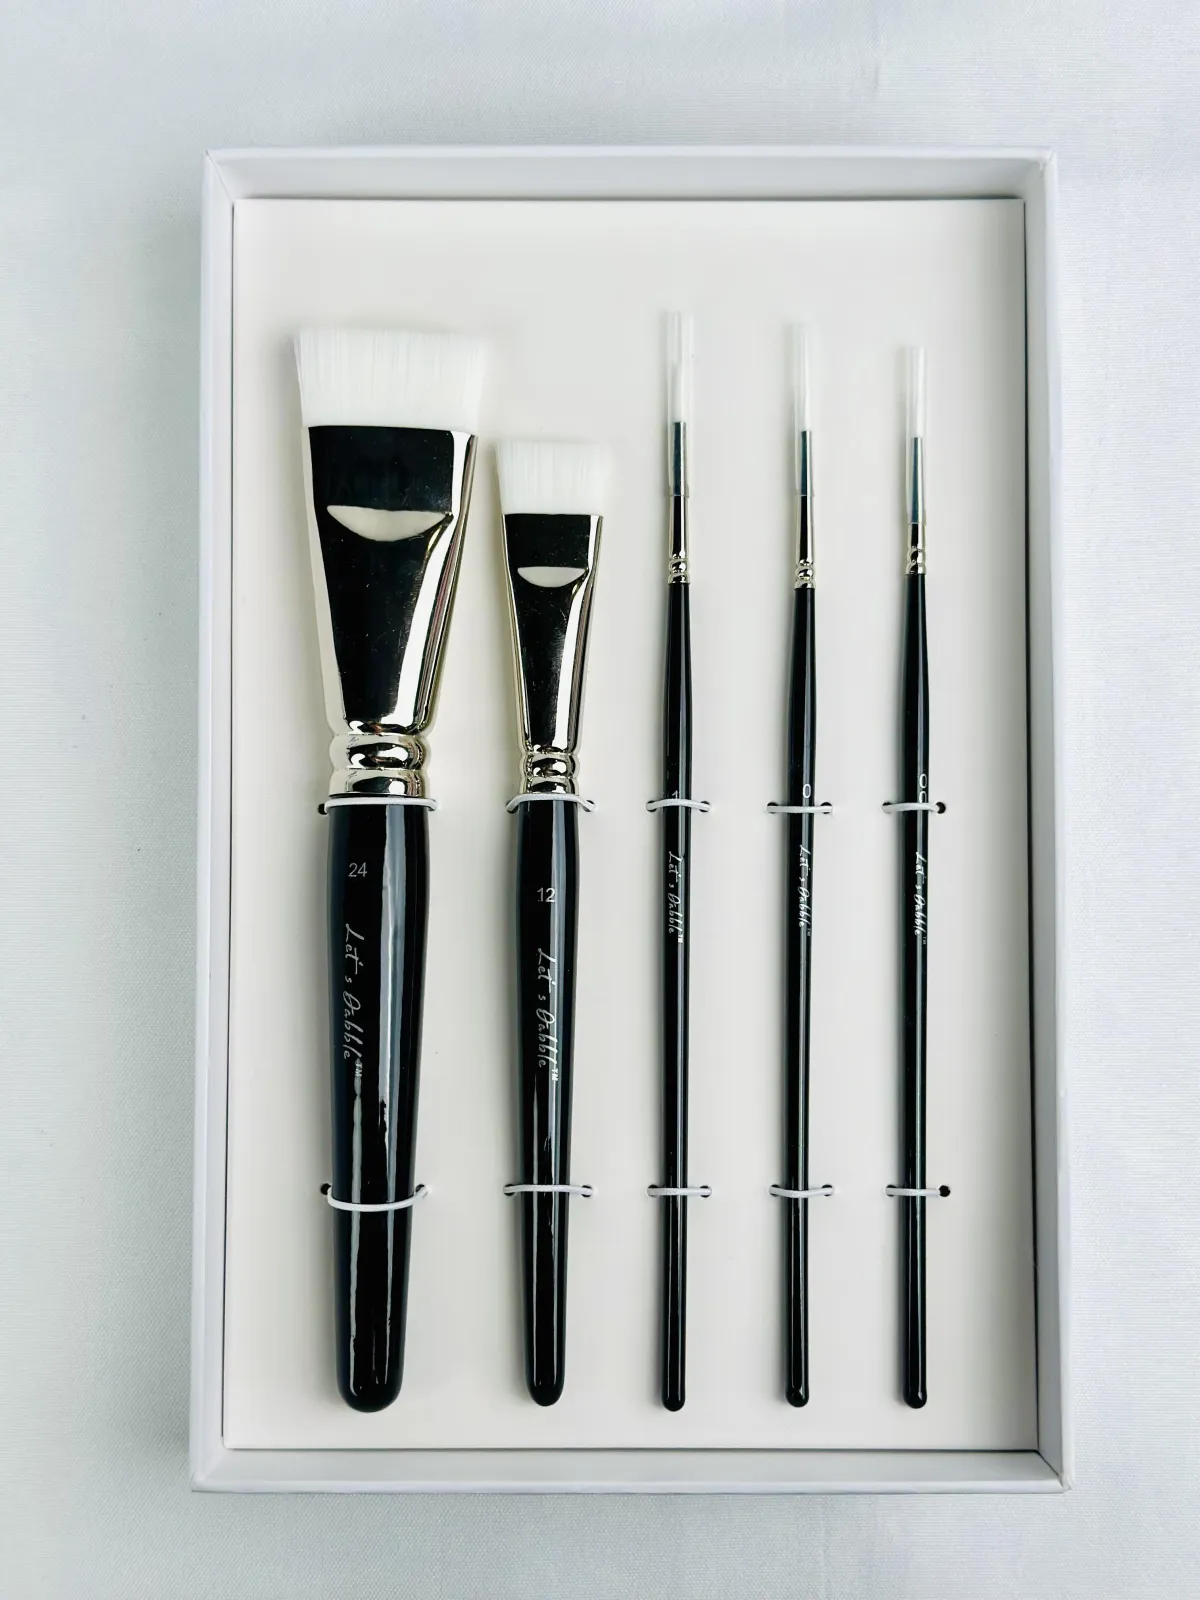
Materials used in my Let's Dabble Painting Course:
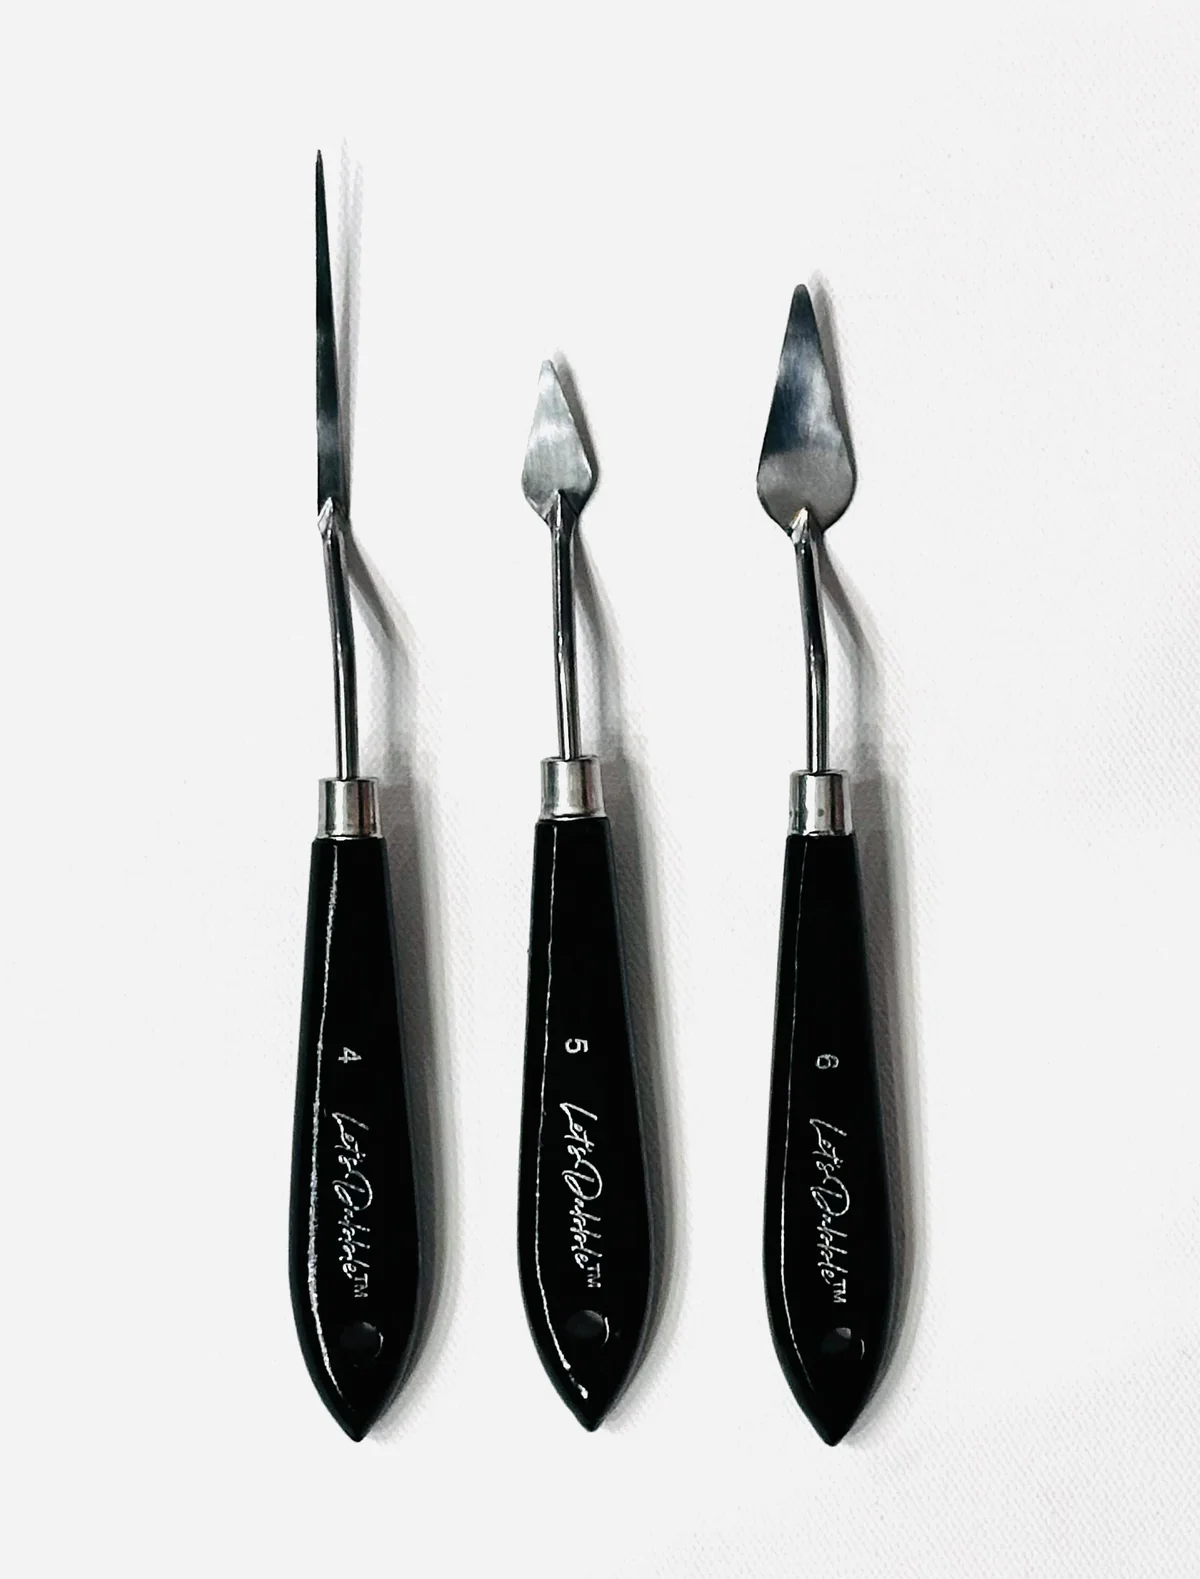
Let’s Dabble Palette Knives and Brushes
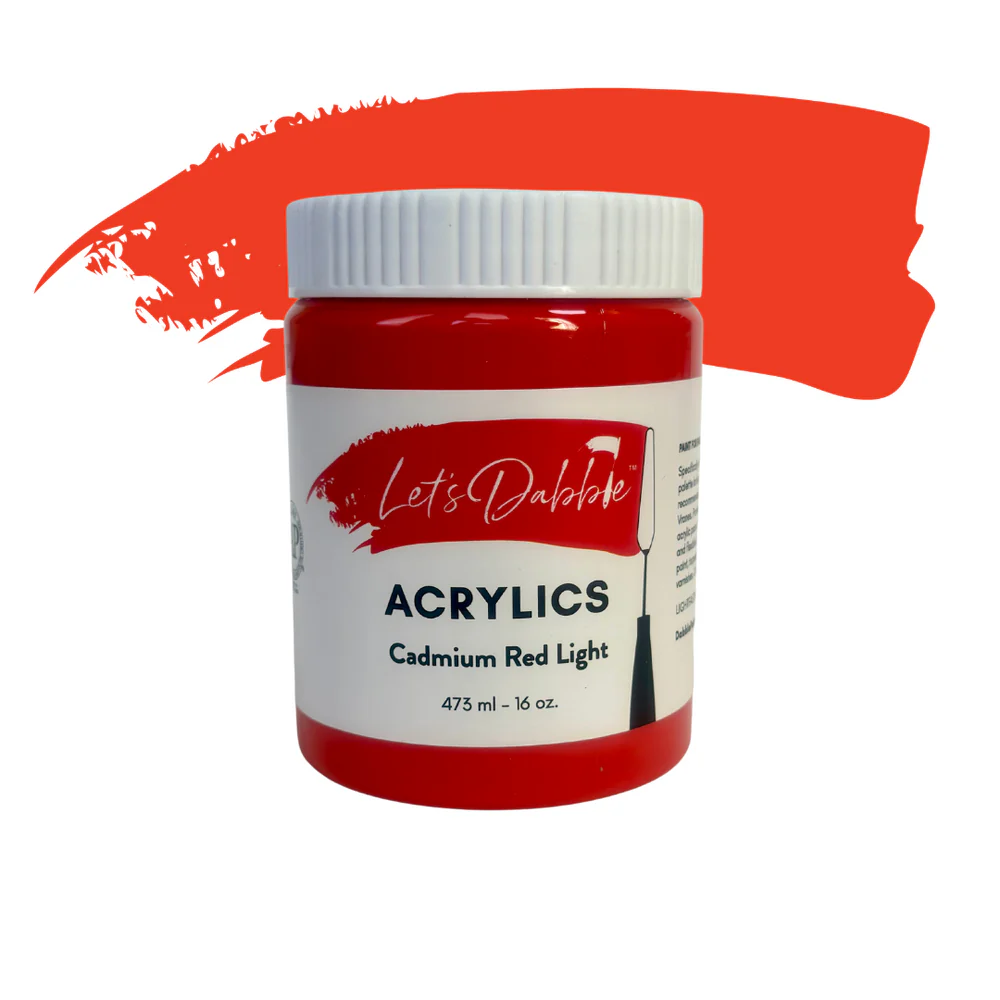
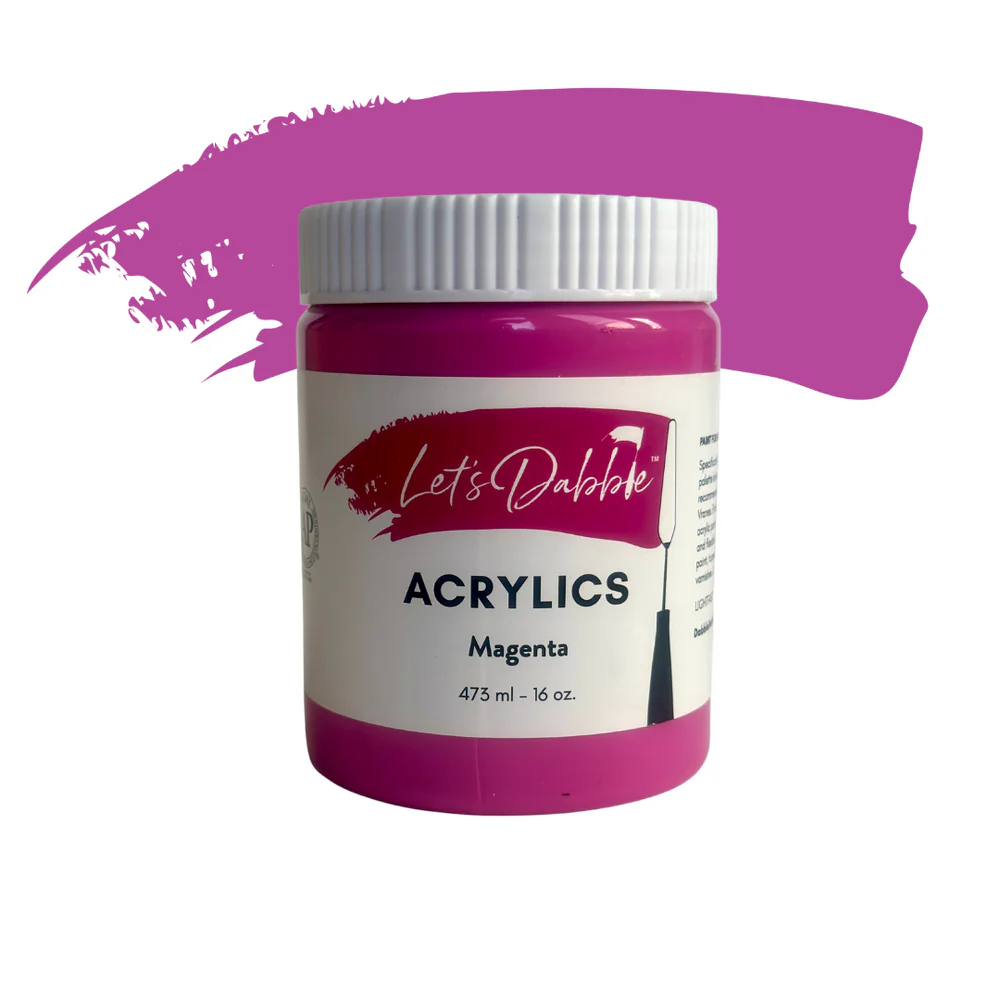
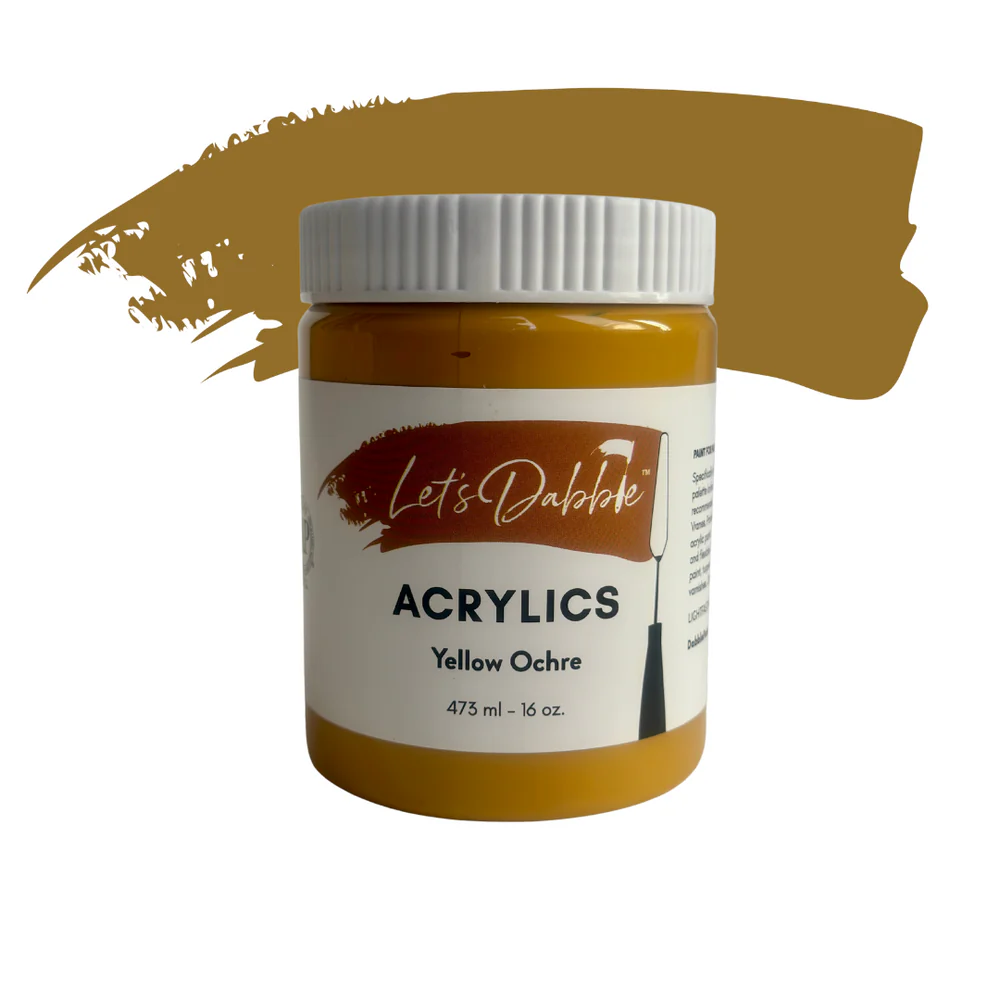
Let's Dabble Paints

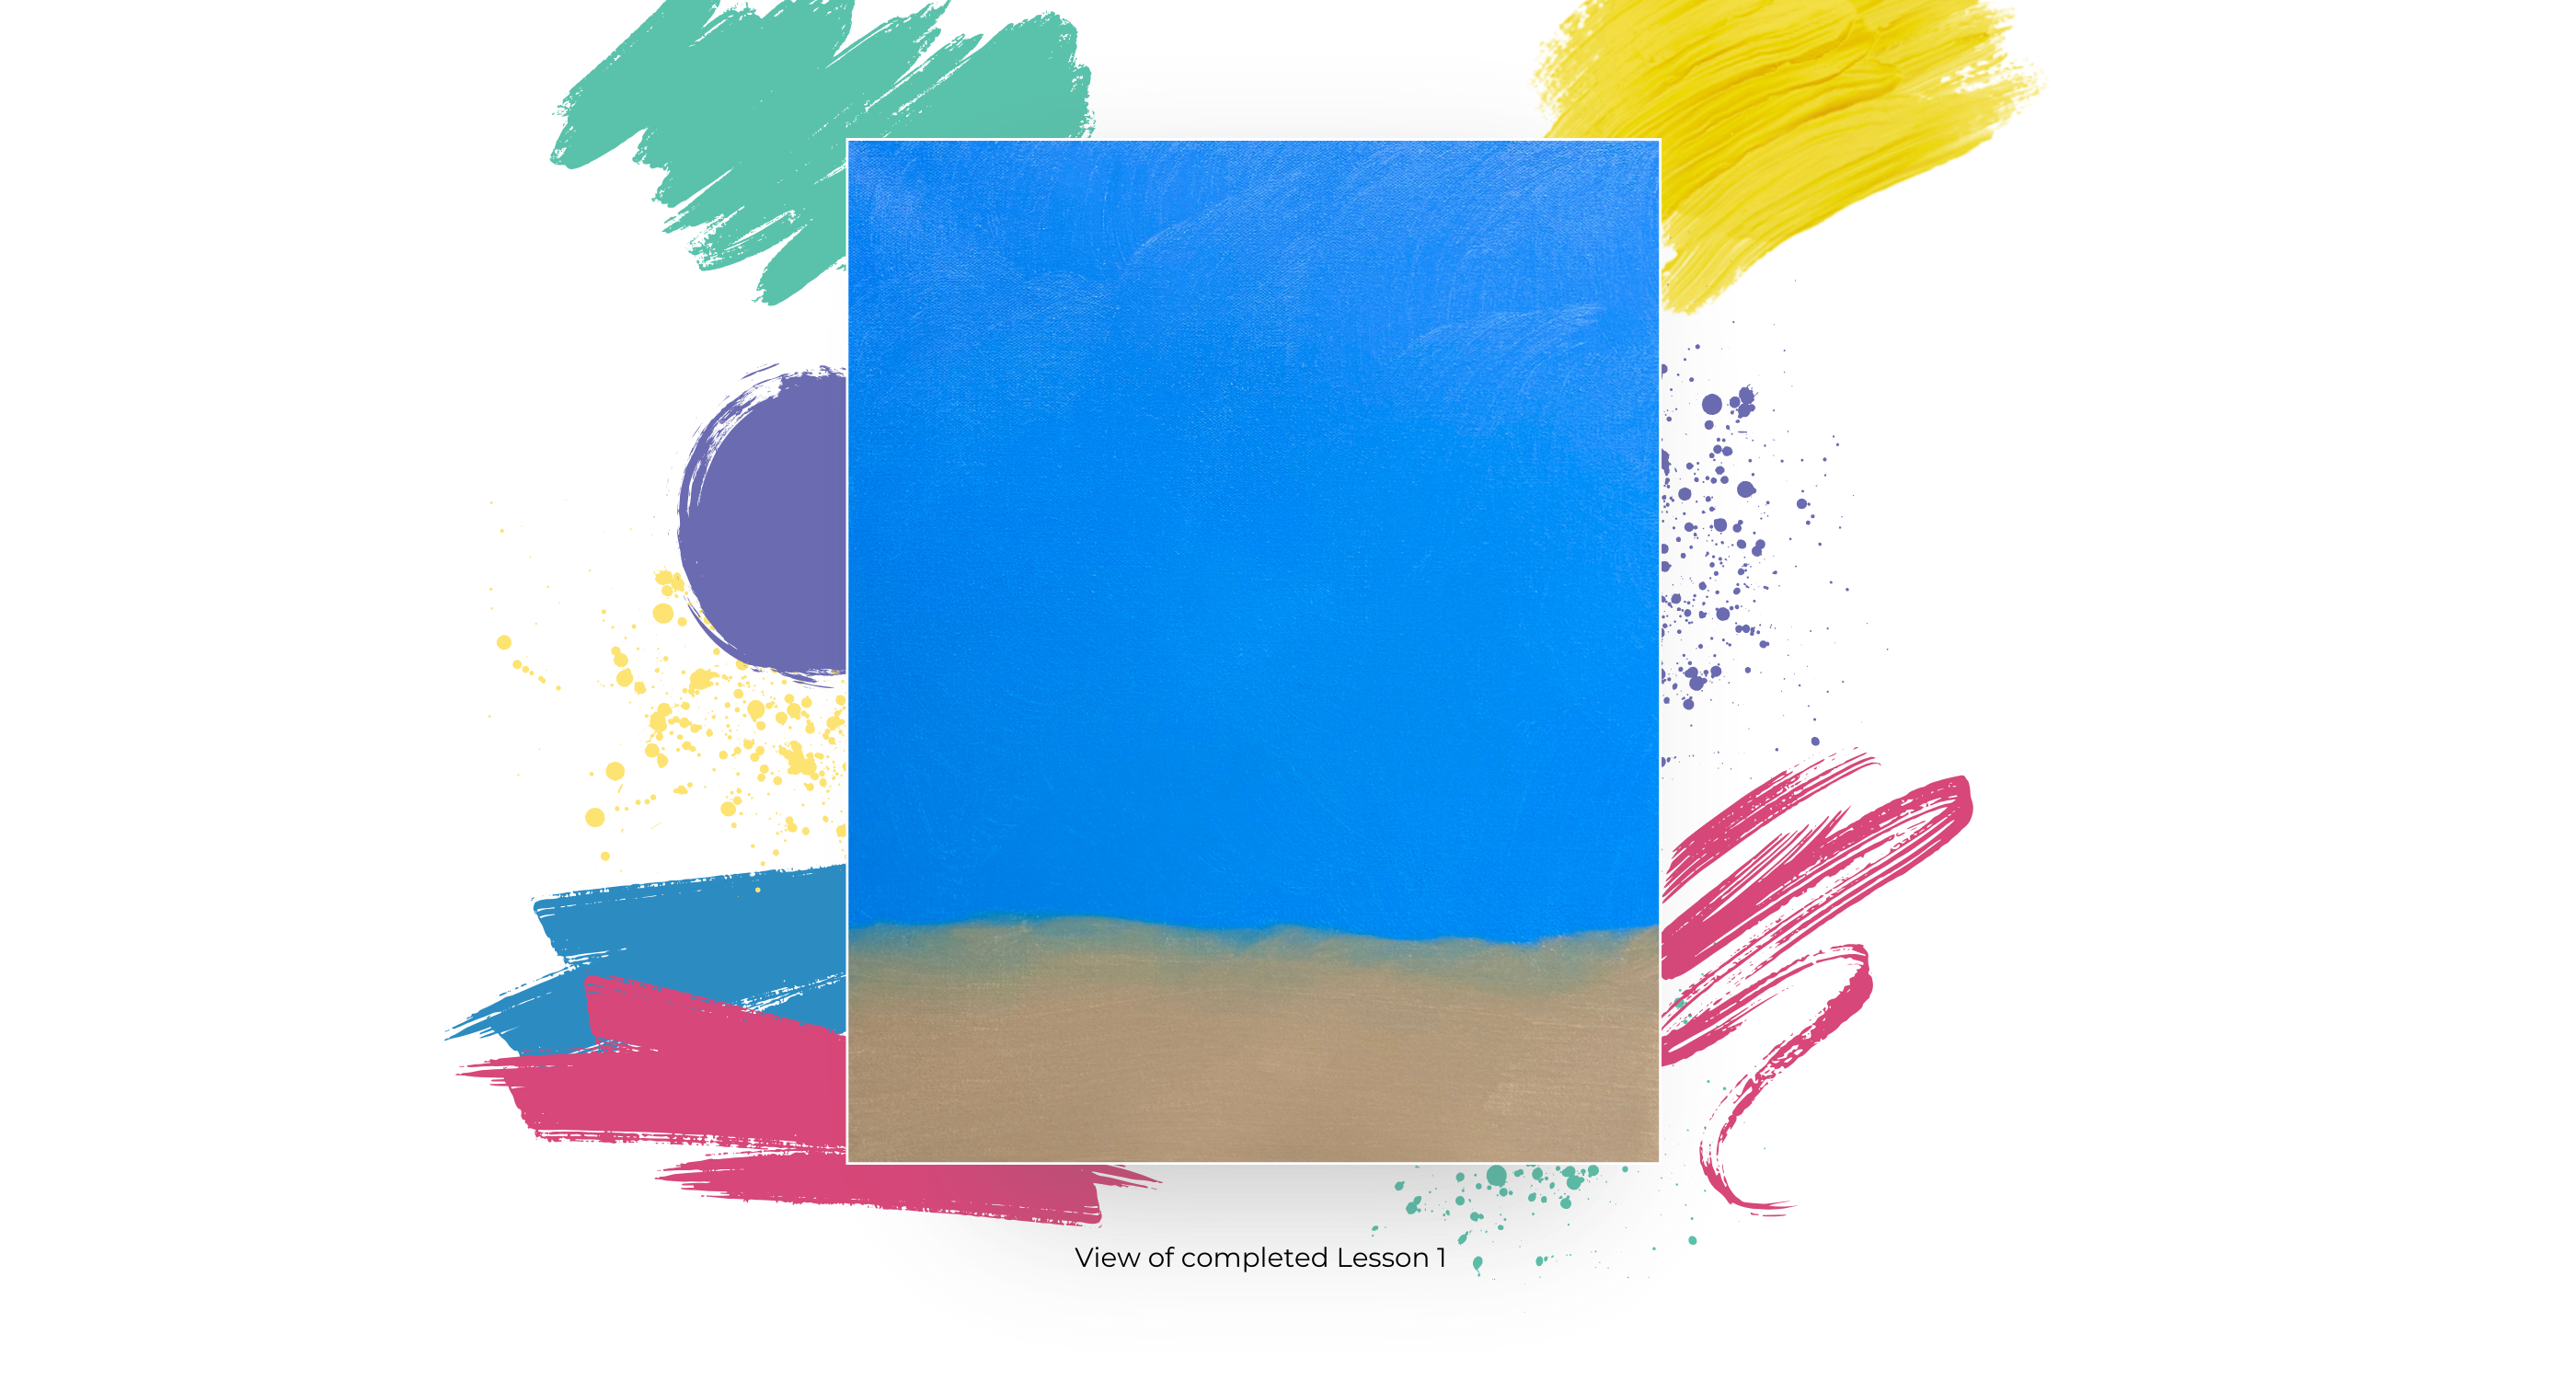
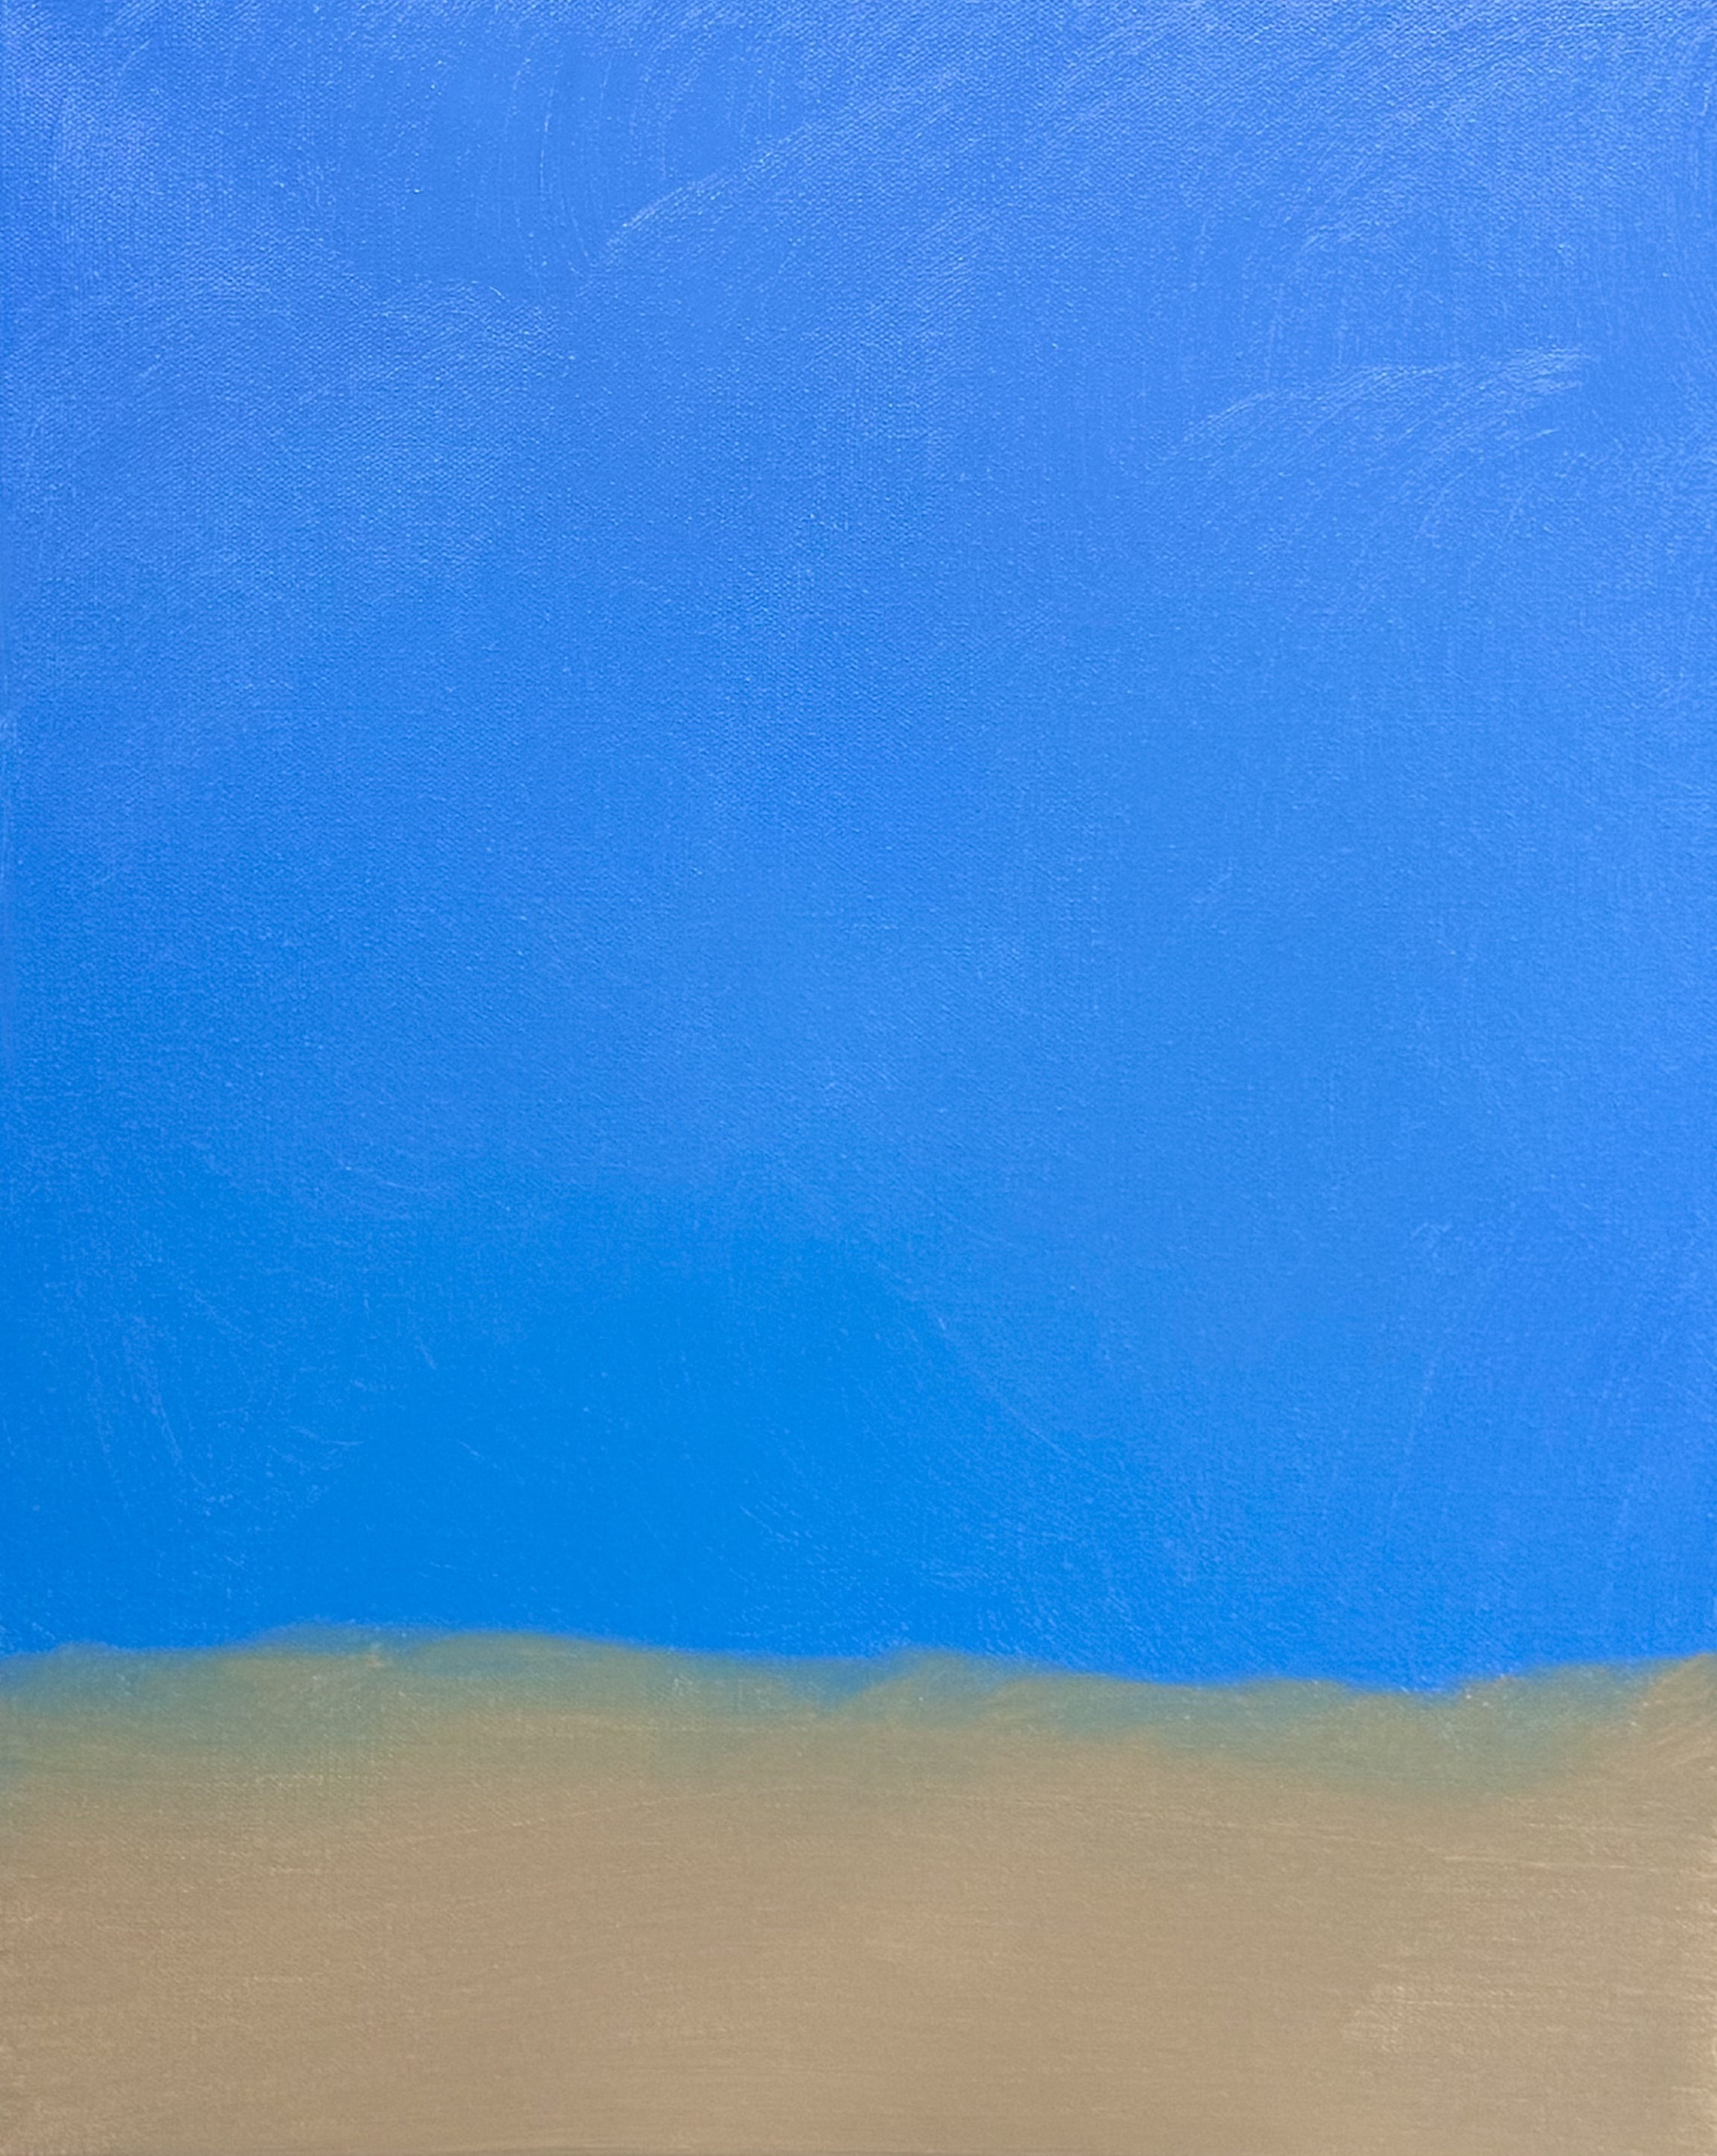
Lesson 1: The Background
Sponge
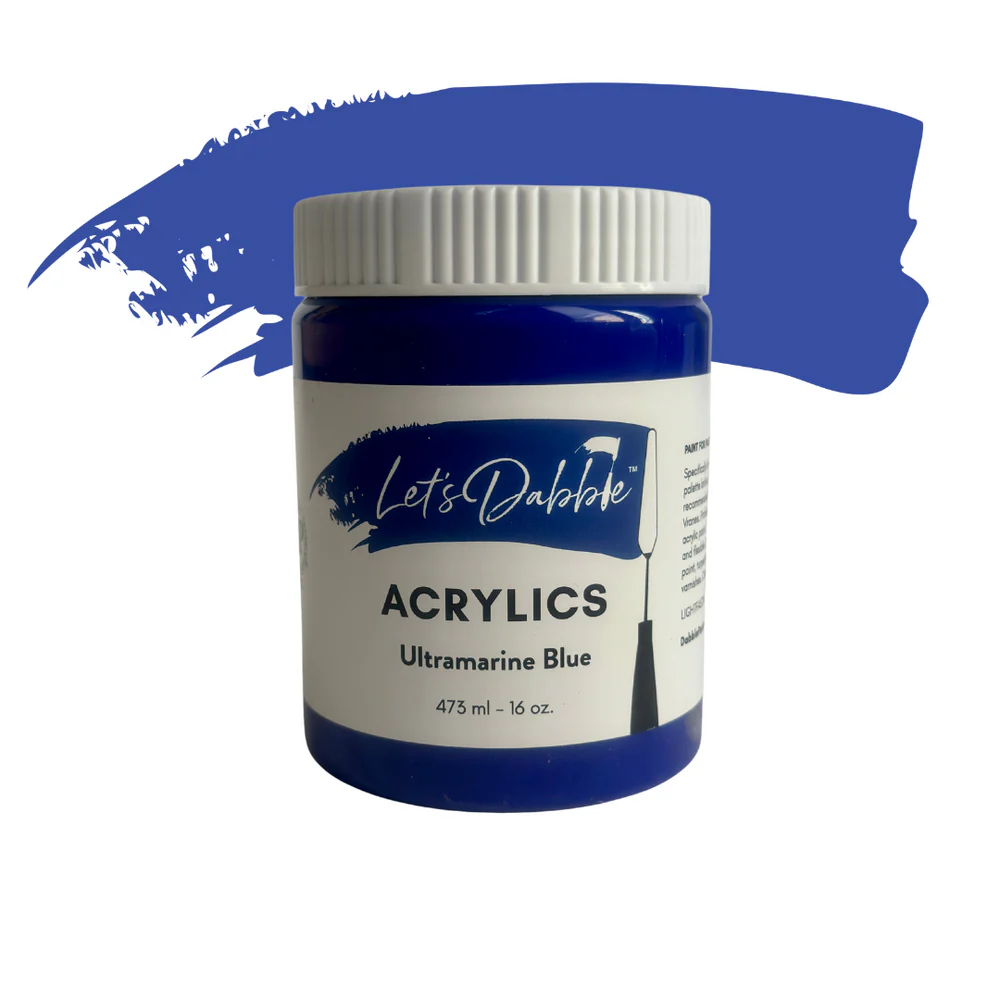
Ultramarine blue
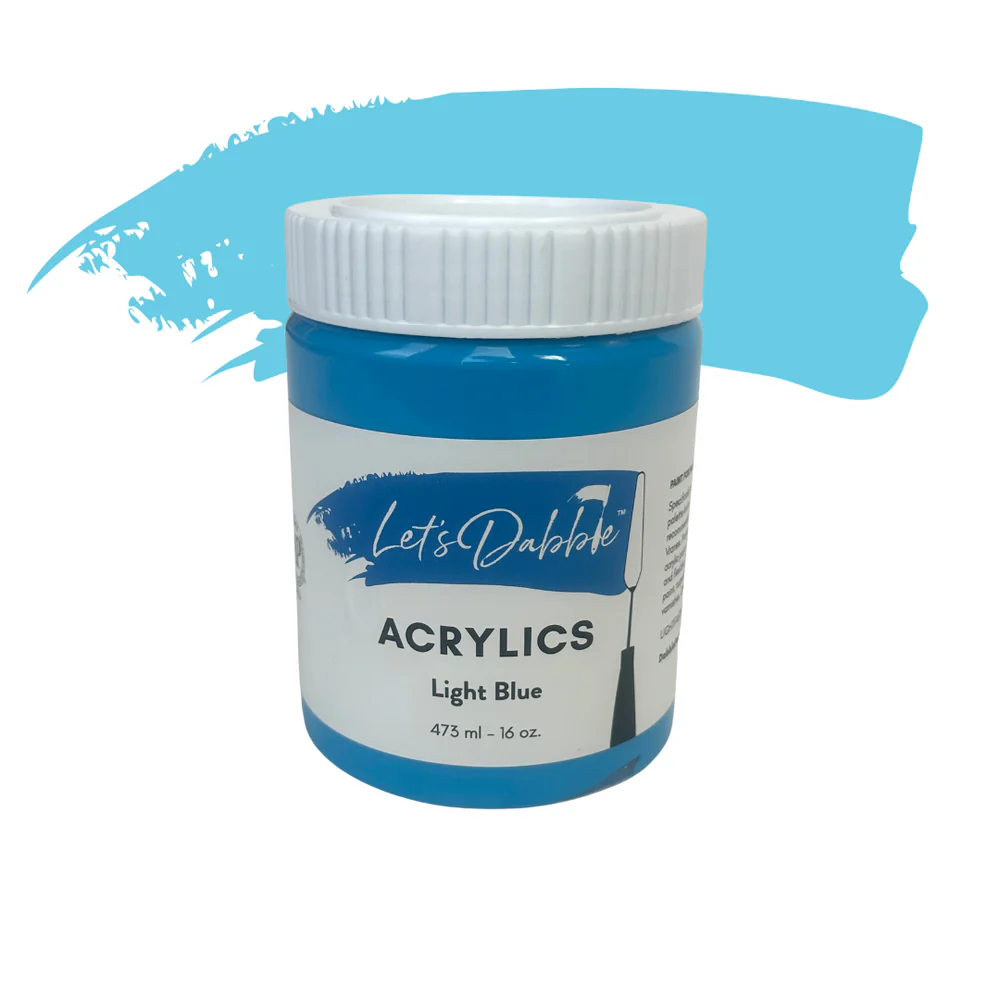
Light blue
Titanium white
Buff White
Neutral Gray
If your sponge is dried out, just spritz on some water until it is soft but not dripping water. Add the color above to your palette.
Sky
Using your sponge, do a combination of ultramarine blue, light blue and titanium white. Decide on the color that you want to focus on. Bring it over to your canvas, apply a thin layer of paint in circular motions. Cover the top, sides, and corners of the canvas. Take it all the way down almost at the bottom.
Foreground
Mix buff white and neutral gray and apply the mixture to the bottom portion.
Pick up and flip your canvas on the side so you can easily access the very bottom and finish off the rest of the white.
If there’s no more white showing, let it dry for a few minutes then you are ready for the next lesson.

Lesson 2: Map in the Scene
#24 Let’s Dabble Art brush
Ivory black
Burnt umber
Grab your #24 brush, mix ivory black and burnt umber. Locate the halfway mark on the canvas. Place the horizon line (ocean line) slightly above center to create depth. Roughly place the islands to the left of center to create balance. Lightly mark the arch of the trellis, where the bougainvillea flowers will drape. Map out the steps, wall, and plant areas using loose strokes.
Keep lines soft and loose – this is not drawing, just guiding the layout. If adjustments are needed, simply paint over mistakes with blue sky. Tweak angles of cliffs and steps as needed.
Identify areas that will be filled with flowers or plants. Add a darker shadow tone at the base of walls and steps to guide later shading.
You are ready for the next lesson.
Clean your brush.
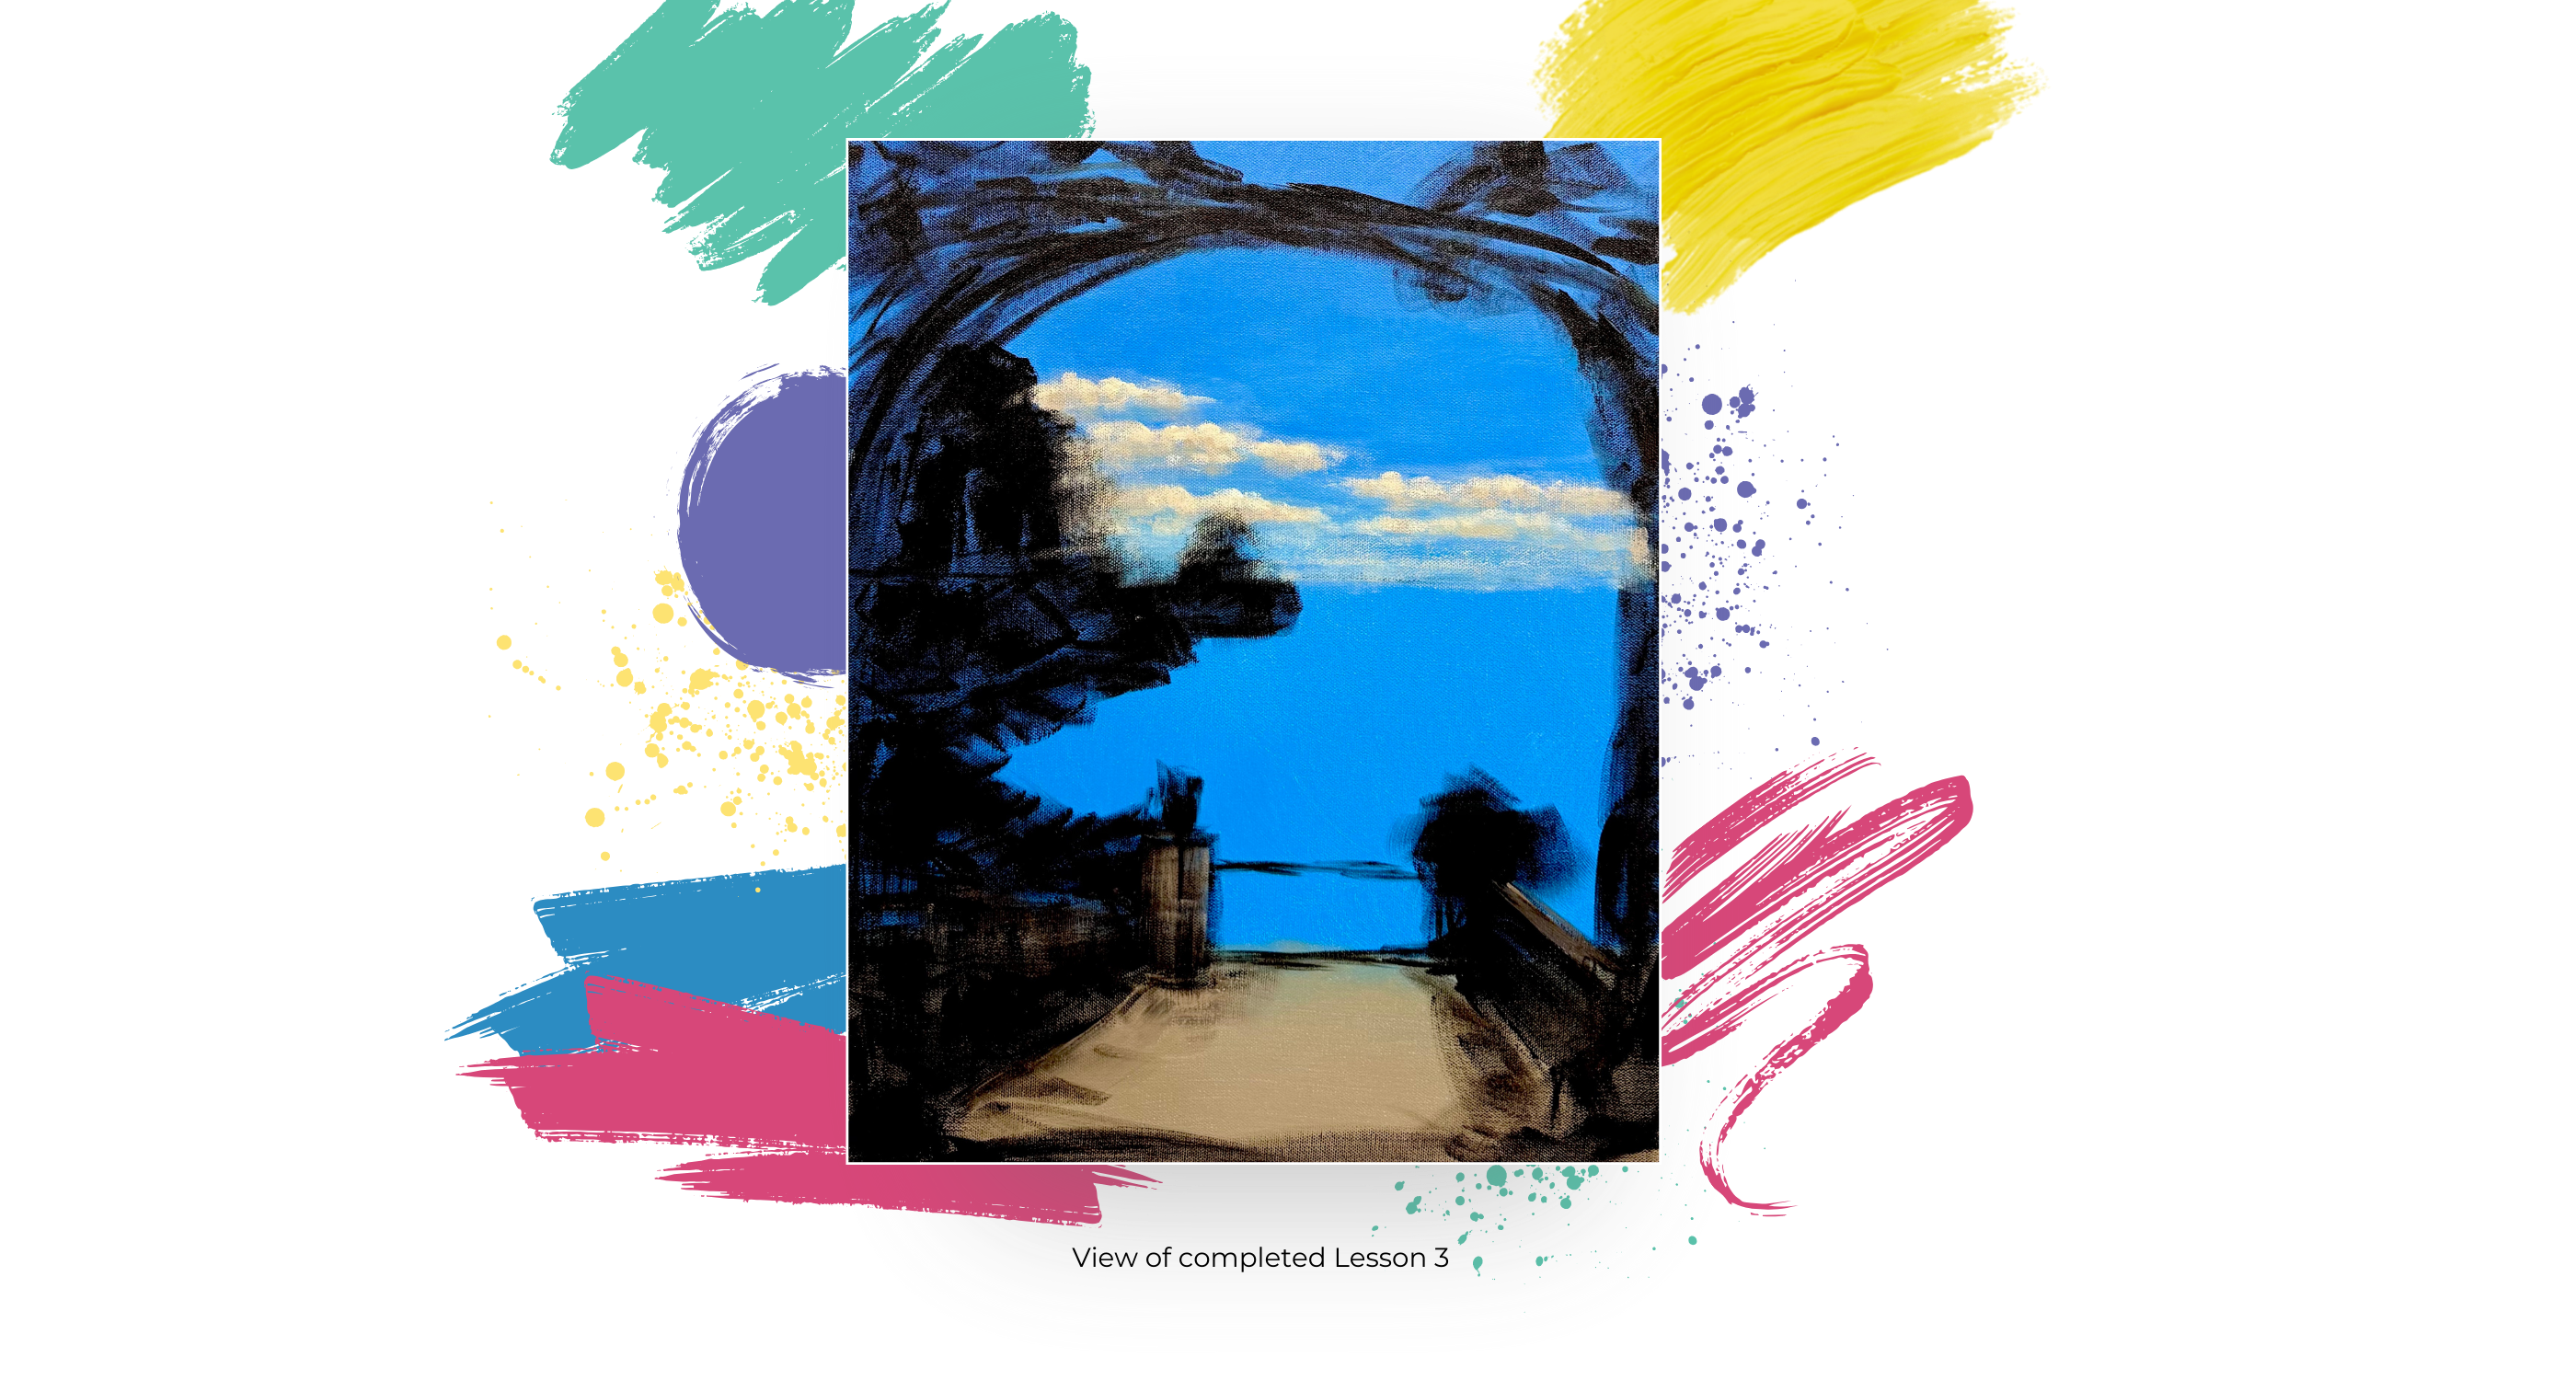

Lesson 3: The Clouds
Sponge, Baby wipe
Neutral gray
Buff white
Sky color mixture
Grab your sponge, add titanium white to the neutral gray and buff white mixture. Dab the cloud mixture onto the bottom part of the sky. Keep the paint dry (not too much on the sponge) to create a soft, natural texture. Use a scumbling motion (circular dabbing) to lightly blend into the sky.
Using the other side of your sponge, blend in a touch of the sky color mixture near the horizon to soften the transition.
Wrap a baby wipe around your finger and gently tap or wipe to blur edges. This helps blend the clouds into the sky seamlessly.
Add titanium white to the tops of clouds for a puffy, sunlit look. Use small dabs of white paint with a sponge or baby wipe. Adjust the density of clouds—keep them airy and not too heavy.
If some clouds look too light, add a darker gray shadow layer underneath them. Soften any harsh edges by lightly blending with the baby wipe or sponge.
Remember, some clouds will be covered later with vines and flowers, so extend them slightly beyond where you think they should end.
Now that the sky and clouds are in place, you are ready for the next lesson.
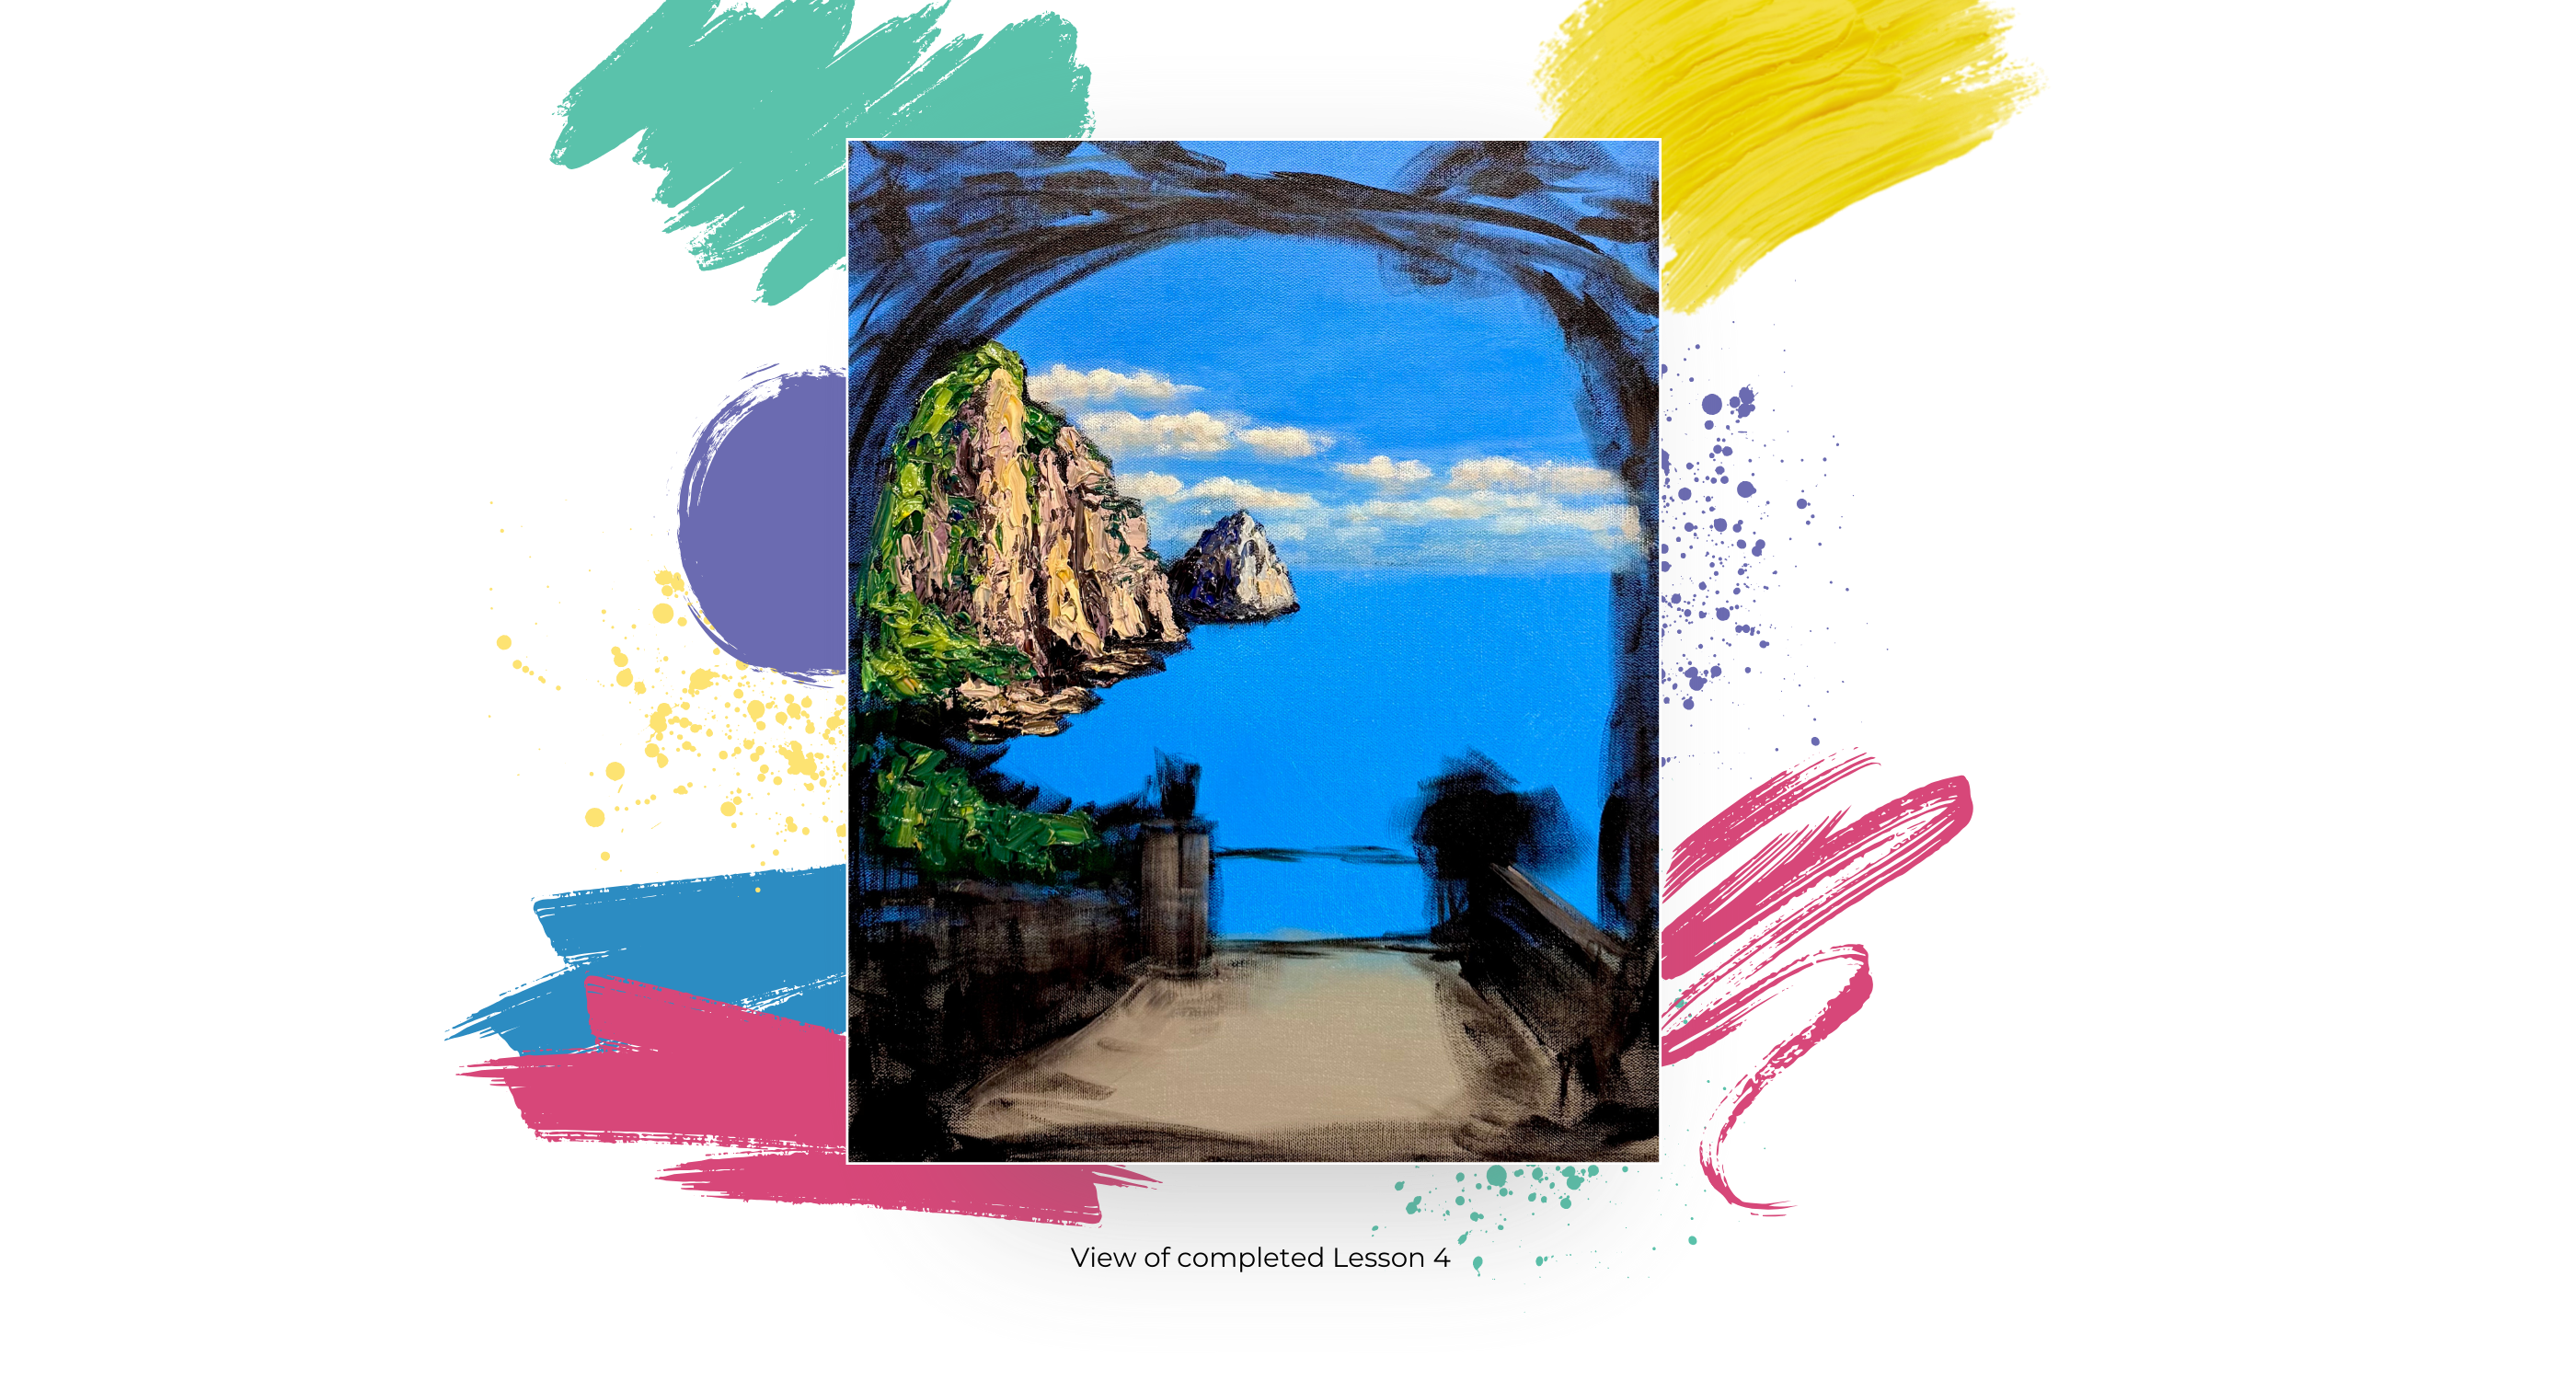
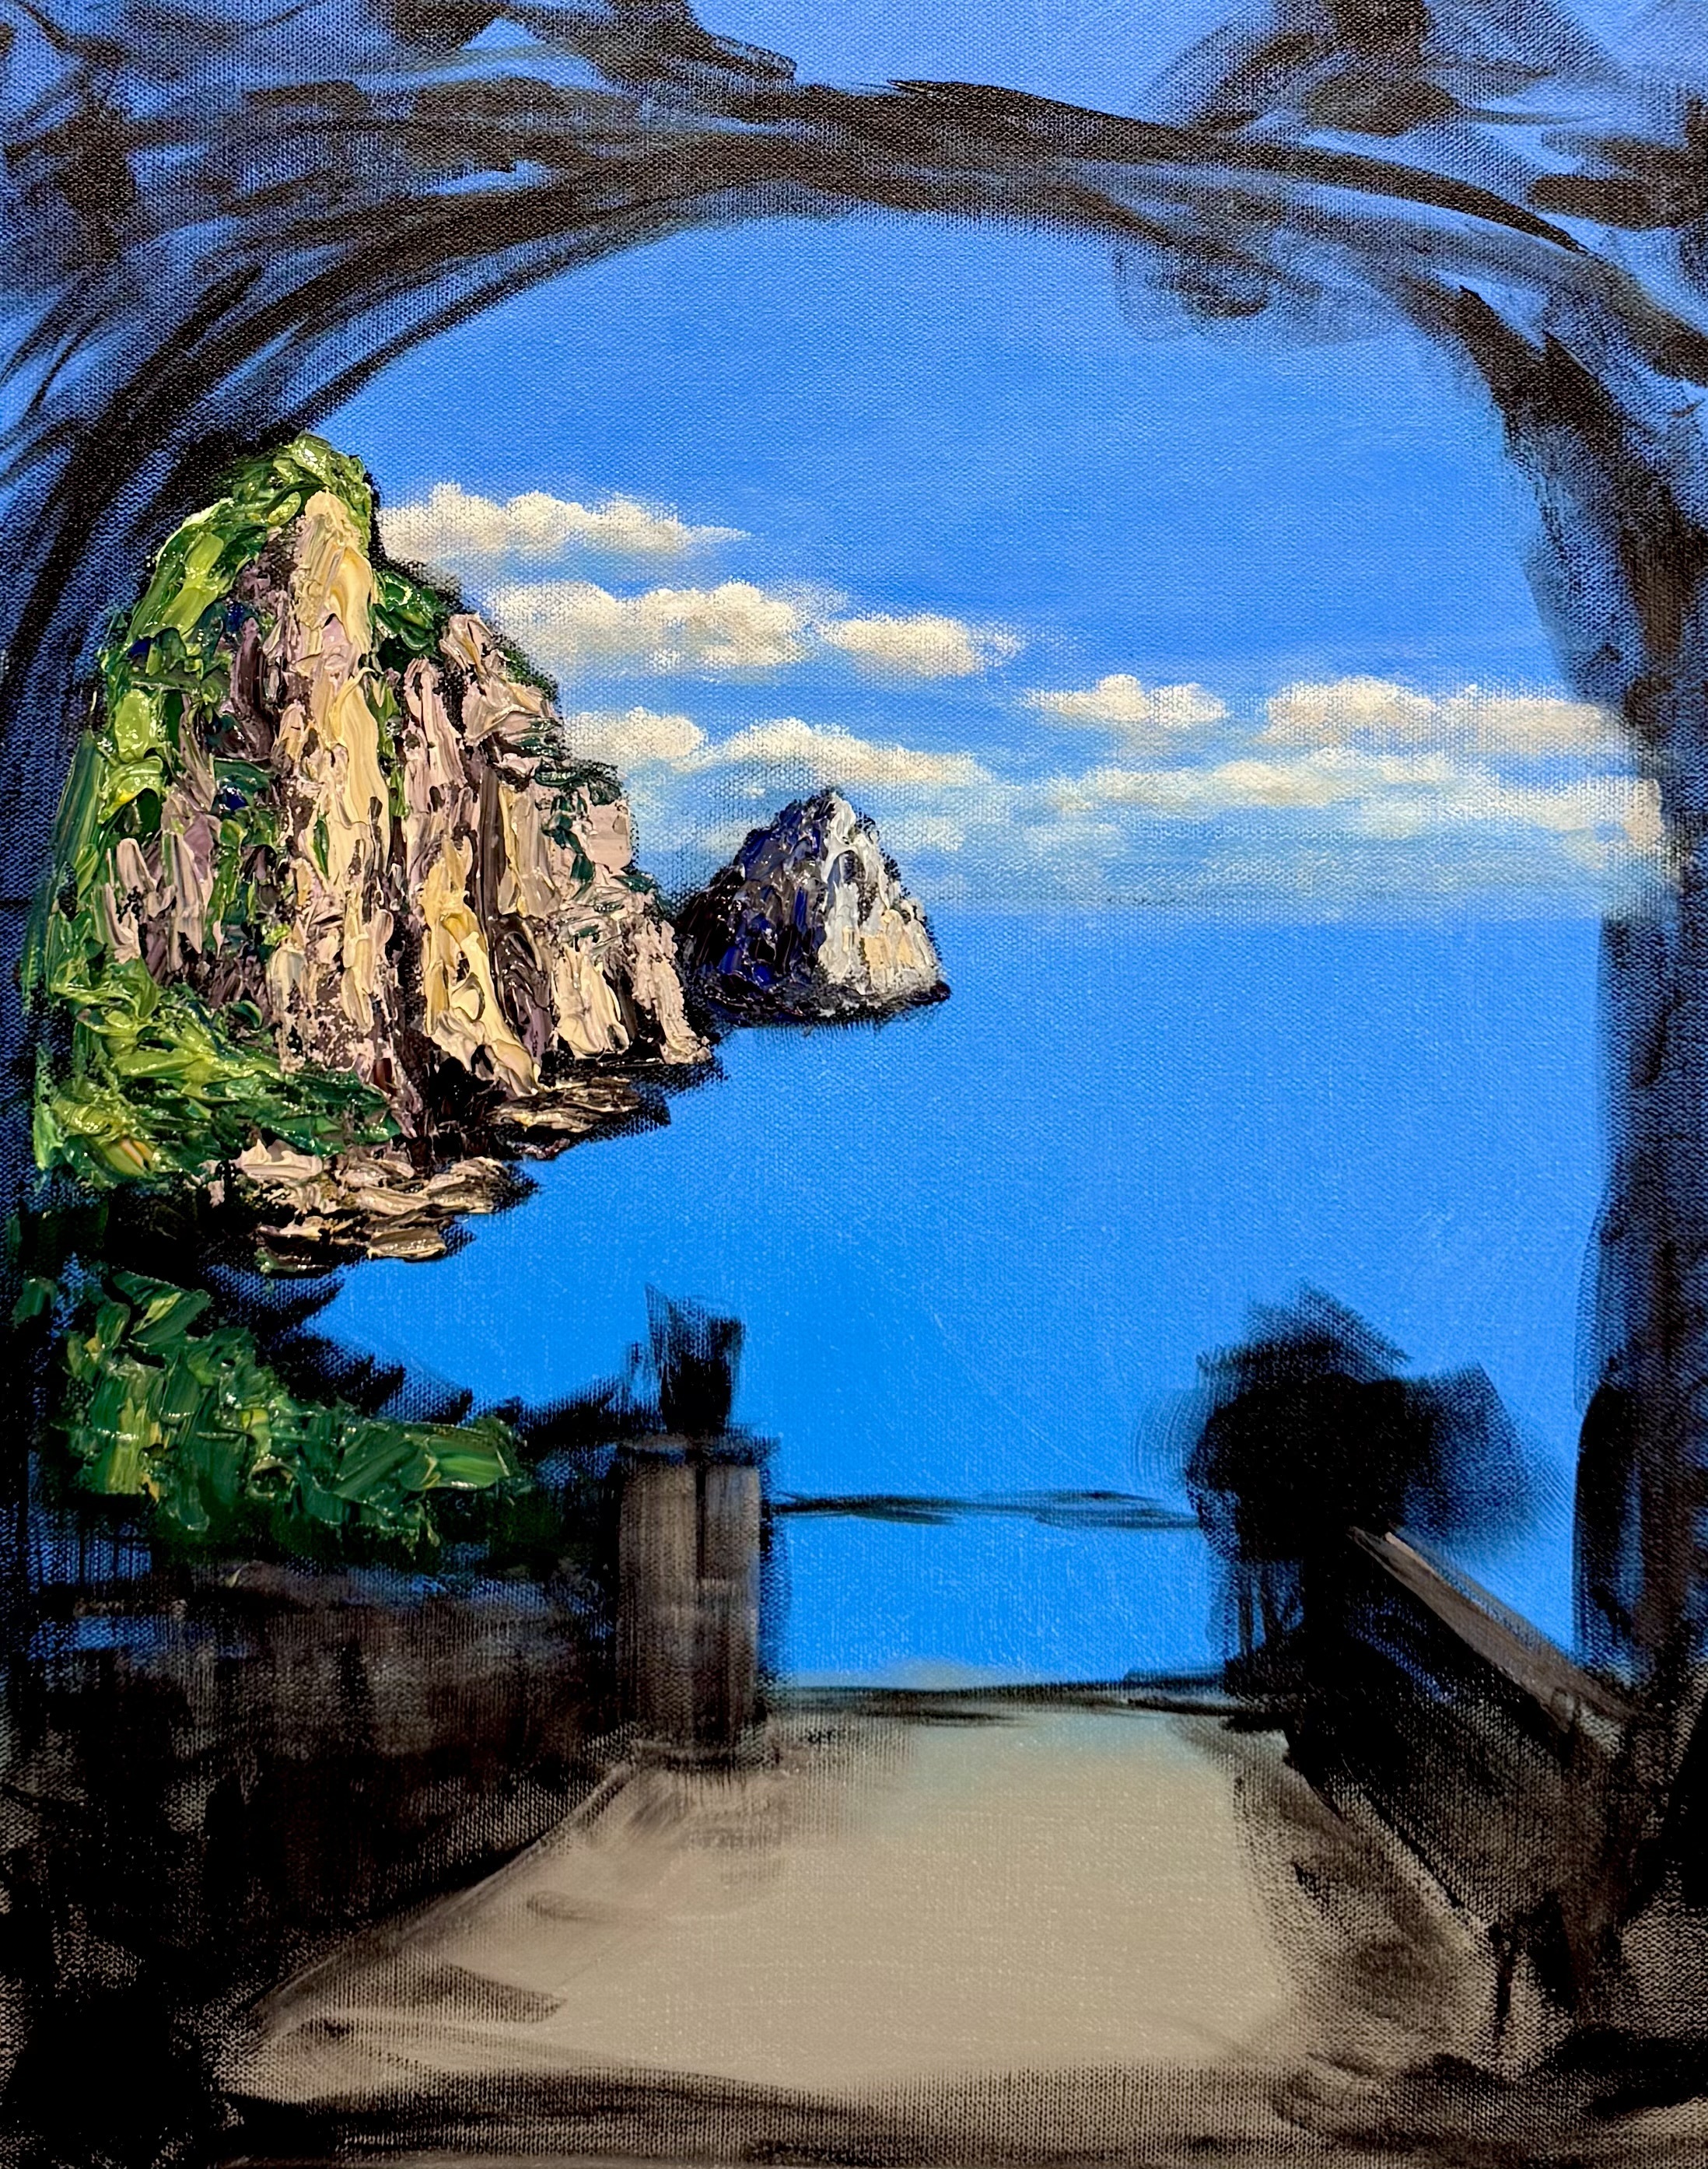
Lesson 4: The Cliffs
#12 Let’s Dabble Art brush and #7 Let’s Dabble Art palette knife
Yellow ochre
Lemon yellow
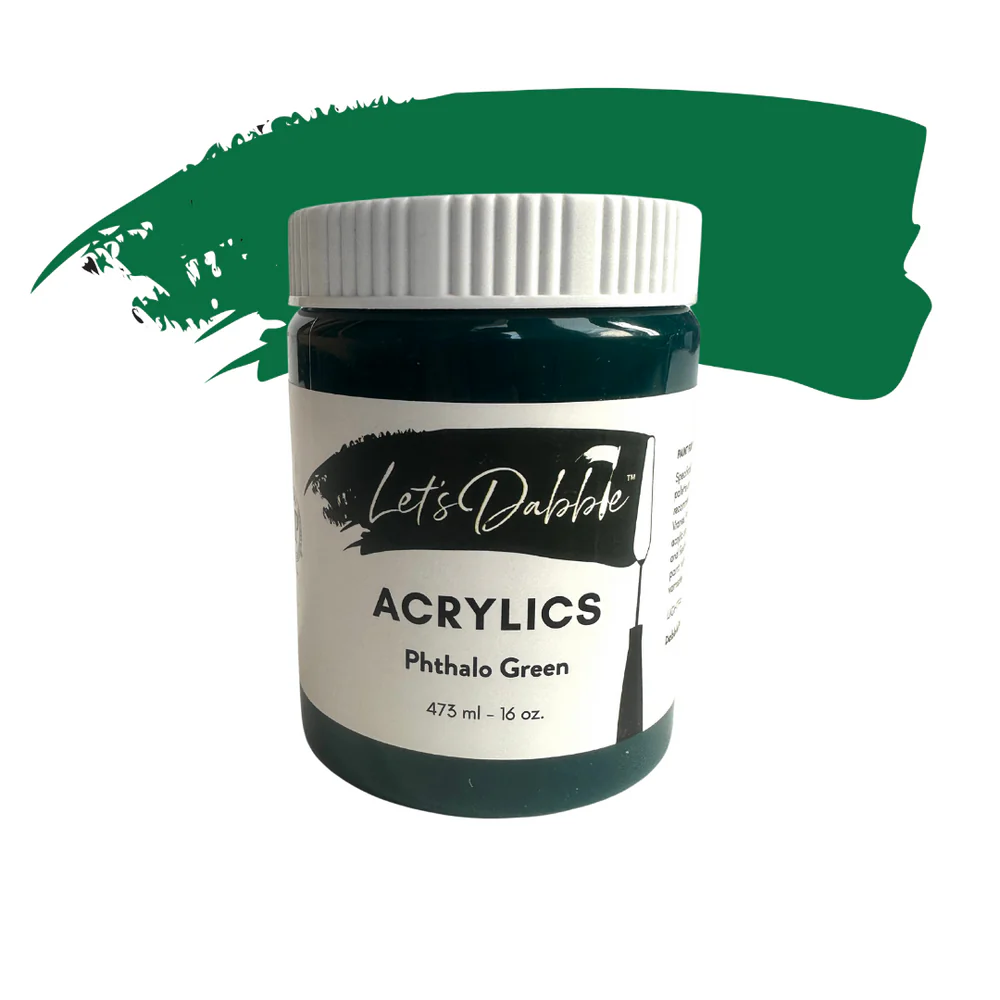
Phthalo green
Brilliant purple
Burnt umber
Ultramarine blue
Neutral gray
Buff white
Titanium white
Burnt umber and Ivory black mixture
Gray mixture
Gloss gel
Pro Tip: Gloss gel dries clear, so it takes on the color of your paint. It is a way to extend your paint. This is more economical than using all paint. Gloss gel also adds a bit of shine to your paint much like the look of oil paints. I mix it anywhere from about 30/50 gel/paint ratio to about 50/50.
Mapping in The Cliffs
Grab your #12 brush, dip it into the burnt umber and ivory black mixture to outline the distant island and main cliff shapes loosely.
Mix buff white, burnt umber and neutral gray and map in where you see the little cliffs.
Mix phthalo green, yellow ochre, lemon yellow. Apply this mainly at the tops and edges of the cliffs, where plants naturally cling to rock formations.
Adding Texture
Grab your #7 palette knife, mix gray mixture and gloss gel into the sky color mixture for distant cliffs. Scoop up and apply using thin scraping strokes to create a natural rock texture.
Combine the brown mixture with ultramarine blue and apply this to the bottom portions of the cliffs, where natural shadows would form.
Clean your palette knife.
Lighter Tones
For closer cliffs, combine burnt umber, brilliant purple, neutral gray and gloss gel. Scrape in horizontal and diagonal strokes to mimic rock layers and ridges. Add ultramarine blue to distant cliffs to cool it down. Add yellow ochre as you come closer for a sunlit effect.
Add Texture to the Greenery to the Cliffs
Mix phthalo green, yellow ochre, titanium white, burnt umber and gloss gel. Drag small amounts of green over the cliff edges.
Add ultramarine blue to green mixture for distant, cooler-toned vegetation. Apply lighter green tones (lemon yellow mixed with phthalo green) to the sunlit parts.
Adding Lighter Greens & Highlights
Combine yellow ochre, lemon yellow, titanium white, and gloss gel into the existing green mixture. Lightly graze the lighter shade over the darker base to create depth. Focus the highlights on top edges and areas catching sunlight. If areas look too dark, add more lemon Yellow and titanium white to brighten them. It should feel loose and textured, mimicking tropical shrubs or Mediterranean scrub bushes.
As long as the texture is in place and there's a good balance of light and dark areas, the painting is beginning to take shape. It’s far from finished, but you now have the foundation for your mountains and distant islands, which is exactly where you should be at this stage. You are ready for the next lesson.
Clean your brush and palette knife.

Lesson 5: The Ocean
#24 Let’s Dabble Art brush and #7 Let’s Dabble Art palette knife
Ultramarine blue
Light blue
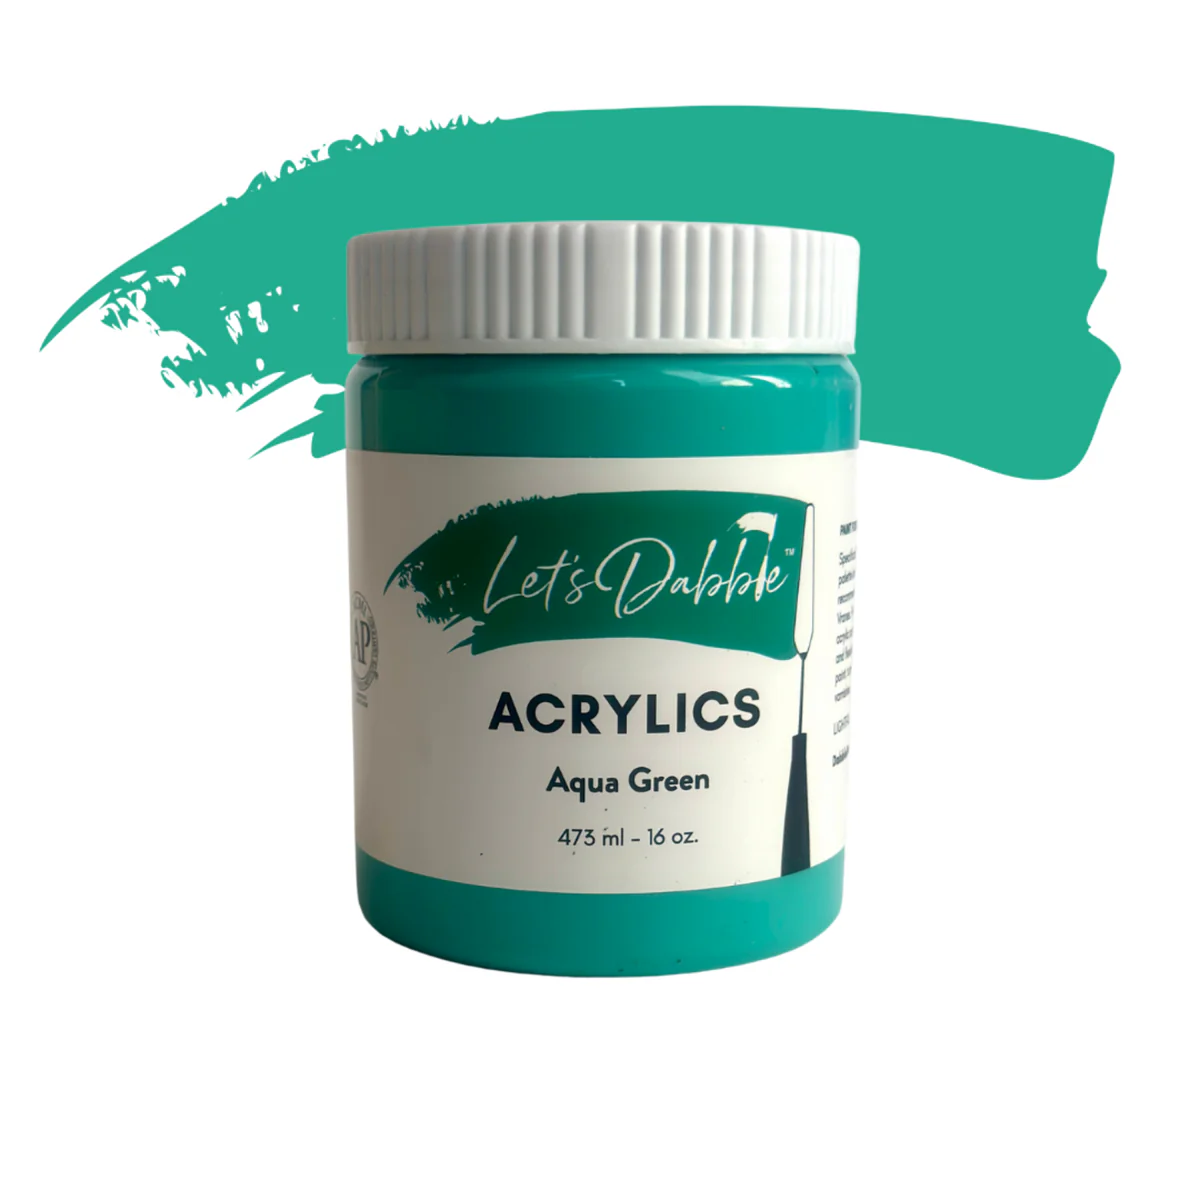
Aqua green
Titanium white
Dark purple
Dark Tones
Grab your #24 brush, mix ultramarine blue, dark purple and aqua green. Apply near the horizon and edges of land masses to define water depth.
Highlights & Shallow Areas
Mix light blue, aqua green and titanium white for a more vibrant, sunlit look. Focus on foreground areas, where the water appears clearer.
Adding Texture
Grab your #7 palette knife, mix ultramarine blue, light blue, titanium white, dark purple, neutral gray and gloss gel. Drag your palette knife across the surface to create natural ripples and reflections. Deepen shadows near the edges with ultramarine blue and dark purple, and scrape downward to create depth and natural water shadows. Blend aqua green into the blues. Keep strokes horizontal to maintain the natural flow of the ocean.
You can add hints of dark tones back in for contrast.
As long as the water layer is in place, then you're all set for the next lesson!
Clean your brush and palette knife.
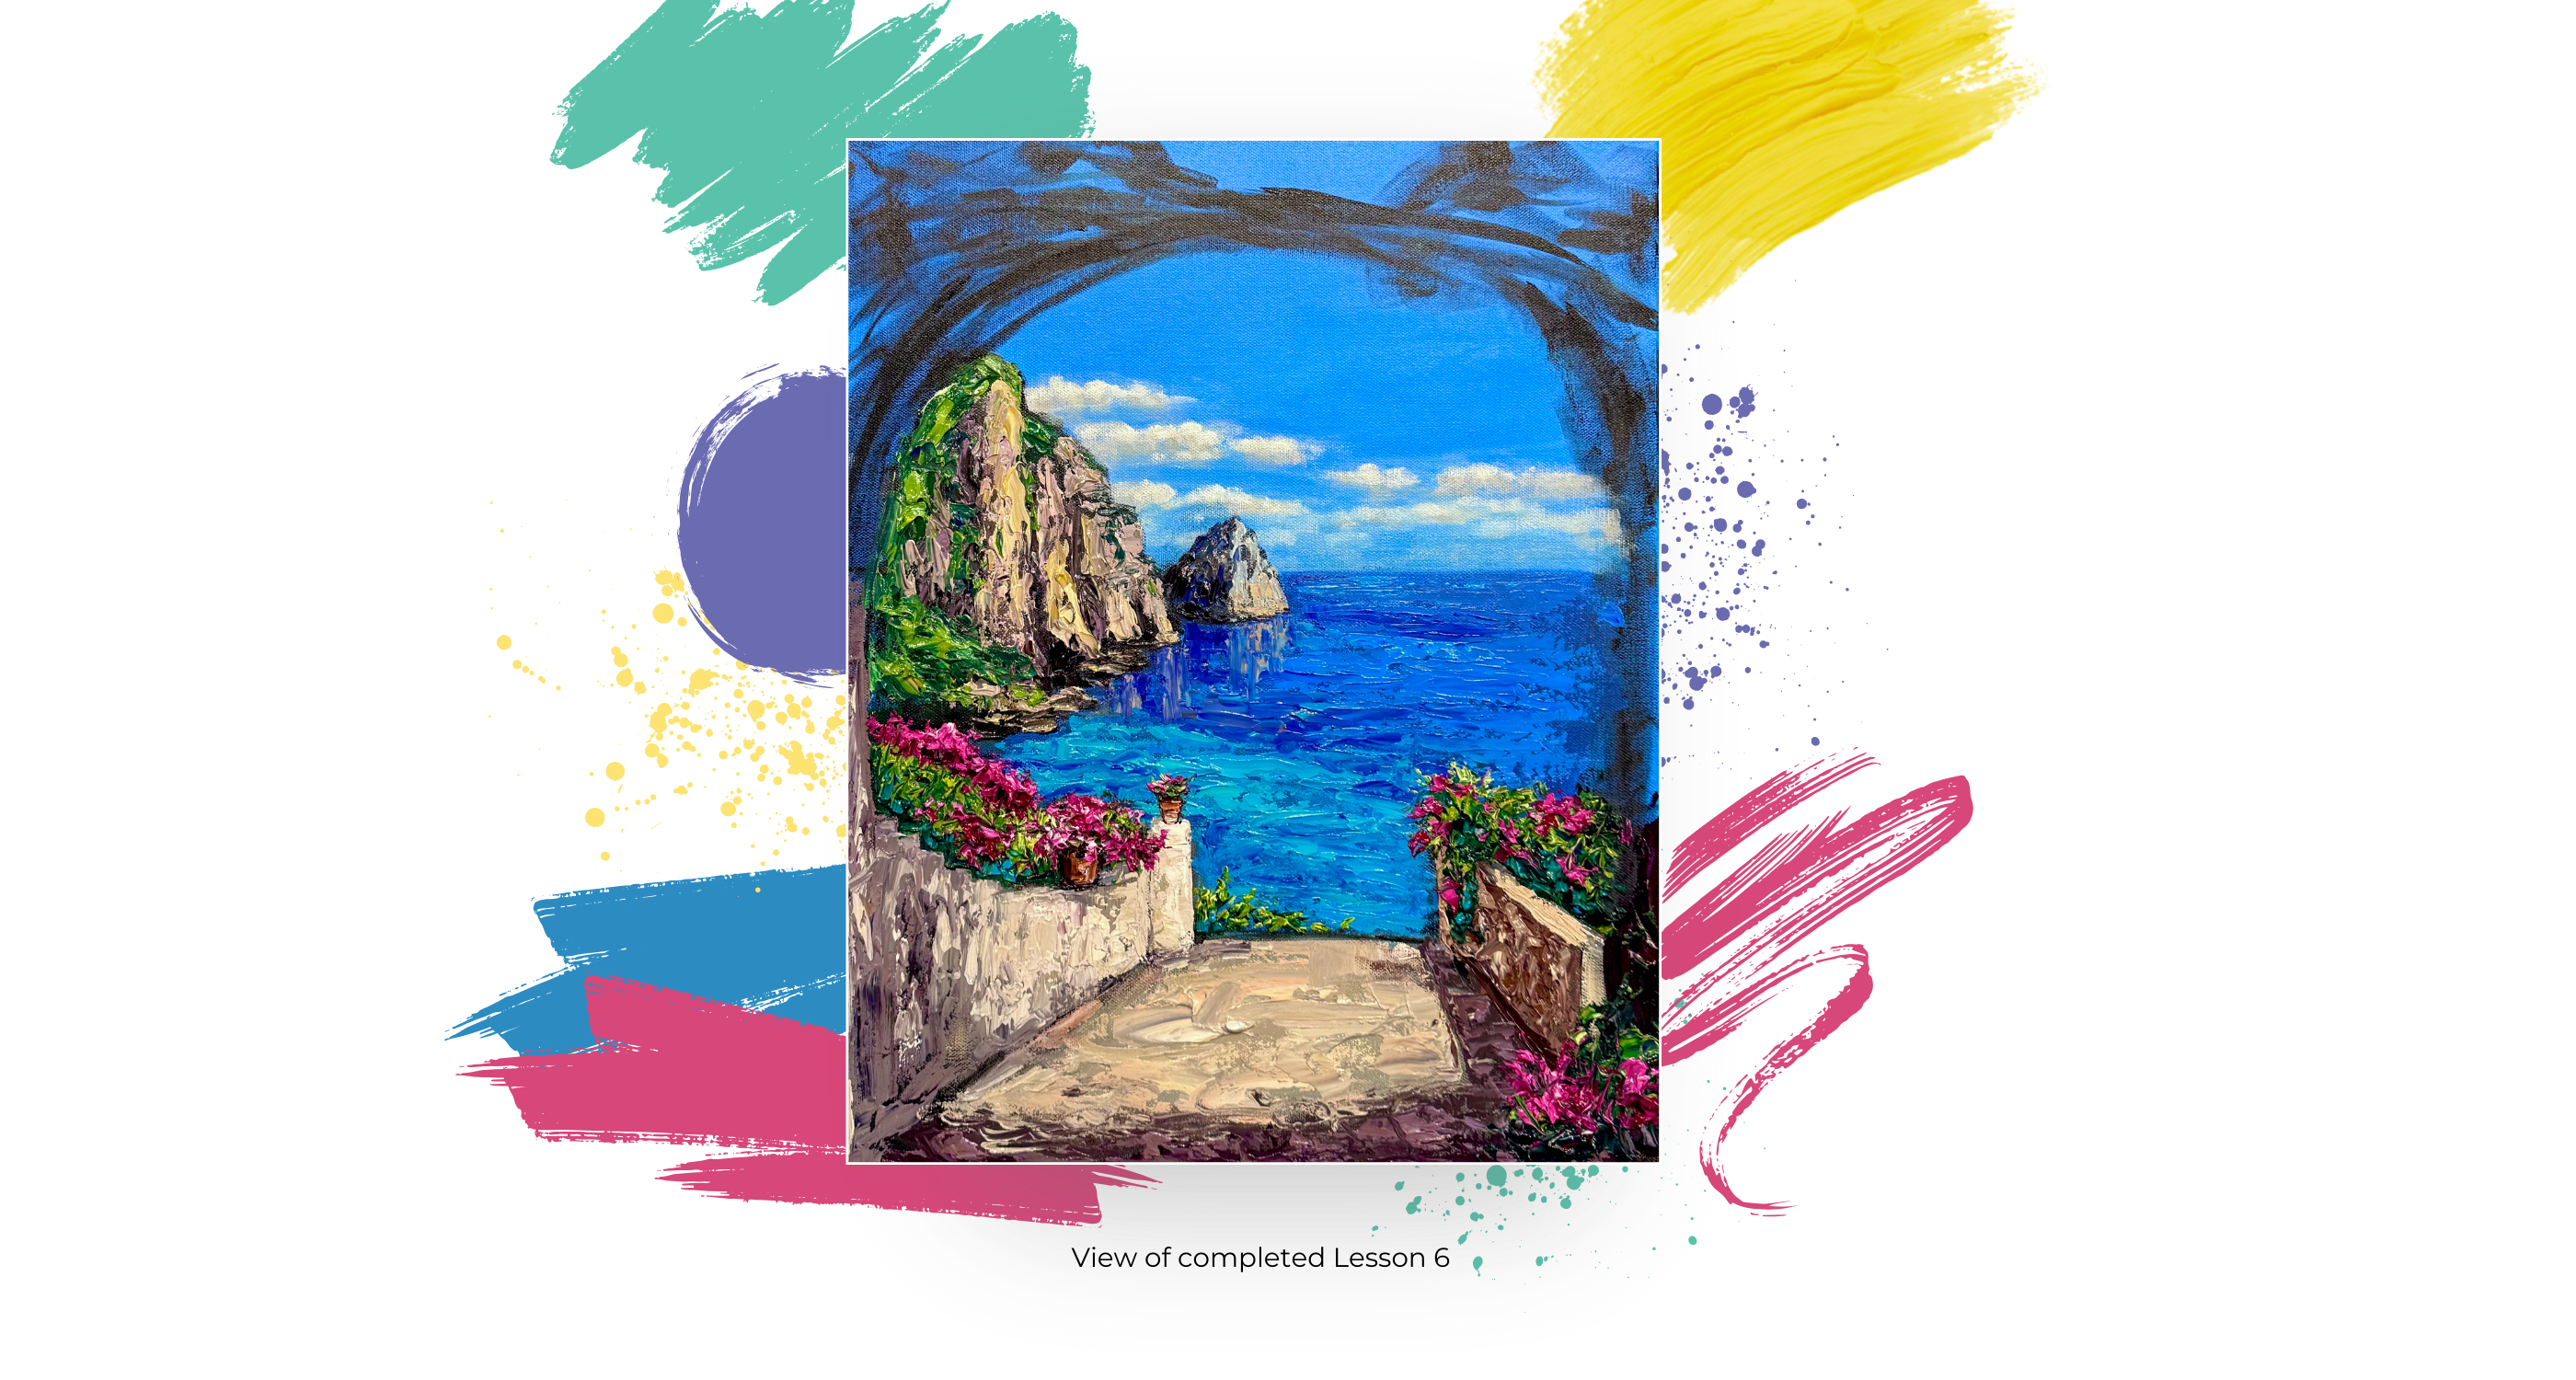
Lesson 6: The Foreground
#24 and #00 Let’s Dabble Art brushes, #6 and #7 Let’s Dabble Art palette knives
Neutral gray
Burnt umber
Burnt sienna
Yellow ochre
Titanium white
Buff white
Brilliant purple
Phthalo green
Ultramarine blue
Crimson
Magenta
Lemon yellow
Gloss gel
Mapping the Foreground
Grab your #24 brush, combine the gray mixture with yellow ochre and buff white. Map in the pillar, wall and steps. Block in shadows with a mix of gray, burnt umber, and brilliant purple. Darken the outer edges with a bit of ivory black to define depth.
Adding Texture
Grab your #7 palette knife, mix burnt umber, brilliant purple, burnt sienna, and gloss gel. Apply thick layers of dark tones where shadows fall. For the lighter areas, mix burnt sienna, yellow ochre, neutral gray, and gloss gel. Add texture by applying a thick coat, mimicking a plastered wall.
The Steps and Adding Light
Map out steps with neutral gray, gloss gel, and a little brilliant purple. Scoop and apply. For a brighter look, mix buff white, burnt sienna, yellow ochre, and gloss gel. Apply highlights over dark areas while keeping edges loose. Use your #6 palette knife for small surface.
Warm up the scene by mixing burnt sienna into the titanium white and yellow ochre mixture. Apply lighter tones over textured areas. For rocky textures, add a slightly lighter shade on top of existing layers. Use the straight edge of your palette knife to create hard edges that resemble stone. To emphasize shadows, add brilliant purple into the mixture and lightly coat the top of areas where the shadowed part. Blend carefully, making sure not to cover everything—this allows layers to peek through and mimic real stone or tile texture.
Adding Greenery
Mix phthalo green, yellow ochre and gloss gel. Scoop up the mixture and apply it thickly to create the look of lush greenery. Darken the base layer by adding ultramarine blue and burnt umber to your green mix. Apply in cascading strokes along the wall, allowing texture to build naturally. Clean up any overworked stair steps by letting the dark green redefine the edges. Identify areas for additional greenery and fill in patches for balance.
Highlights to the Greenery
Add highlights with lemon yellow and titanium white to your green mix. Gently apply the lighter shade over the darker green areas to create contrast and a sense of sunlight hitting the leaves. Repeat this layering method for all greenery, gradually building depth.
Clean your palette knife.
The Flowers
Mix crimson, magenta and gloss gel. Apply thick dabs of color to create blooming flowers. Cluster them in areas where natural blooms would occur. Layer in highlights by adding titanium white to the mix. Gently dab over the darker flower areas to create contrast. Darken flower bases using a mix of crimson and phthalo green. Apply final pops of magenta on top.
Adding Flower Pots
Combine burnt sienna and burnt umber, make a small triangular or rounded shape on top of the pillar. Keep the edges loose so it blends naturally into the scene.
Mix burnt sienna, titanium white and gloss gel to create a lighter shade. Gently coat the upper portion of the pot for light hitting the surface. The pot is small, so keep details minimal—just a few strokes for highlights and shadows will do. If desired, soften edges slightly to make the pot blend naturally into the scene.
Add some greens for leafy tones. Use crimson, magenta mixture for vibrant blooms. Scoop up thickly and apply in clusters on top of the green base. Repeat the same color tones on the opposite side
Highlight to the Flowers
Add titanium white to the same pink mixture to create a lighter shade and dab this on the tops of the flowers. Follow the dark-to-light method for both the flowers and the greenery.
Continue building the greenery by layering in more tones. Focus on areas that need more balance or where flowers may look too isolated.
Lighter Tones
Mix phthalo green, lemon yellow and titanium white to create a bright, sunlit green. Lightly apply this on the tops of leaves and around flowers to create highlights. If any flowers feel too heavy or clustered, use green to cut between them and separate shapes. Adjust as needed by adding darker green near shadows and brighter greens where sunlight hits. Add light blue to the same mixture. Lightly apply this in the shadowed areas of the greenery, especially where the leaves meet the wall.
Contrast
To create deeper contrasts, mix crimson and phthalo green for a rich shadow tone. Apply this beneath the flowers to anchor them into the scene. This creates a natural transition between light and dark, making the flowers appear more three-dimensional. Since this is the foreground, apply thicker strokes of paint. Load the knife generously with color and let it sit thickly on the canvas.
Stems
Grab your #00 brush, dip it into the light green mixture. While the texture is still wet, gently drag the brush through the paint to create thin, natural stems. Don’t overdo it—just a few strokes here and there will be enough.
As long as the texture is in place, with vibrant hot pinks, lush greens, and a touch of turquoise blue, you're on track. You’ve included two potted flowers and a charming bougainvillea vine. With the lights and darks mapped in, you're all set for the next lesson!
Clean your brushes and palette knives.
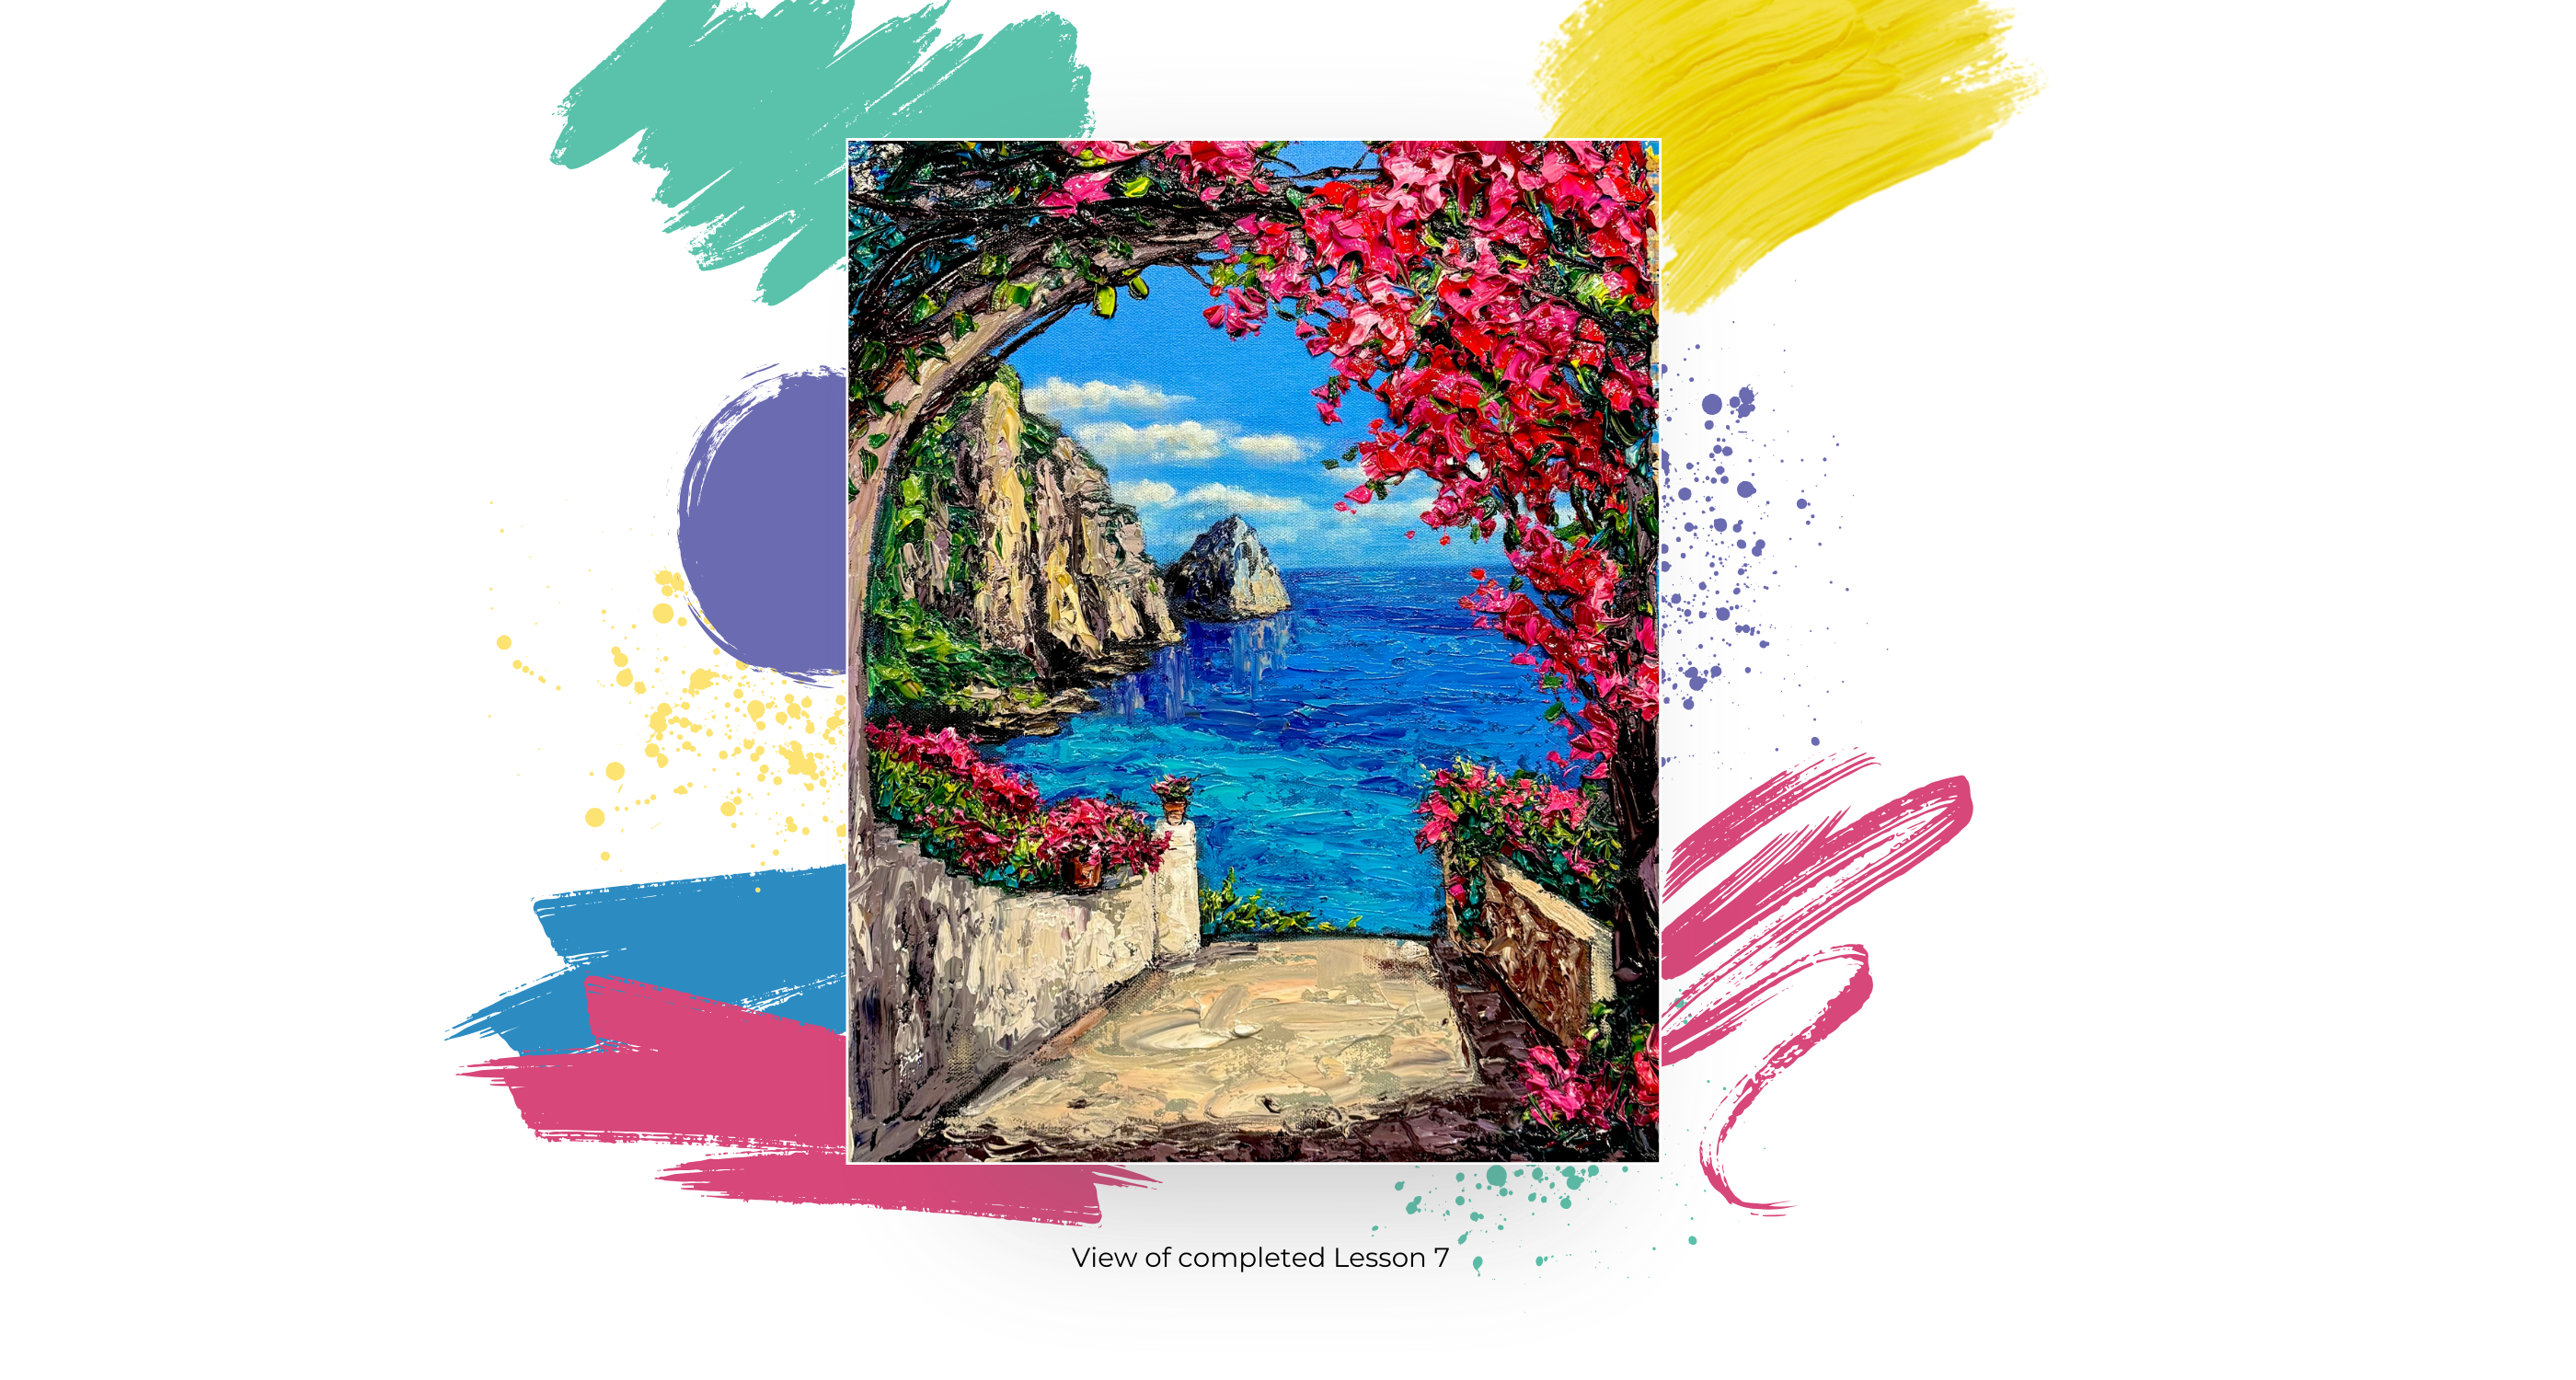
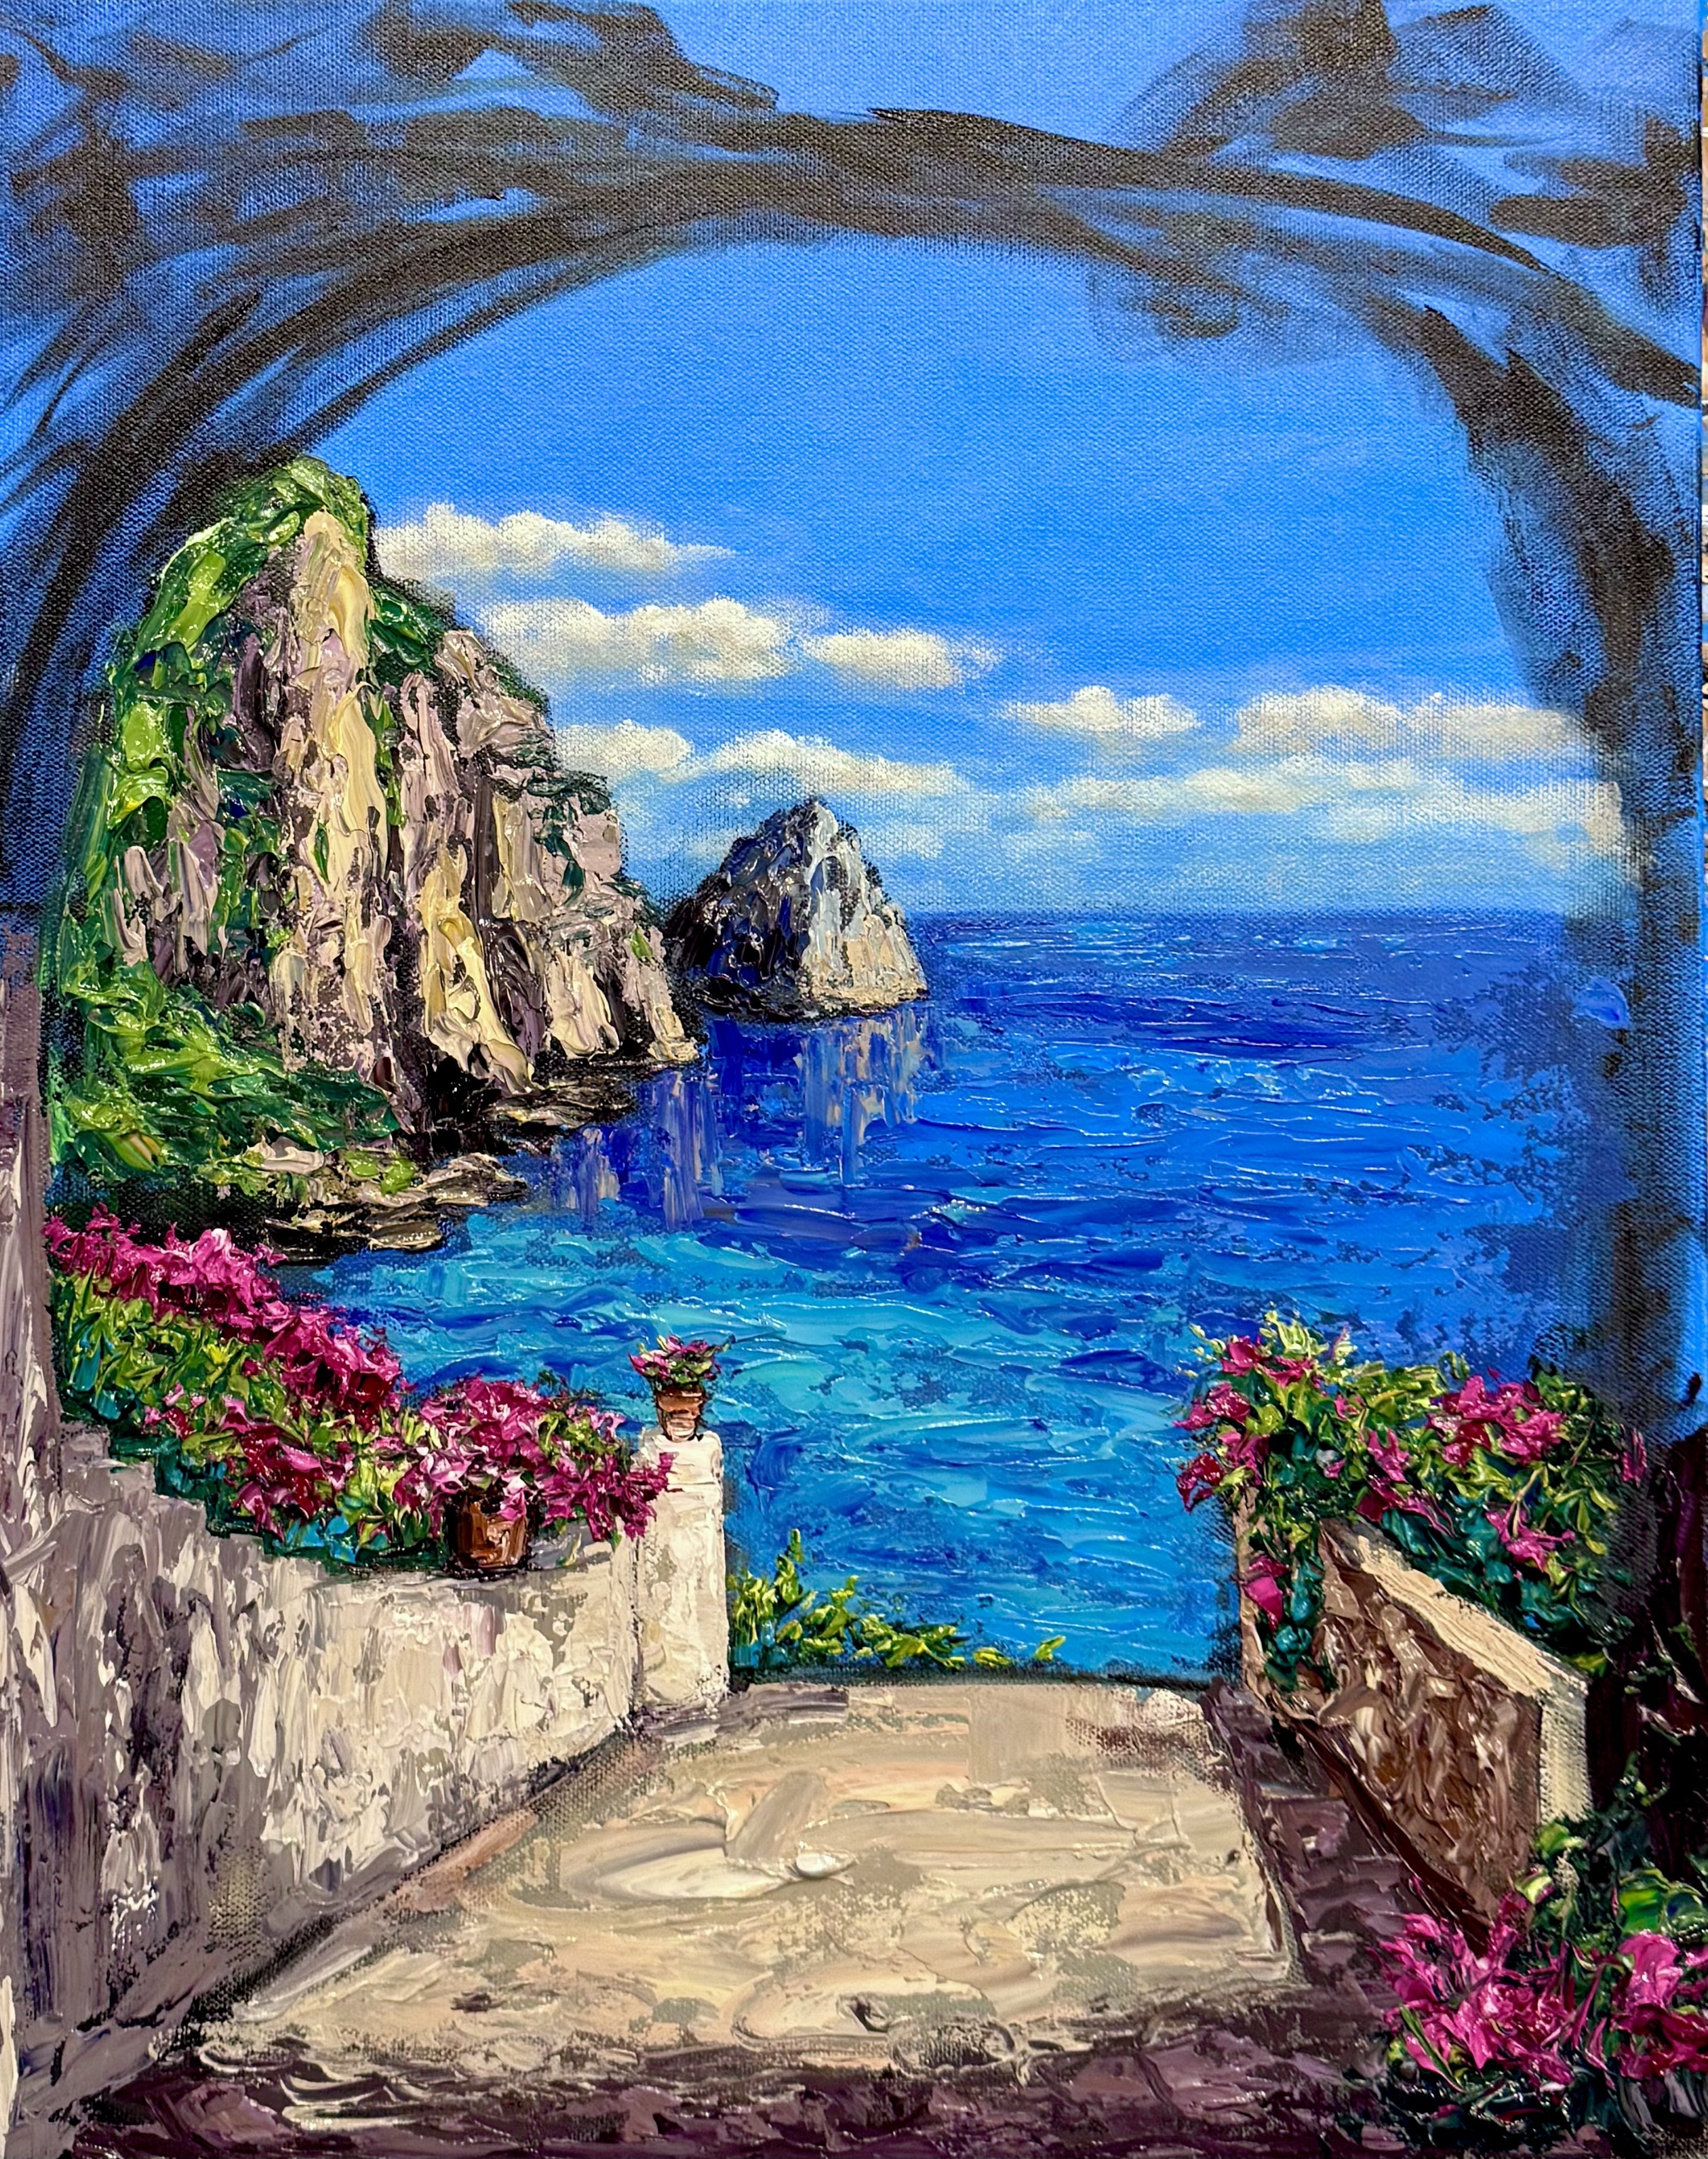
Lesson 7: The Trellis
#7 Let’s Dabble Art palette knife and #00 Let’s Dabble Art brush
Burnt umber
Brilliant purple
Neutral gray
Yellow ochre
Buff white
Dark purple
Phthalo green
Ultramarine blue
Burnt sienna
Crimson
Medium red
Magenta
Light blue
Gloss gel
The Archway
Grab your #7 palette knife, use burnt umber, brilliant purple, neutral gray and gloss gel mixture. Continue the pillar structure upward and over to form the trellis. Mix yellow ochre, buff white and neutral gray to create a warm, shadowed base. Drag the color across the top, keeping it soft and blended. Since the area is still in shadow, add brilliant purple to subtly cool the tone. Lightly drag it across to blend smoothly with the base layer.
Vines
Mix burnt umber, dark purple and gloss gel. Scoop up and scrape the mixture across the surface. Ensure both sides of the structure have a consistent, shadowed depth.
Now scoop up thickly, drag and twist the paint to create bold, natural vine shapes. Continue applying vines across the trellis and down the sides. Keep the movement dynamic, letting some vines curve naturally.
Switch to your brush, load the brush thickly with paint, re-dipping frequently to maintain texture. Twist and press to create thick, curling vines across the arch. Allow thicker sections to remain raised, creating a sculptural effect. Don’t forget the sides! Let some vines wrap around the structure.
Clean your brush.
Layer in the Greenery
Mix phthalo green, ultramarine blue, burnt sienna and gloss gel. Sculpt thick layers over the vines. Keep the greenery super thick since it’s in the foreground.
Highlight to the Greenery
Mix phthalo green, lemon yellow and titanium white and apply this over the dark greens to create depth.
Let some leaves cascade down for a natural, overgrown effect.
Clean your palette knife.
Adding Flowers to the Trellis
Mix crimson, medium red, magenta and gloss gel. Scoop up thickly and start applying clusters of flowers. Lay the flowers on top of the greenery. Keep it full and lush, but let some vines peek through.
Start with crimson, medium red and magenta, scoop up thickly and apply then gently press and layer onto the surface without blending too much—this keeps the flowers full and dimensional. Don’t move the paint too much—simply place it on top to keep the color distinct and vibrant. Let some blooms overlap the greenery and arch, creating a lush, cascading effect. Even though it might feel difficult to cover parts of the background, bringing the flowers down creates balance and depth.
There’s no wrong way to place the flowers—just ensure balance and fullness. Keep heavier blooms near the trellis while letting some stragglers float upward. If one side feels too heavy, add blooms to the other for harmony. Let some blossoms extend beyond the main cluster to create a natural look.
Apply medium red over the top of the blossoms. Since the darks and mid-tones are already mapped in, now it's time to add highlights. Mix magenta, medium red, titanium white and gloss gel for a lighter, sunlit effect. Gently apply lighter shades over the top, allowing the underlying dark tones to show through. Do not mix the flowers into the green. Add small dots and straggler blossoms at the edges to create a soft, natural transition.
This entire process works best when the paint is still wet, allowing you to blend seamlessly and carve out flowers naturally. If the paint dries, adding new layers will be more difficult, and the top highlights won’t integrate as smoothly. When starting this lesson, aim to finish in one go so that you can layer and blend effectively. This allows you to carve out the flowers and add highlights effortlessly.
While the base layers are still wet, apply the lighter flower tones directly over the darks. This lets the colors merge naturally without overmixing into the green or losing texture.
While working on the trellis, add small pops of color to the flowers lower in the scene. If the flowers feel too flat, mix crimson and apply it beneath the lighter blooms to create stronger shadows. This deepens the contrast between the highlights and shadows, making the flowers look more 3D.
Leaves
Grab your skinny brush, add lemon yellow, titanium white into the green mixture. Lightly paint small leaves in between the flowers, filling in the negative space. Blend a touch of light blue softly into sections of the greenery. This adds a fresh highlight and contrast, making the greens and pinks pop even more. Focus on shadowed areas to give more dimension.
Twigs and Branches
With the same brush, dip into burnt umber and carefully redraw a few thin branches. Let them peek through the flowers to give the impression of natural twigs winding through the vines. Keep them loose.
Straggler Leaves
Using the same brush, apply small, wispy leaves extending beyond the main cluster. This helps soften any harsh edges and makes the florals feel more natural and free-flowing.
If any areas feel too thick or messy, lightly scrape or blend them to refine the texture. Sometimes, an accidental glob of paint can be turned into a leaf or shadow with a quick brushstroke.
You are ready for the final lesson.
Clean your palette knives and brushes.
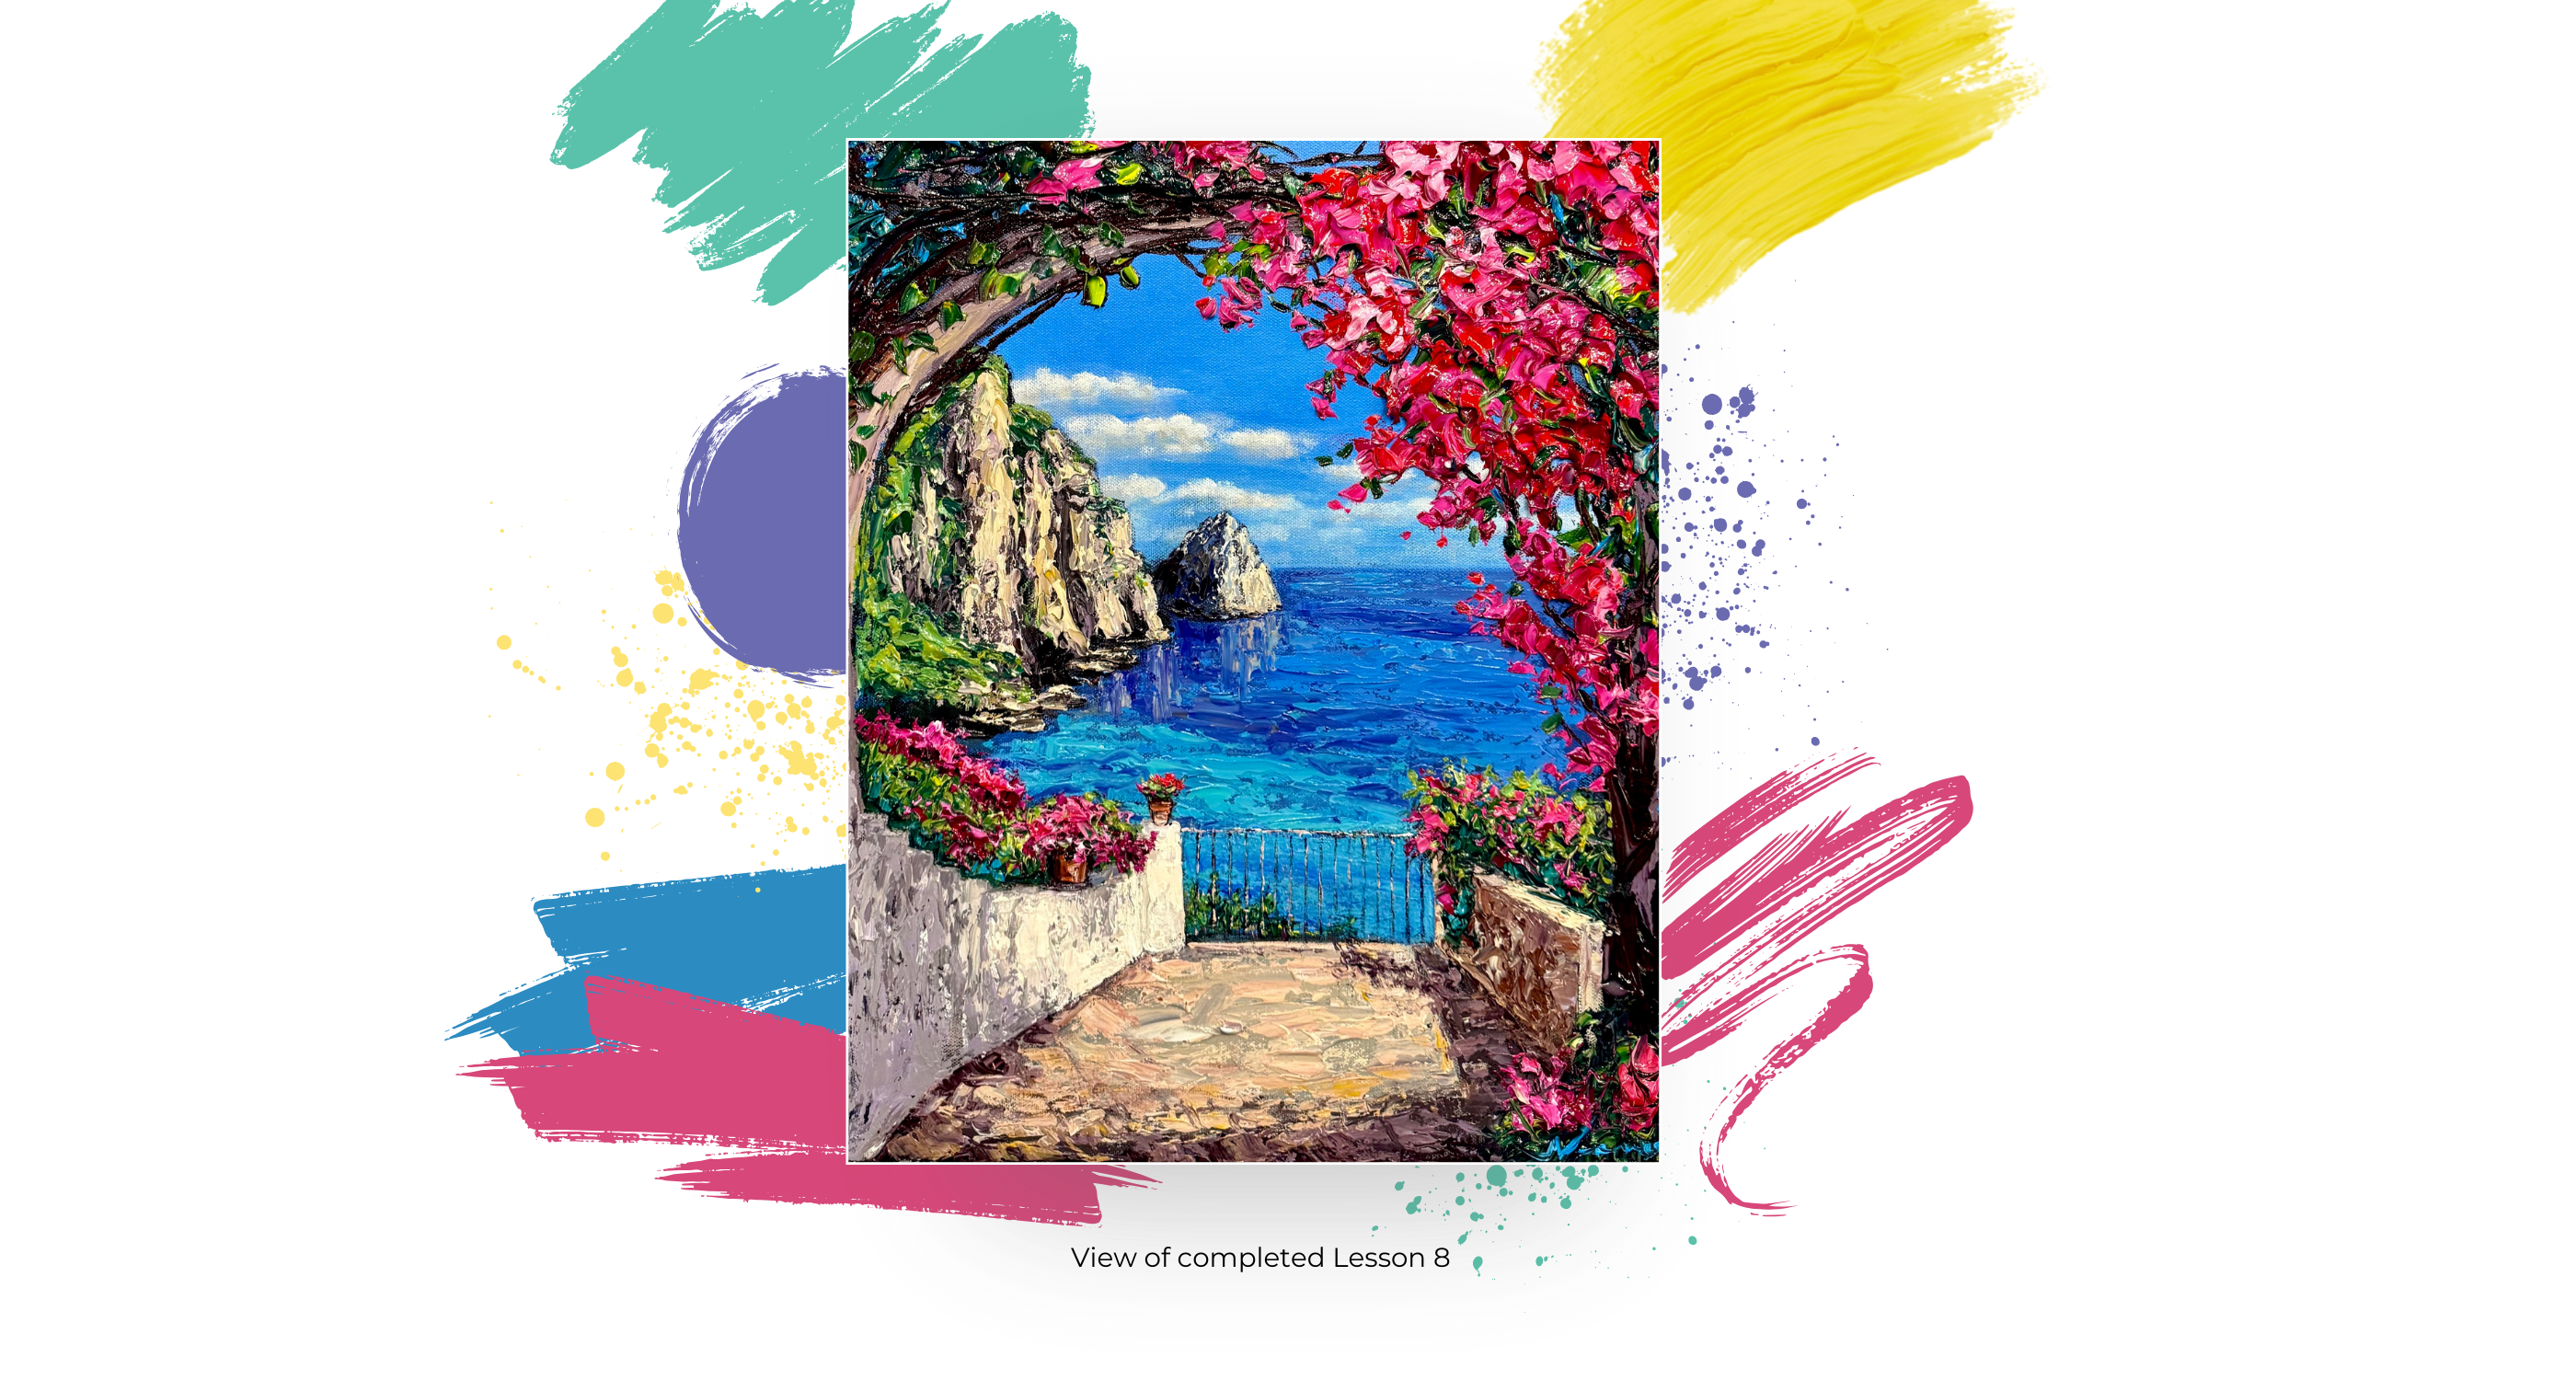
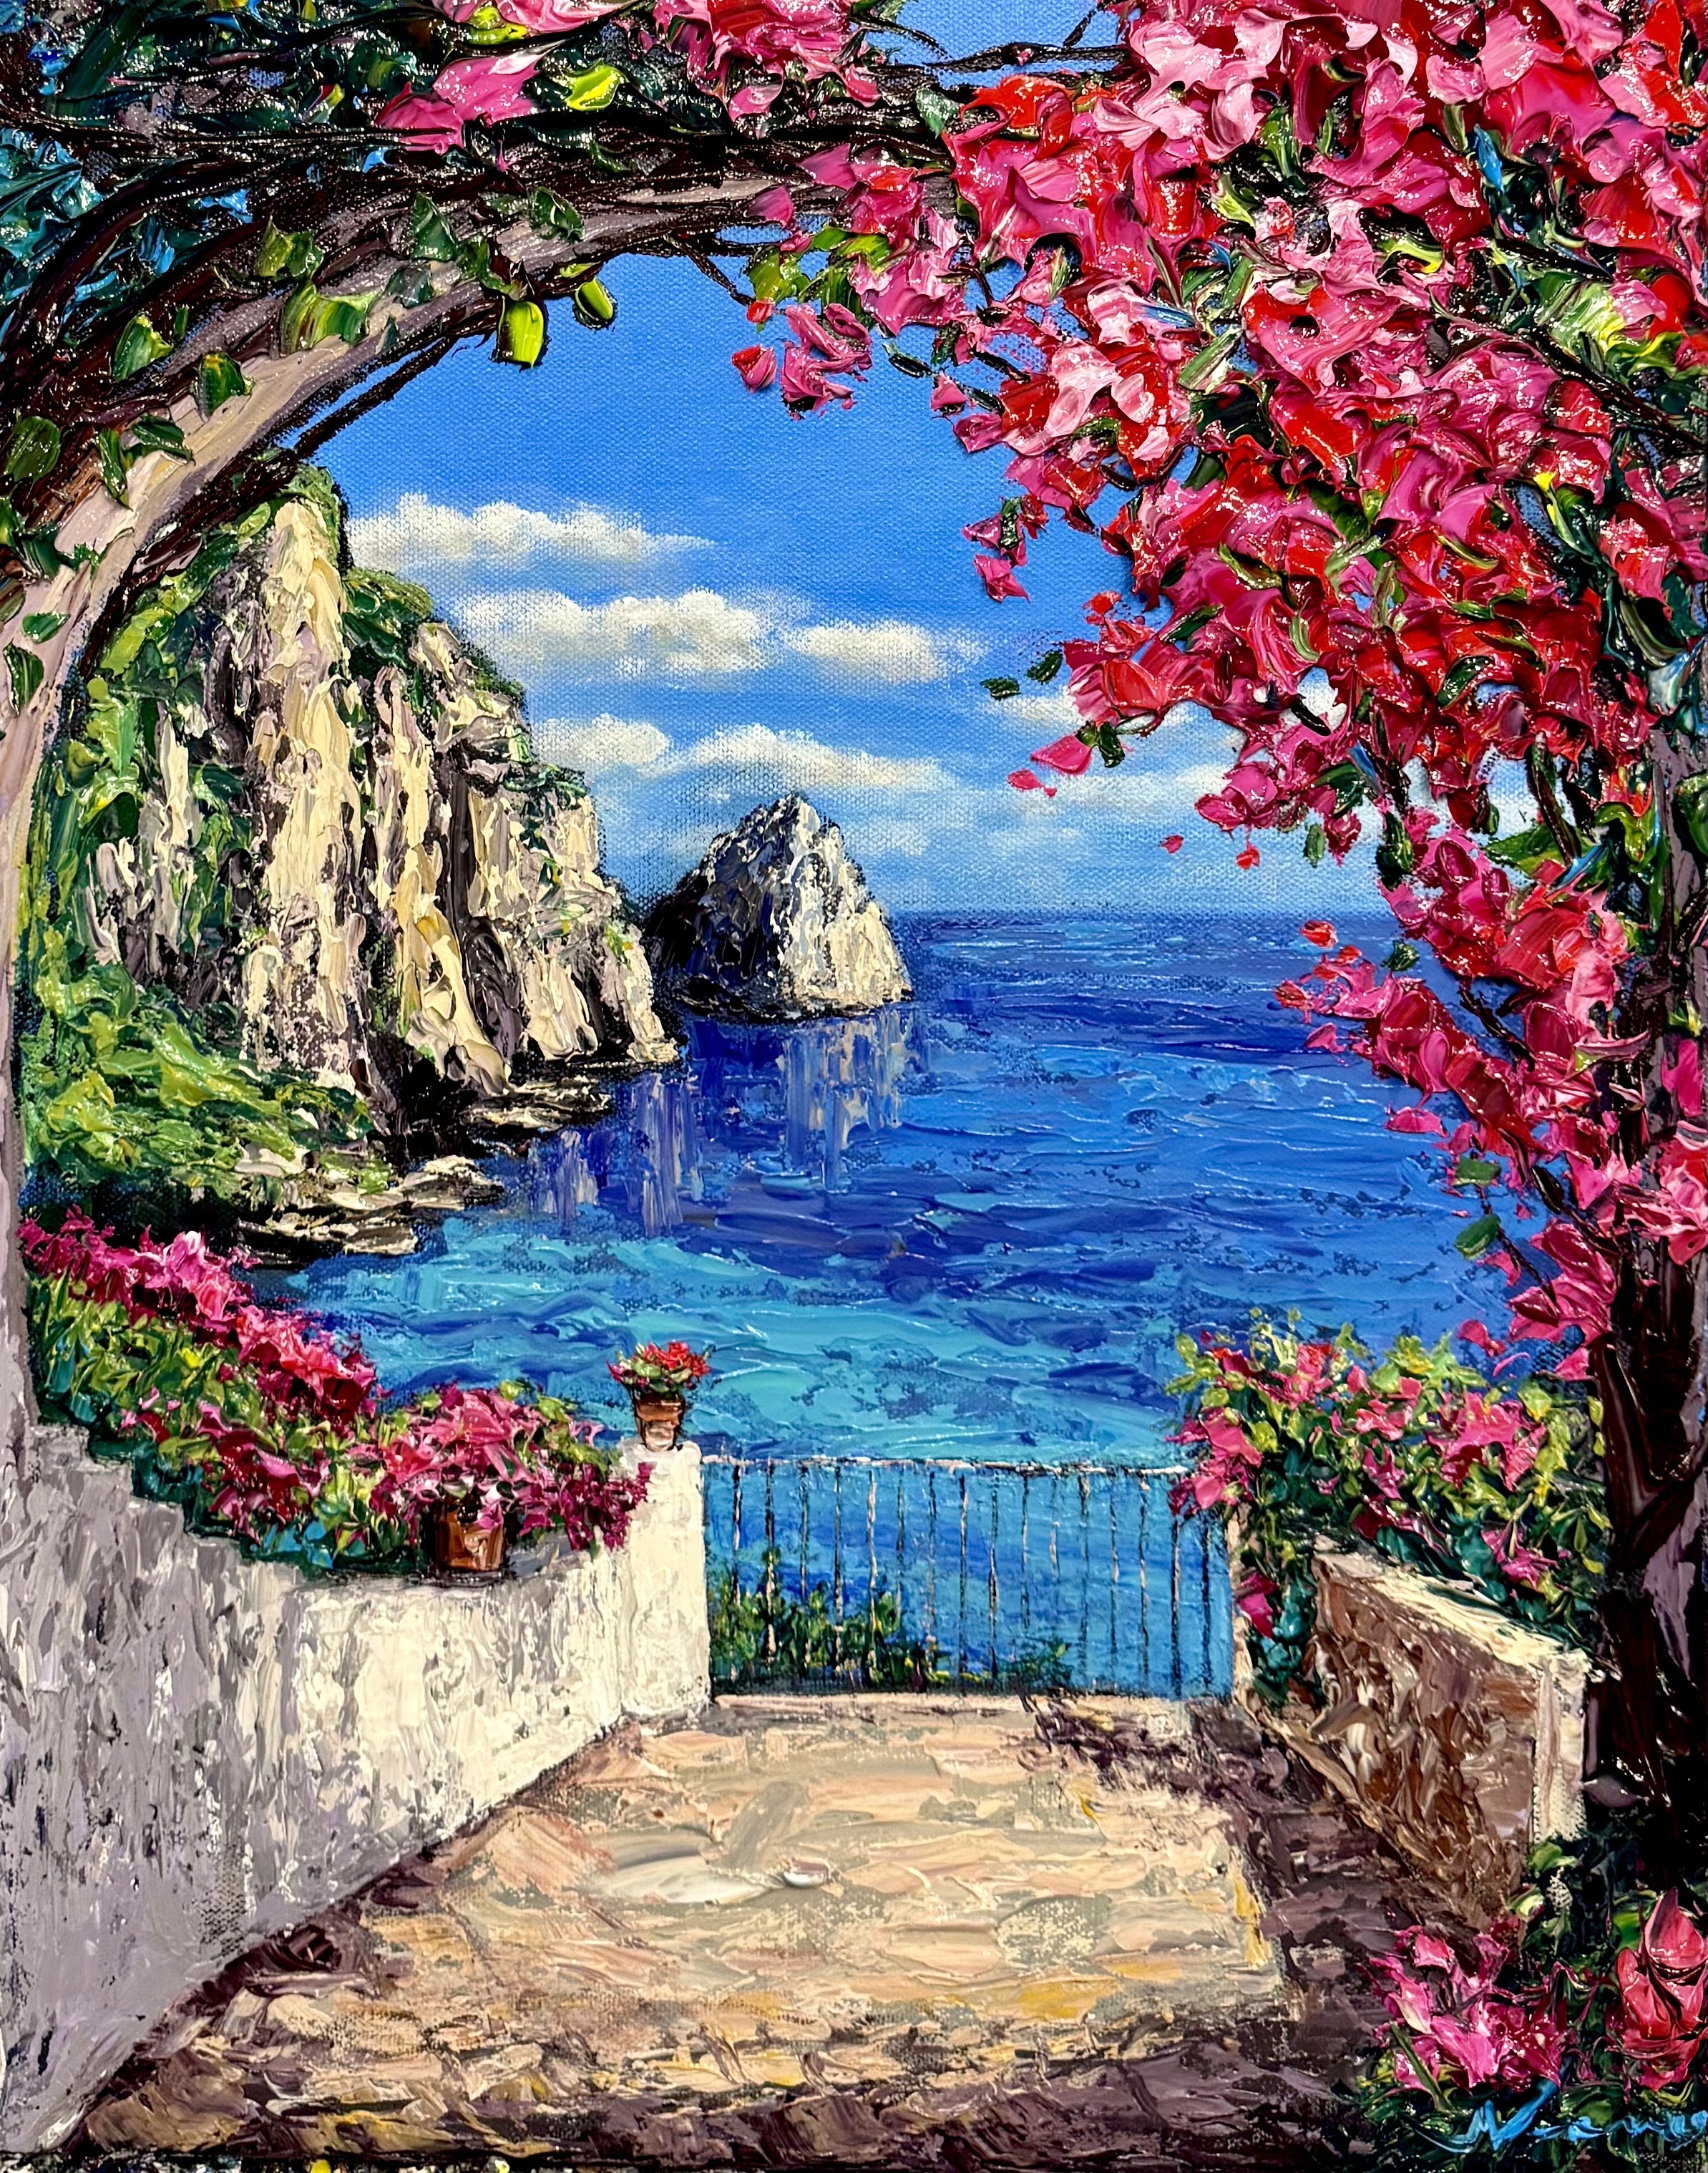
Lesson 8: Fine-Tune & Signature
#6, #7 and #9 Let’s Dabble Art palette knives and #00 Let’s Dabble Art brush
Now step back, evaluate, and make tweaks if you need to. Just look for what might need to be added. Your painting will be different from mine, but hopefully, you can see the process I go through to add that something extra to make this painting all I can. Be very careful if you’re doing the wet and wet like I am, when you’re coming through, use the tip of your palette knife. Or, wait for everything to completely dry, put a fan on it in a few minutes to have it dried and then you can come in and fine tune. Let’s get started!
Fine-Tuning
Grab your #6 or #5 palette knife, mix buff white, titanium white and a little light blue. Lightly scrape the highlight color across the surface of the islands. At the bottom of the cliffs, apply another light layer of buff white with titanium white to brighten it. Be careful not to over-cover the darker tones—you want to maintain depth. Apply a slightly brighter highlight on the left-hand side of the island's peak to for the sunlight hitting that area.
Drag the same highlight mixture across the highest points of the rocks and distant cliffs.
Mix a new pile of titanium white and buff white, then brighten the lower part of the wall.
Mix brilliant purple, neutral gray and titanium white then apply this to the upper sections of the wall, blending gently into the existing textures for soft shadow effect.
Adjust the foreground wall angle if needed—it’s never too late to refine small details!
If the angle feels off, make small corrections by extending or adjusting the shape. bring up the wall slightly, making it align more naturally with the scene. Since the wall is rough and textured, avoid making it too smooth. keep some of the raw stone effect intact.
Grab your #7 palette knife, mix buff white, burnt sienna and titanium white then drag your palette knife lightly across the edge of the surface. Let some of the underlying gray show through to make it look like tiles. In the shadowed areas, add yellow ochre to the mixture. Dab or lightly scrape the mixture into darker sections to create a speckled, aged look. Mix burnt umber, burnt sienna and brilliant purple, show the darks between the tiles and it'll look like tile without painting each one individually.
Mix burnt umber, dark purple and neutral gray then apply a subtle shadow where the bush meets the wall, grounding it in the scene. Blend slightly so it fades naturally into the background. The lower section should be the darkest. Mix dark purple and burnt umber and lightly edge the bottom of the wall. Soften the transition so it doesn’t feel too stark, but still adds contrast.
Grab your skinny brush, dip it into the dark purple and burnt umber mixture for the base gate color. Since this is just a hint of a gate, avoid over-detailing—it should blend naturally into the scene. Grab your #9 palette knife to use as a ruler and lightly drag your brush vertical and horizontal lines to make metal bars. Mix buff white and titanium white and gently drag along the top edges of the gate for a slight metallic effect. Drag it across any plants or objects behind it, ensuring it sits in front showing the gate as a foreground element. If any rails or bars look too thick or uneven, grab the ocean blue (or background color) and paint between the bars.Grab your #6 palette knife, combine phthalo green, lemon yellow, titanium white and yellow ochre. Lightly dab over the top of the greenery, focus on where the sunlight naturally hits.
Your Signature
To make it easier to paint your signature, spritz a tiny bit of water into the paint to make it more fluid if it needs it. Twist your clean #00 brush right through light blue or whatever color you want on your palette. Then carve your name right in the wet paint in the bottom right corner. I wipe my brush with a baby wipe after each letter and then reload the brush with paint.
Name your painting with a unique name. Congratulations, you are almost done. Now it’s time to sign the back. I use a thin black permanent marker.
I put © and my name.
Then I put up my website.
Next, I put the title in all caps and in quotes.
Last, I put my full signature.